Open source (self-hosted)
Deploy the open-source Control Plane API server on your own infrastructure. The server handles participant discovery and connection offer management for DIDComm peer-to-peer messaging. It also acts as the sole trusted JWT issuer for Matrix homeserver authentication, issuing short-lived tokens so participants can join Matrix group chat without handling Matrix credentials directly.
The Control Plane API is built with Dart and packaged as a Docker image.
1. Prerequisites
- Dart SDK version 3.6.0 or later.
- Docker Desktop.
2. Clone the repository
git clone git@github.com:affinidi/affinidi-meetingplace-controlplane-api-dart.git
cd affinidi-meetingplace-controlplane-api-dart
3. Set up the Control Plane instance
- Copy the example Docker Compose file.
cp examples/docker/local/docker-compose.example.yml docker-compose.yml- Copy the example configuration file.
cp examples/config/config.example.yml config.ymlConfigure environment variables.
Open
docker-compose.ymland update the required values, including storage settings, the API endpoint, and secrets. For a full list of supported variables, see the environment variables reference.Tip: Set
CONTROL_PLANE_DIDtodid:localhost:<SERVER_PORT>for local testing. For example, ifSERVER_PORTis3000, usedid:localhost:3000.Generate key pairs for DIDComm Auth.
mkdir -p ./keys ./params ./secrets

openssl ecparam -name secp256k1 -genkey -noout -out ./keys/secp256k1.pem
openssl ecparam -name prime256v1 -genkey -noout -out ./keys/p256.pem

openssl genpkey -algorithm Ed25519 -out ./keys/ed25519.pem
openssl pkey -in keys/ed25519.pem -pubout -out ./keys/ed25519-pub.pem- Run the setup script to generate JSON Web Keys (JWKs) from the key pairs.
dart run script/setup.dart- Start the server.
docker-compose up --buildOpen the configured host and port in a browser to confirm the server is running. The default local address is http://localhost:3000. You should see the following page:
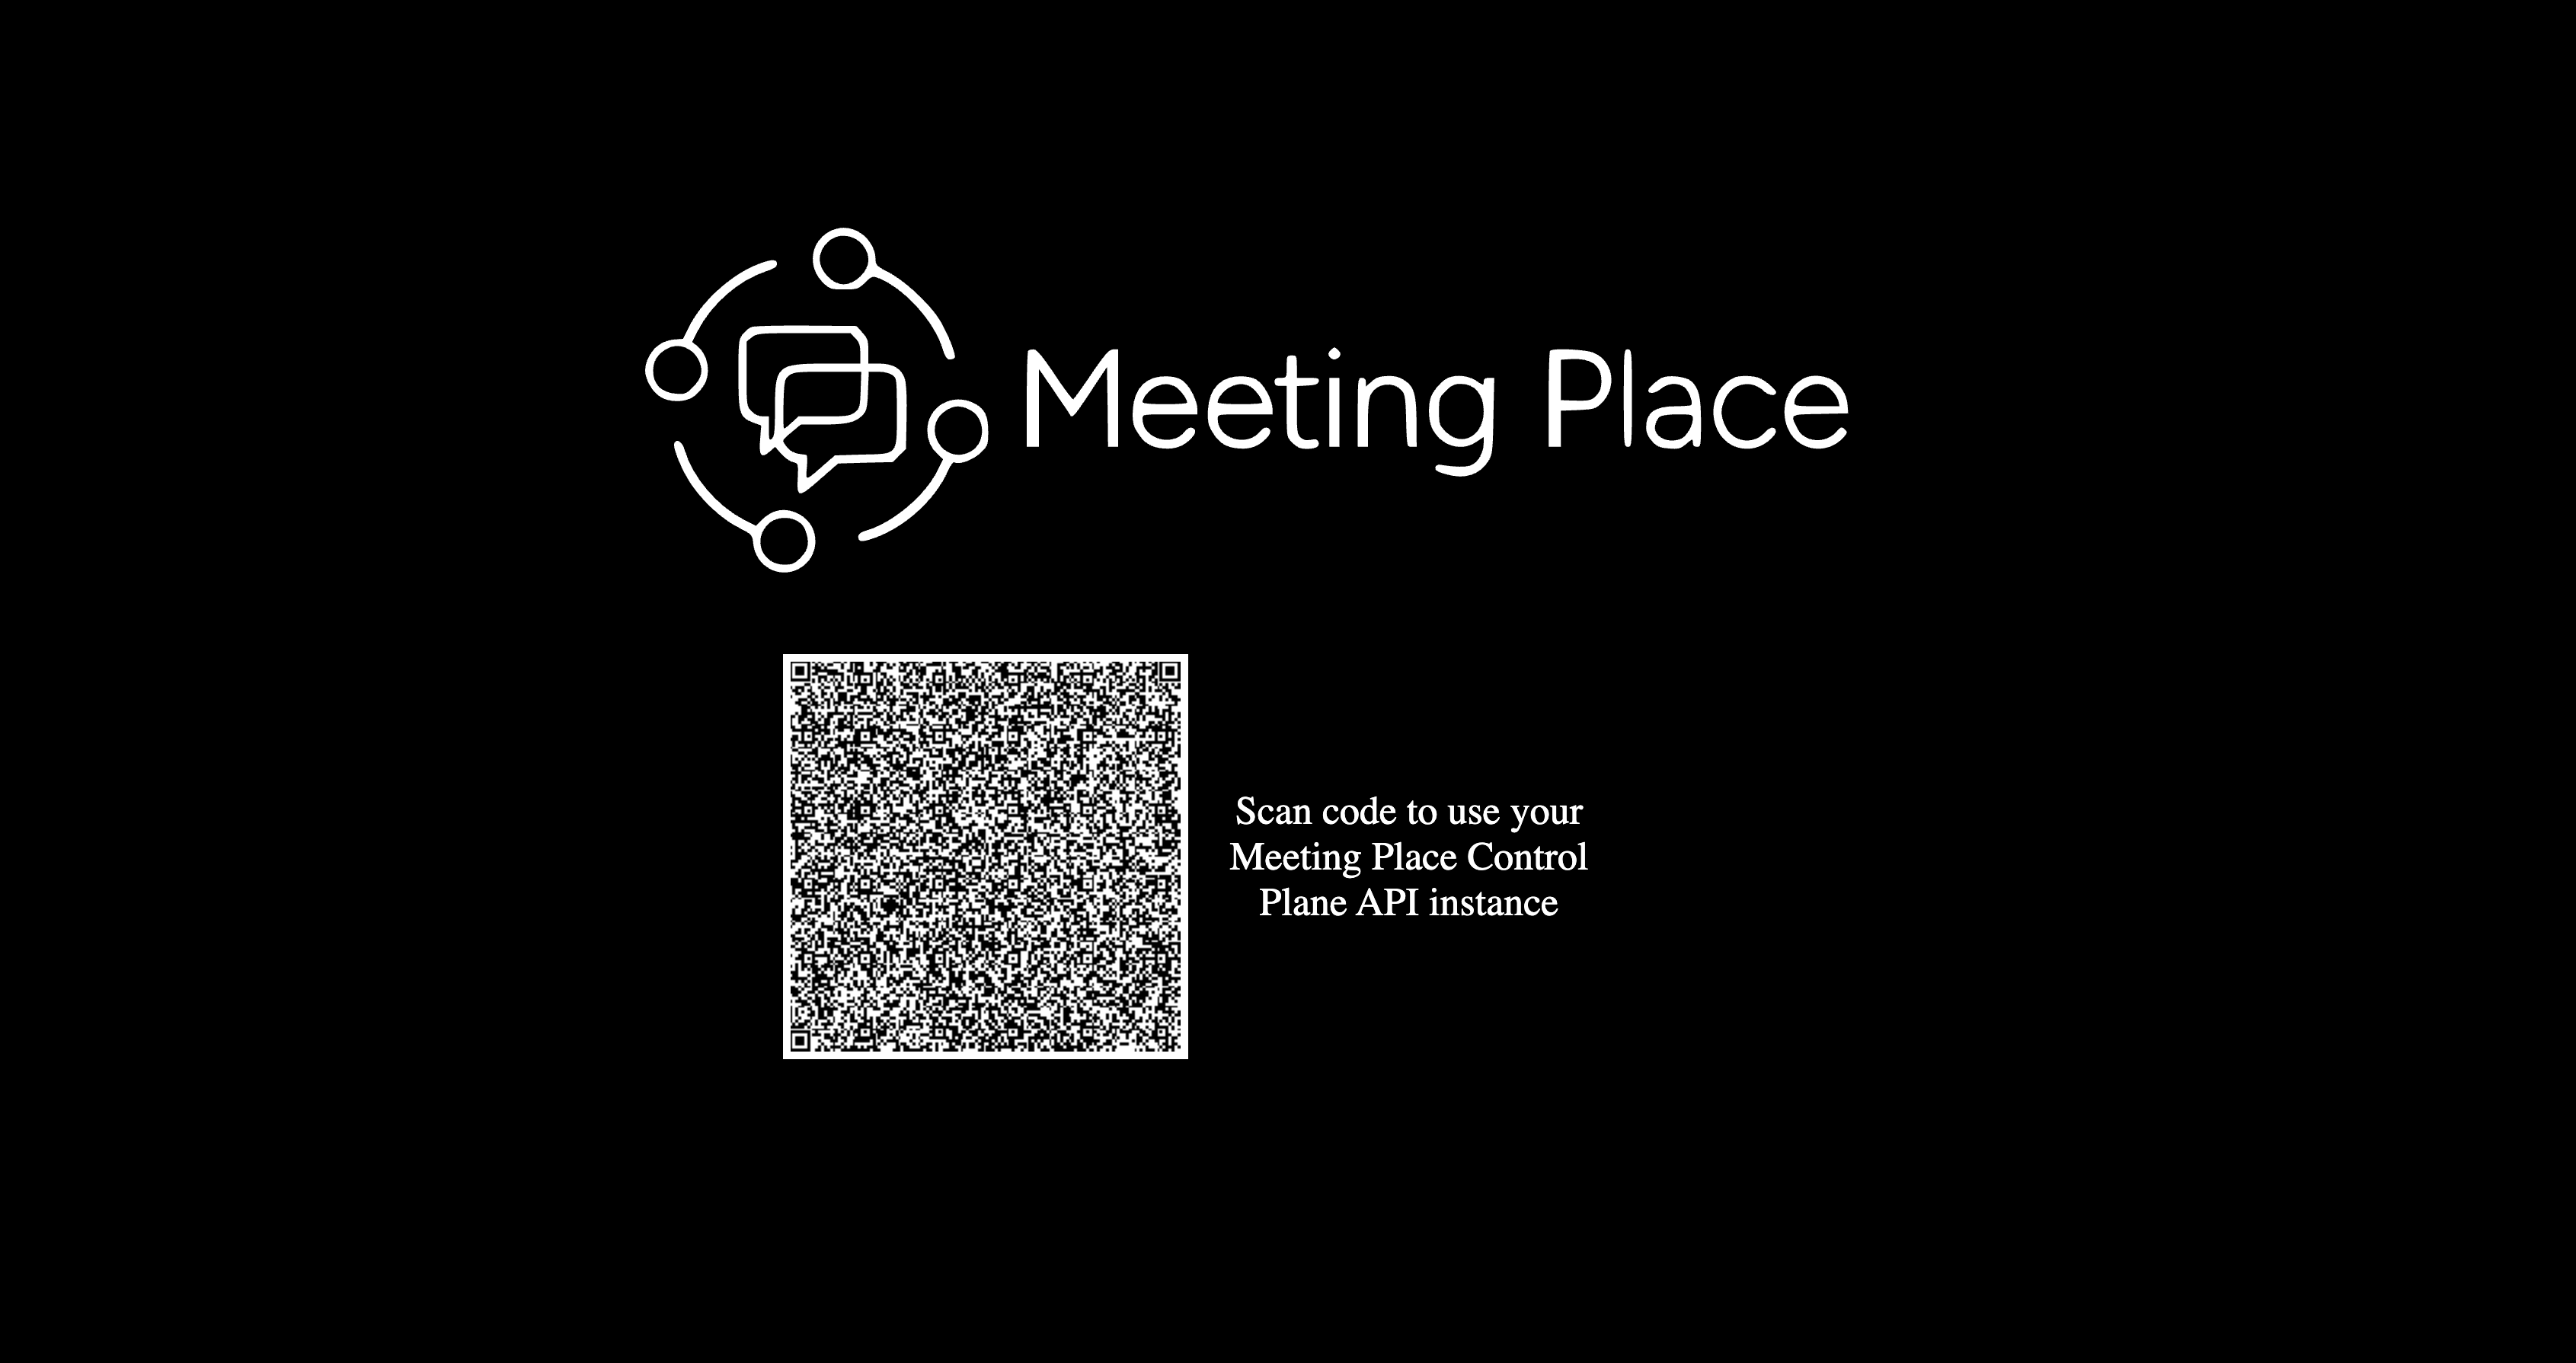
Control Plane API Server
4. Test the Control Plane connection
Use either approach below to confirm the server responds correctly.
4.1 Run the client example
The repository includes a Dart client example in examples/client/ that runs a full connection workflow: authentication, device registration, offer creation, offer discovery, and offer acceptance.
- Navigate to the client example directory.
cd examples/client- Copy the example environment file.
cp .env.example .env- Confirm
API_ENDPOINTandCONTROL_PLANE_DIDin.envmatch your running server. The defaults match the local Docker setup:
API_ENDPOINT=http://localhost:3000
CONTROL_PLANE_DID=did:localhost:3000- Install dependencies.
dart pub get- Run the example. The server must be running.
dart run example_native_flow.dartSuccessful output shows Alice and Bob completing the full connection workflow.
4.2 Send a REST challenge request
Send a challenge request to the authentication endpoint. Replace <CONTROLPLANE_URL> with your server URL.
curl -X POST \
  -H "Content-Type: application/json" \
  -d '{"did": "did:peer:<UNIQUE_ID>"}' \
  <CONTROLPLANE_URL>/v1/authenticate/challenge
Expected response:
{"challenge":"<JWT>"}A challenge response confirms the server is accepting requests. For the full REST API reference, see the Control Plane OSS repository.
What’s next
Glad to hear it! Please tell us how we can improve more.
Sorry to hear that. Please tell us how we can improve.
Thank you for sharing your feedback so we can improve your experience.