Affinidi Portal (Affinidi-hosted)
The Affinidi-hosted Control Plane API is in Beta. To get access, join the Beta Programme.
You can deploy with customisable configurations and choose from predefined appliance sizes to match your workload: Dev, Small, Medium, or Large.
Sign in to the Affinidi Portal and follow these steps.
1. Create Control Plane configuration
Sign in to Affinidi Portal and select the project where you want to set up the Control Plane. If you are new to the Affinidi Portal, it automatically creates a default project for you.
Go to Affinidi Meeting Place in the left sidebar, then click Create configuration.
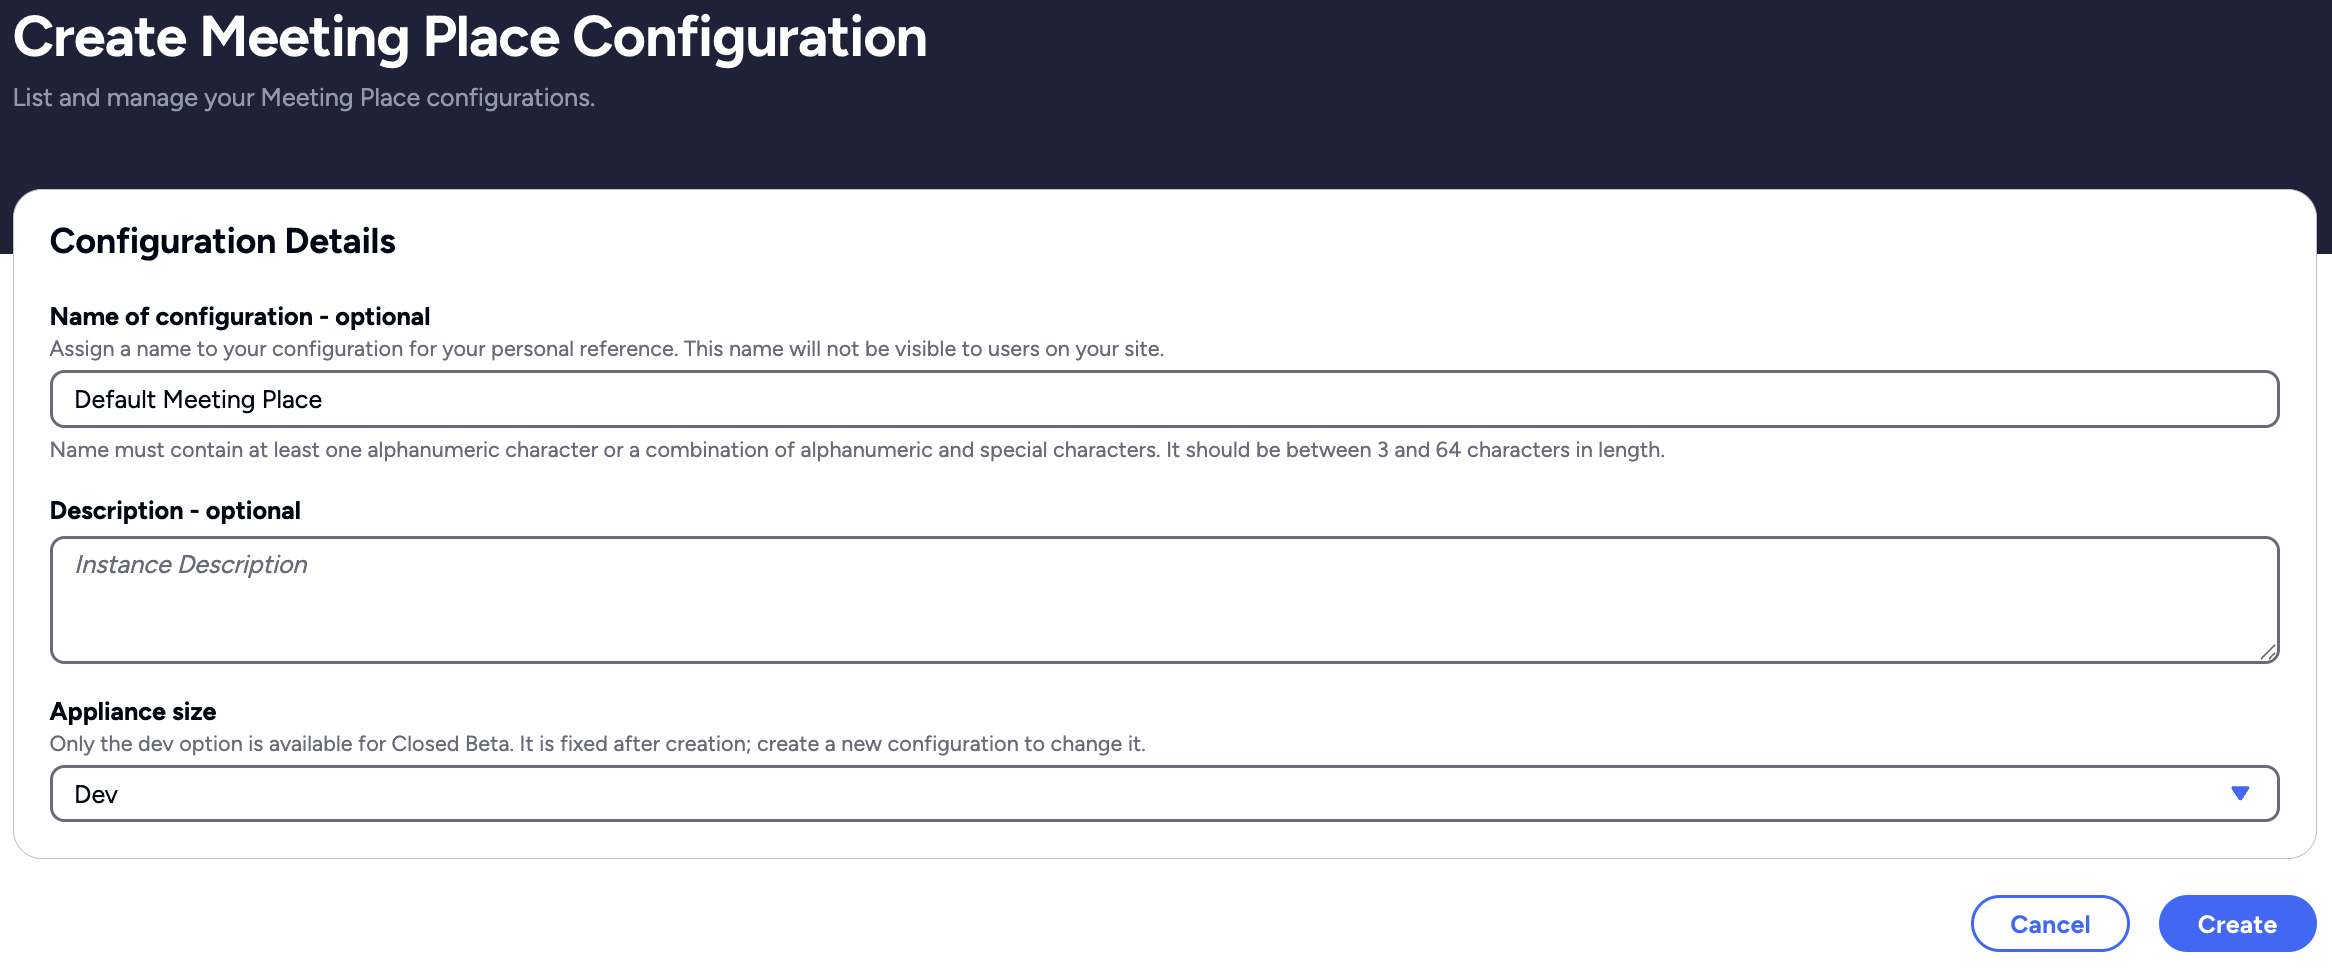
Create Meeting Place Configuration page
- Set the following details to create the instance.
| Field | Description |
|---|---|
| Name | The name for your Control Plane instance. If left blank, one will be autogenerated. |
| Description [Optional] | A short note on the purpose of the Control Plane instance. |
| Appliance size | The compute size for your instance. Choose Dev, Small, Medium, or Large based on your expected workload. You cannot update this field after creation. |
Review the configuration and click Create. Deployment typically takes 2–5 minutes.
Once deployment is complete, Affinidi Portal displays the following details.
| Field | Description |
|---|---|
| Control Plane DID | The Decentralised Identifier (DID) for this instance. Pass this to the Meeting Place SDK as controlPlaneDid. |
| Control Plane URL | The Control Plane API server URL. Use this for direct REST API connections. |
When Deployment Status shows Complete, open your Control Plane URL in a browser. The following page confirms your instance is active.
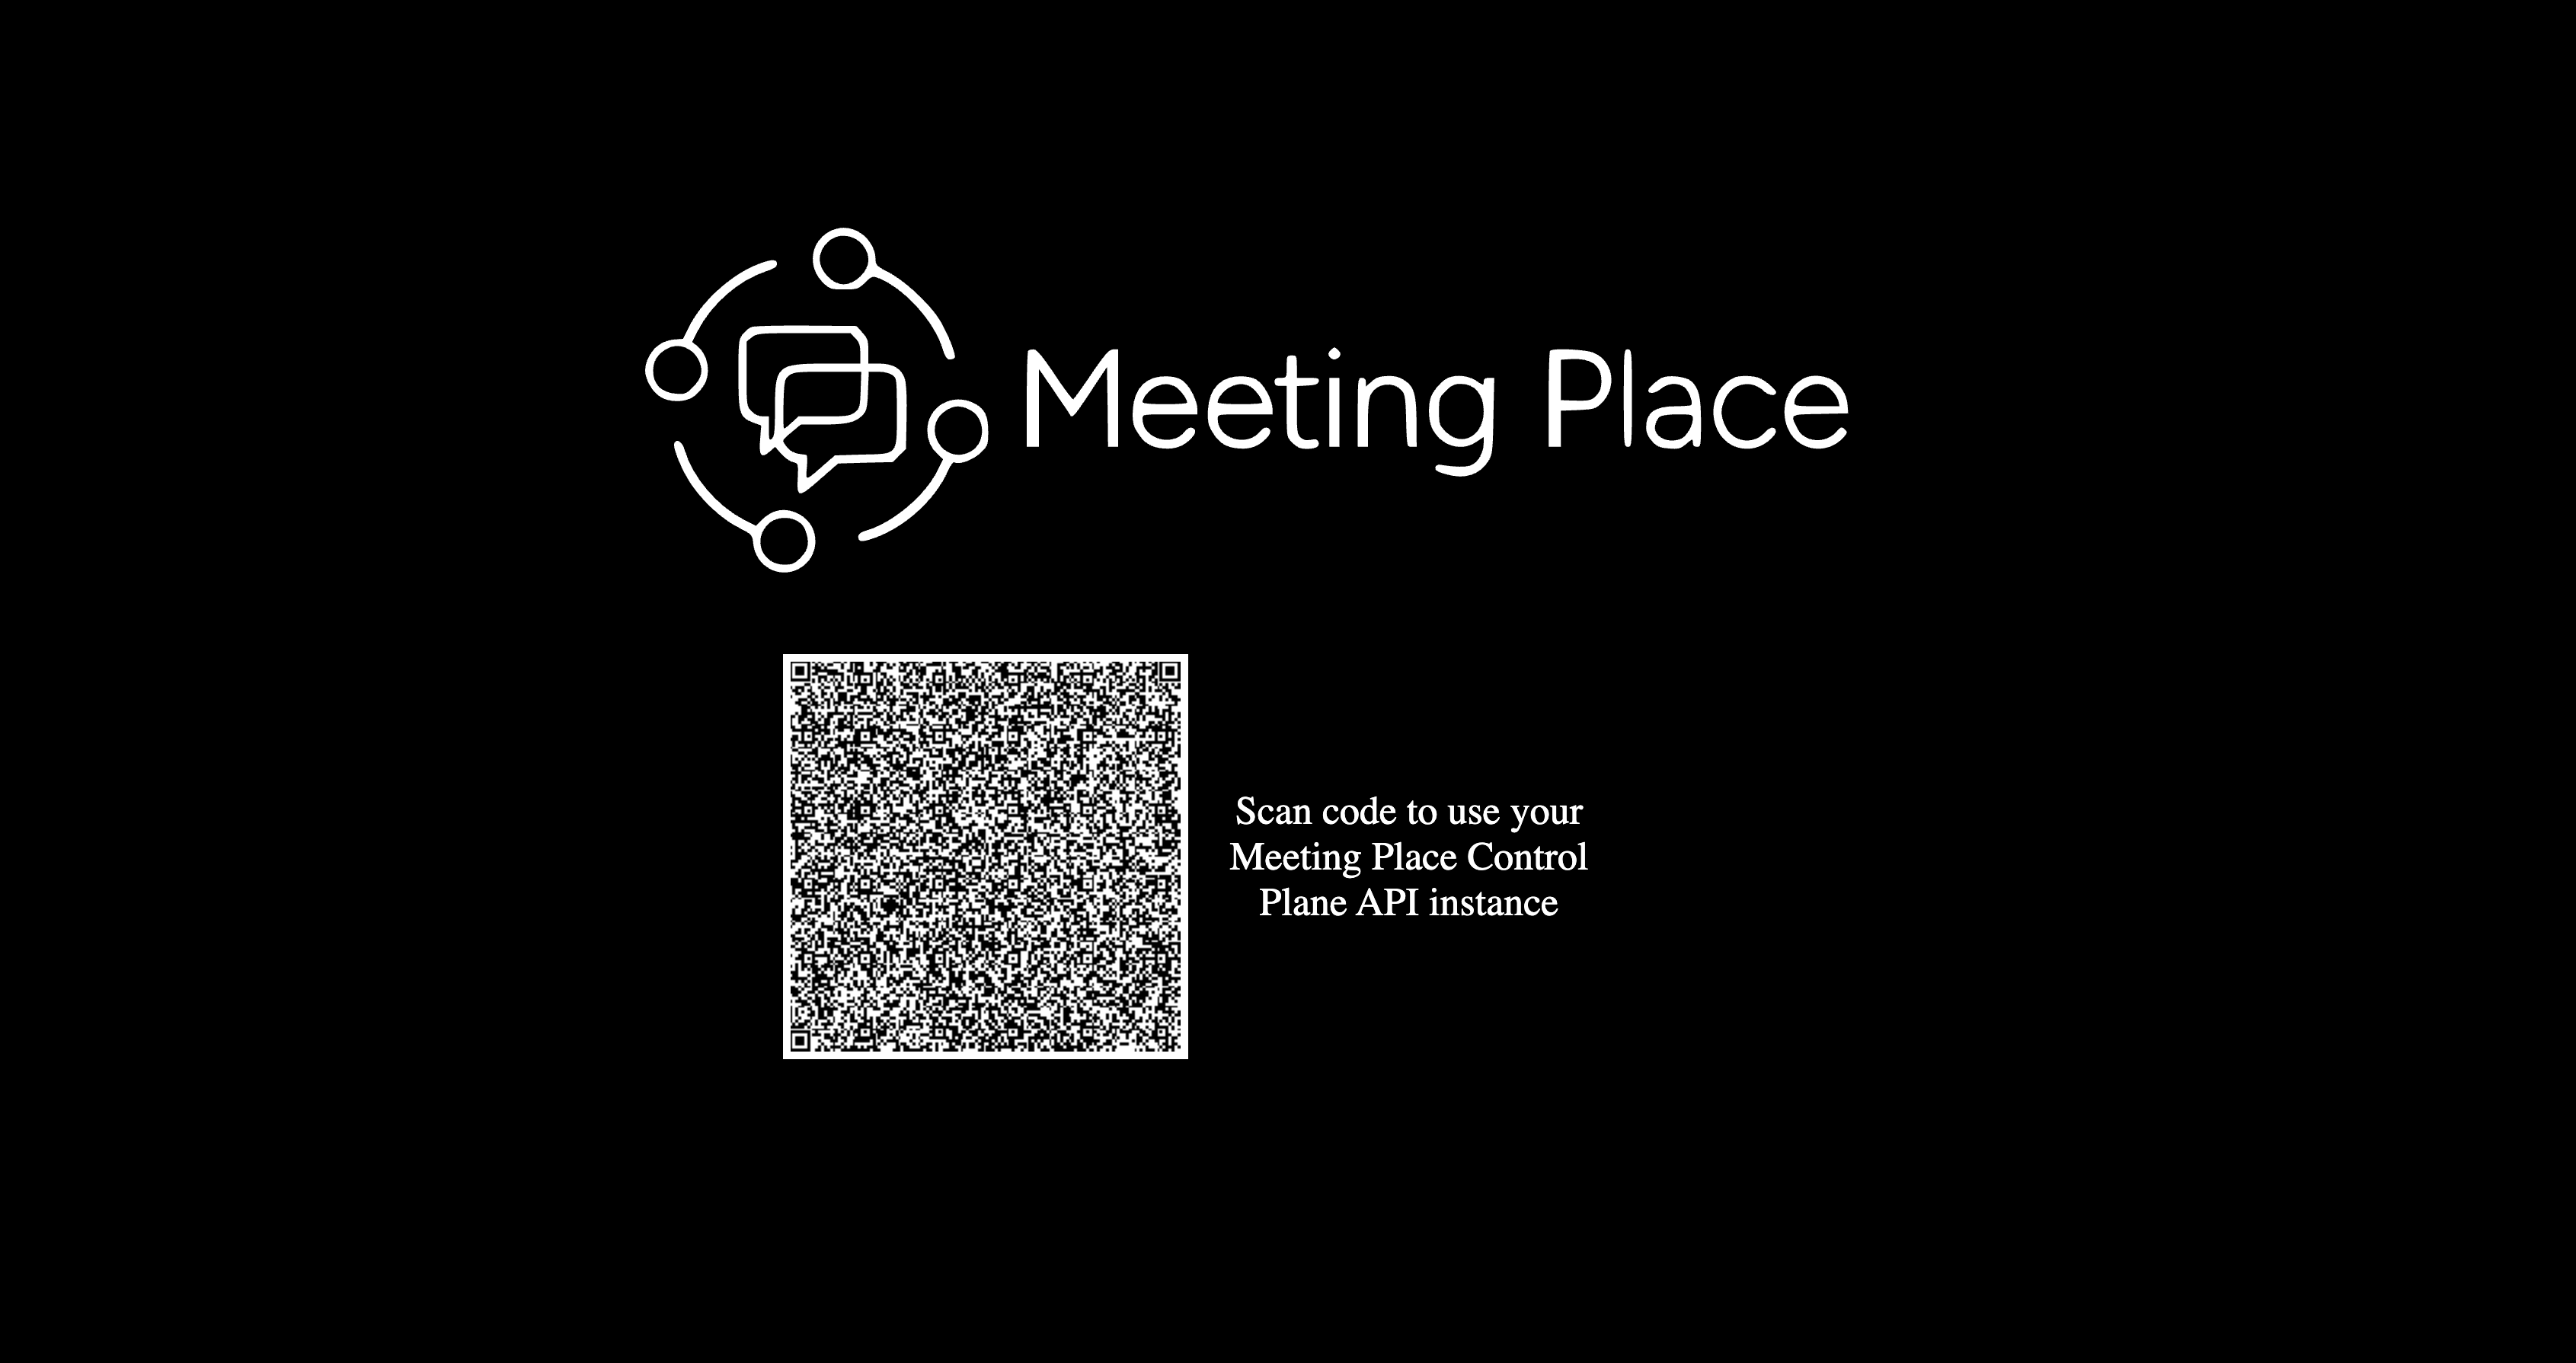
Control Plane API Server
2. Test the Control Plane connection
Use either approach below to confirm the server responds correctly.
2.1 Run the SDK client test
A running DIDComm Mediator is required for this test. See Mediator deployment options.
Install Dart SDK version
>=3.6.0.Create a new Dart project.
dart create my_project_name- Add the required packages.
dart pub add meeting_place_control_plane
dart pub add ssi- Create
controlPlane.dartwith the following code. Replace<REPLACE_CONTROLPLANE_DID>and<REPLACE_MEDIATOR_DID>with the values from the Affinidi Portal.
import 'package:meeting_place_control_plane/meeting_place_control_plane.dart';
import 'package:ssi/ssi.dart';

void main() async {
  final wallet = PersistentWallet(InMemoryKeyStore());

  final didManager = DidKeyManager(
    wallet: wallet,
    store: InMemoryDidStore(),
  );

  await didManager.addVerificationMethod(
    (await wallet.generateKey()).id,
  );

  final controlPlaneDid = '<REPLACE_CONTROLPLANE_DID>';
  final mediatorDid = '<REPLACE_MEDIATOR_DID>';

  final sdk = ControlPlaneSDK(
    didManager: didManager,
    controlPlaneDid: controlPlaneDid,
    mediatorDid: mediatorDid,
    didResolver: UniversalDIDResolver(),
  );

  final command = AuthenticateCommand(controlPlaneDid: controlPlaneDid);
  final result = await sdk.execute(command);
  print('Generated Access Token: ${result.credentials.accessToken}');
}
For the Affinidi-hosted Control Plane, the DID values are shown on the configuration page:
final controlPlaneDid = 'did:web:<UNIQUE_ID>:mpx.affinidi.io';
final mediatorDid = 'did:web:<UNIQUE_ID>.atlas.affinidi.io:.well-known';- Run the script.
dart run controlPlane.dartSuccessful output shows the access token generated after authentication.
2.2 Send a REST challenge request
Replace <CONTROLPLANE_URL> with the Control Plane URL from the Affinidi Portal.
curl -X POST \
  -H "Content-Type: application/json" \
  -d '{"did": "did:peer:<UNIQUE_ID>"}' \
  <CONTROLPLANE_URL>/v1/authenticate/challenge
Expected response:
{"challenge":"<JWT>"}A challenge response confirms the server is accepting requests. For the full REST API reference, see the Control Plane OSS repository.
What’s next
Glad to hear it! Please tell us how we can improve more.
Sorry to hear that. Please tell us how we can improve.
Thank you for sharing your feedback so we can improve your experience.