Grant Access to Team Members
To grant access to your team members, you’ll need to create a Policy for your Project and add the UUID of the users you want to get access to your resources. You also have to define at what level of privileges they can perform.
In this guide, we will be using the IAM service of Affinidi to define the policies required for our use case.
For our sample use case, we will grant Project access to a user and grant the user privilege to perform the retrieve and update Login Configurations operations. To do this, follow the step-by-step guide below.
Before you begin
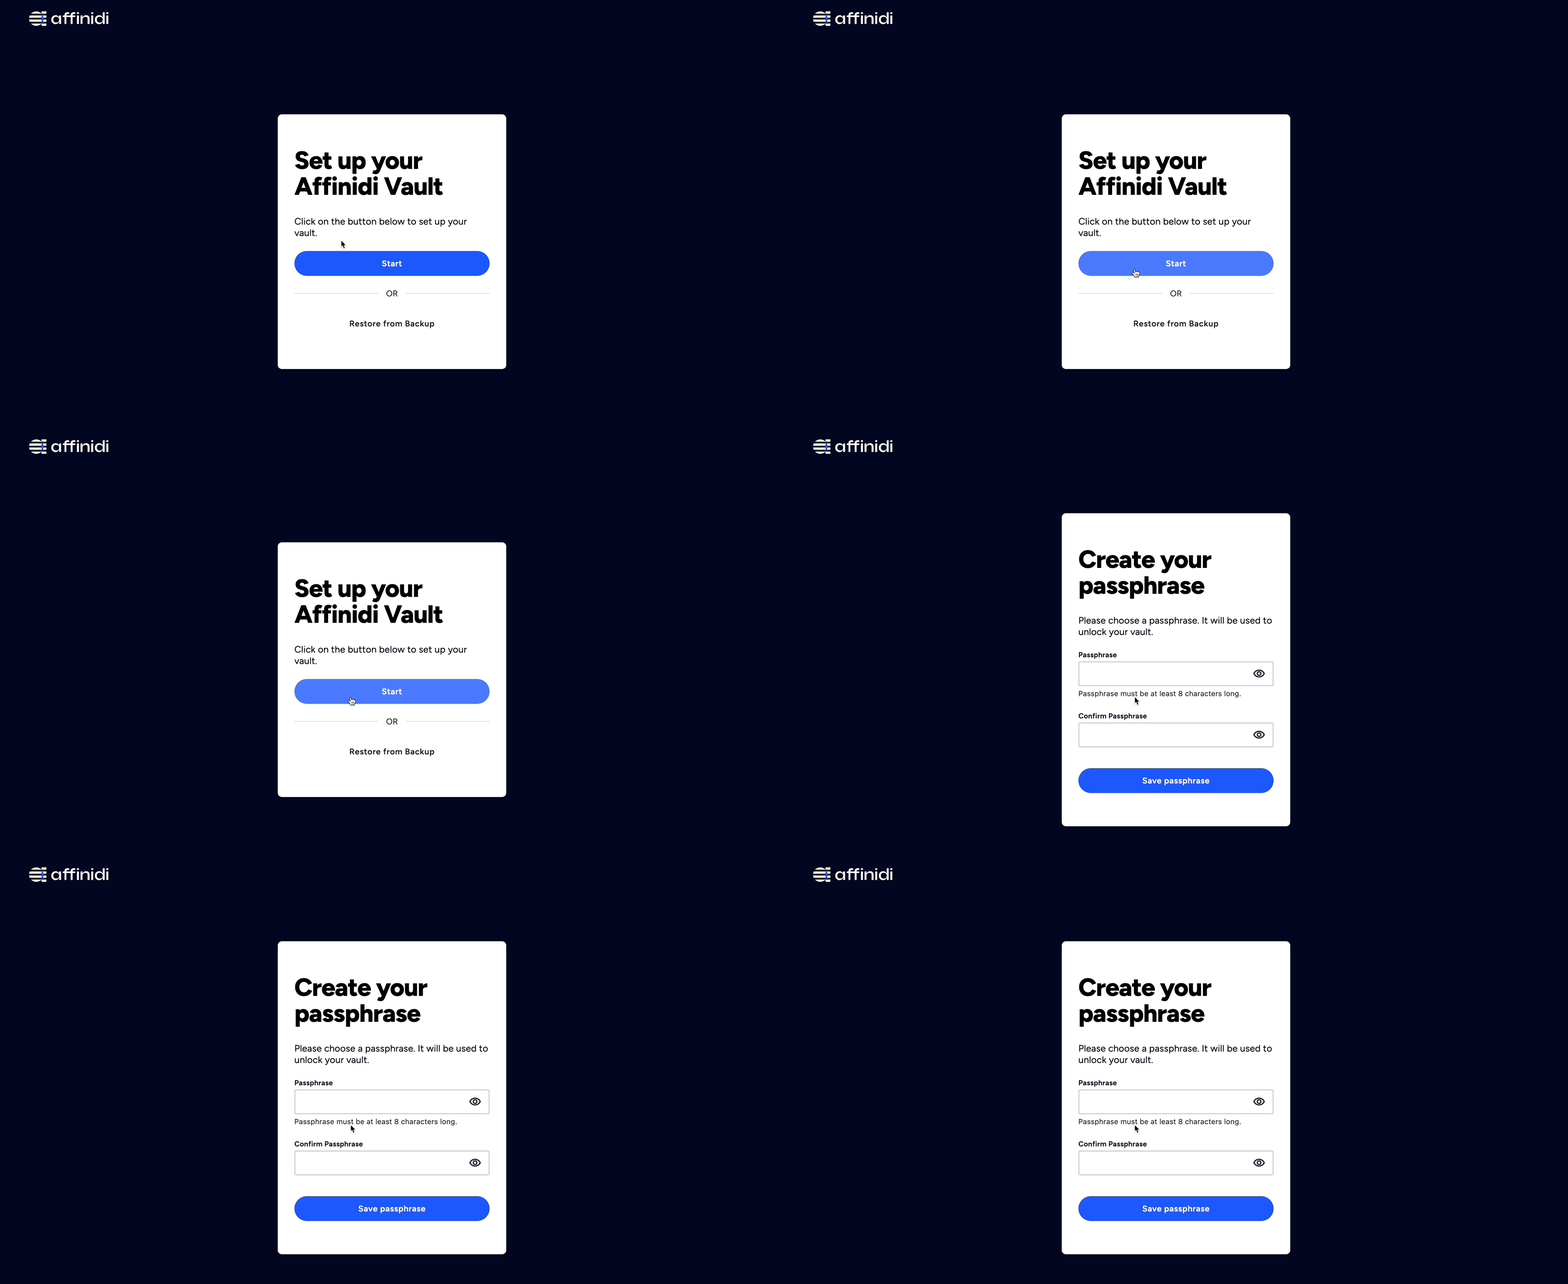
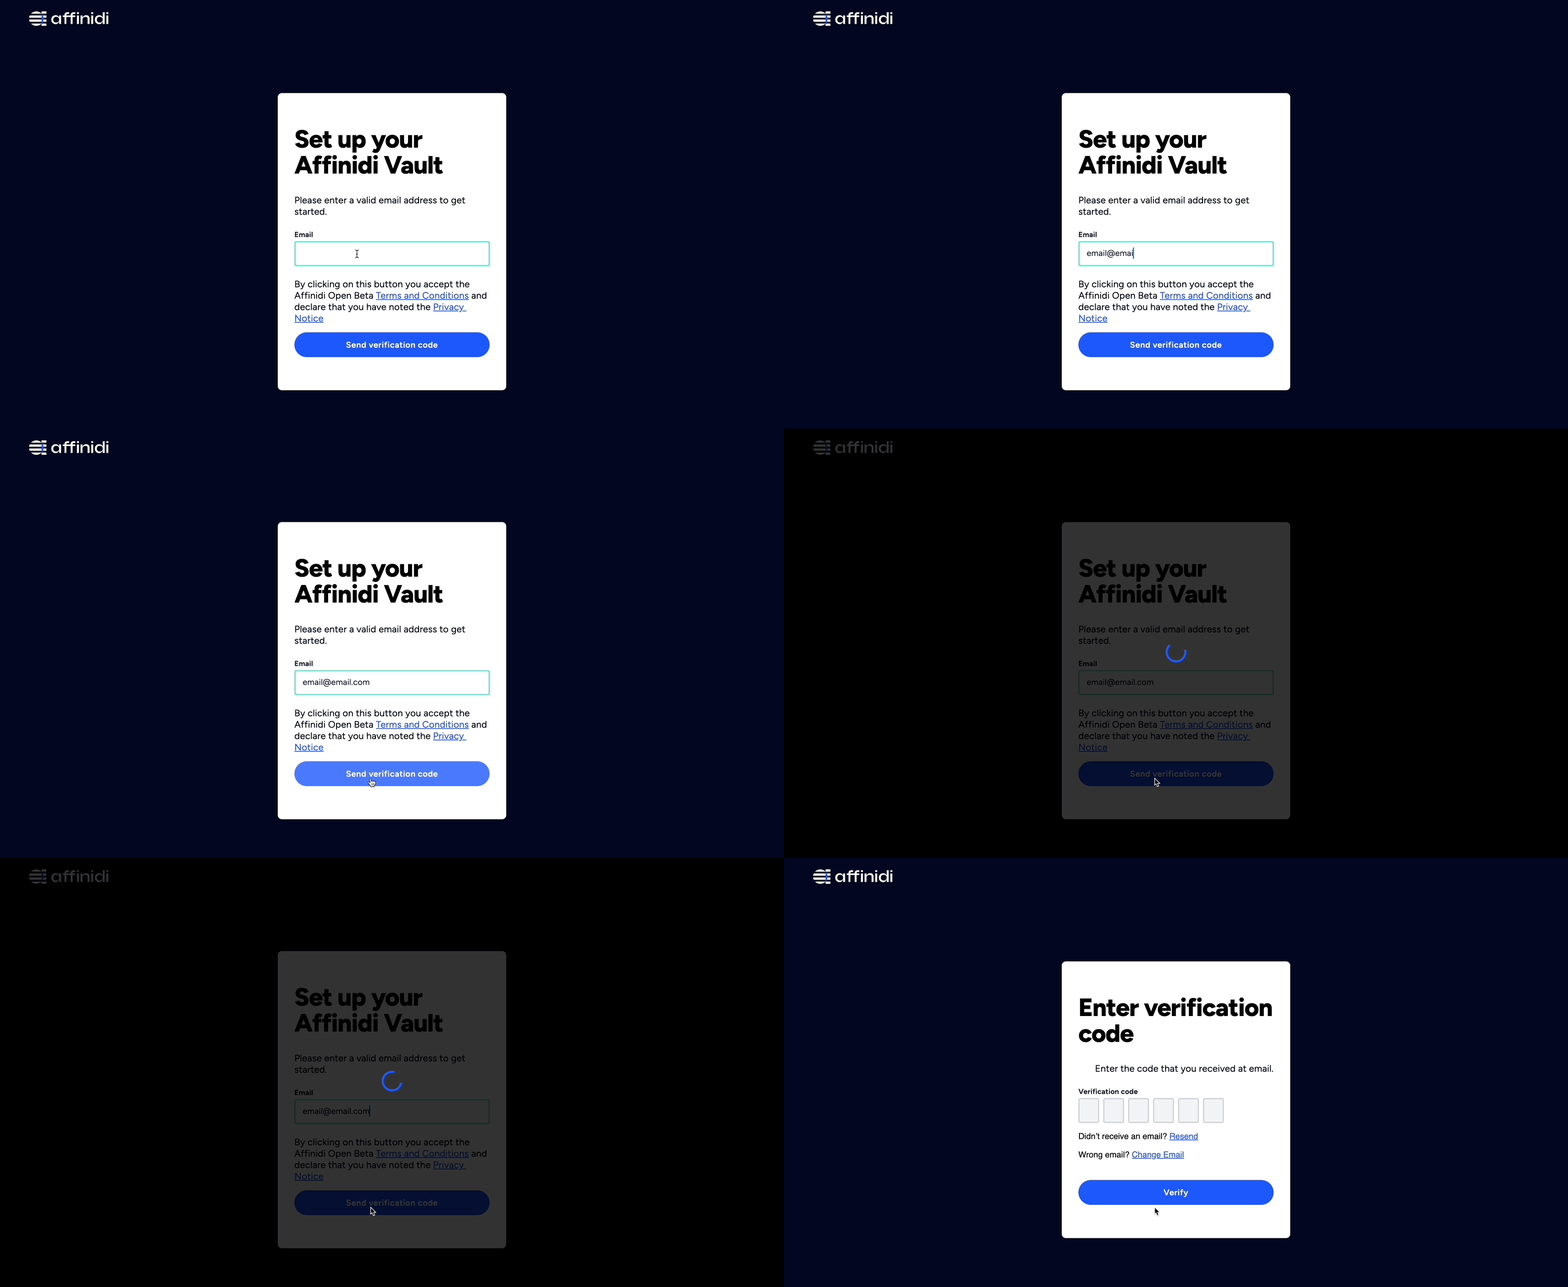
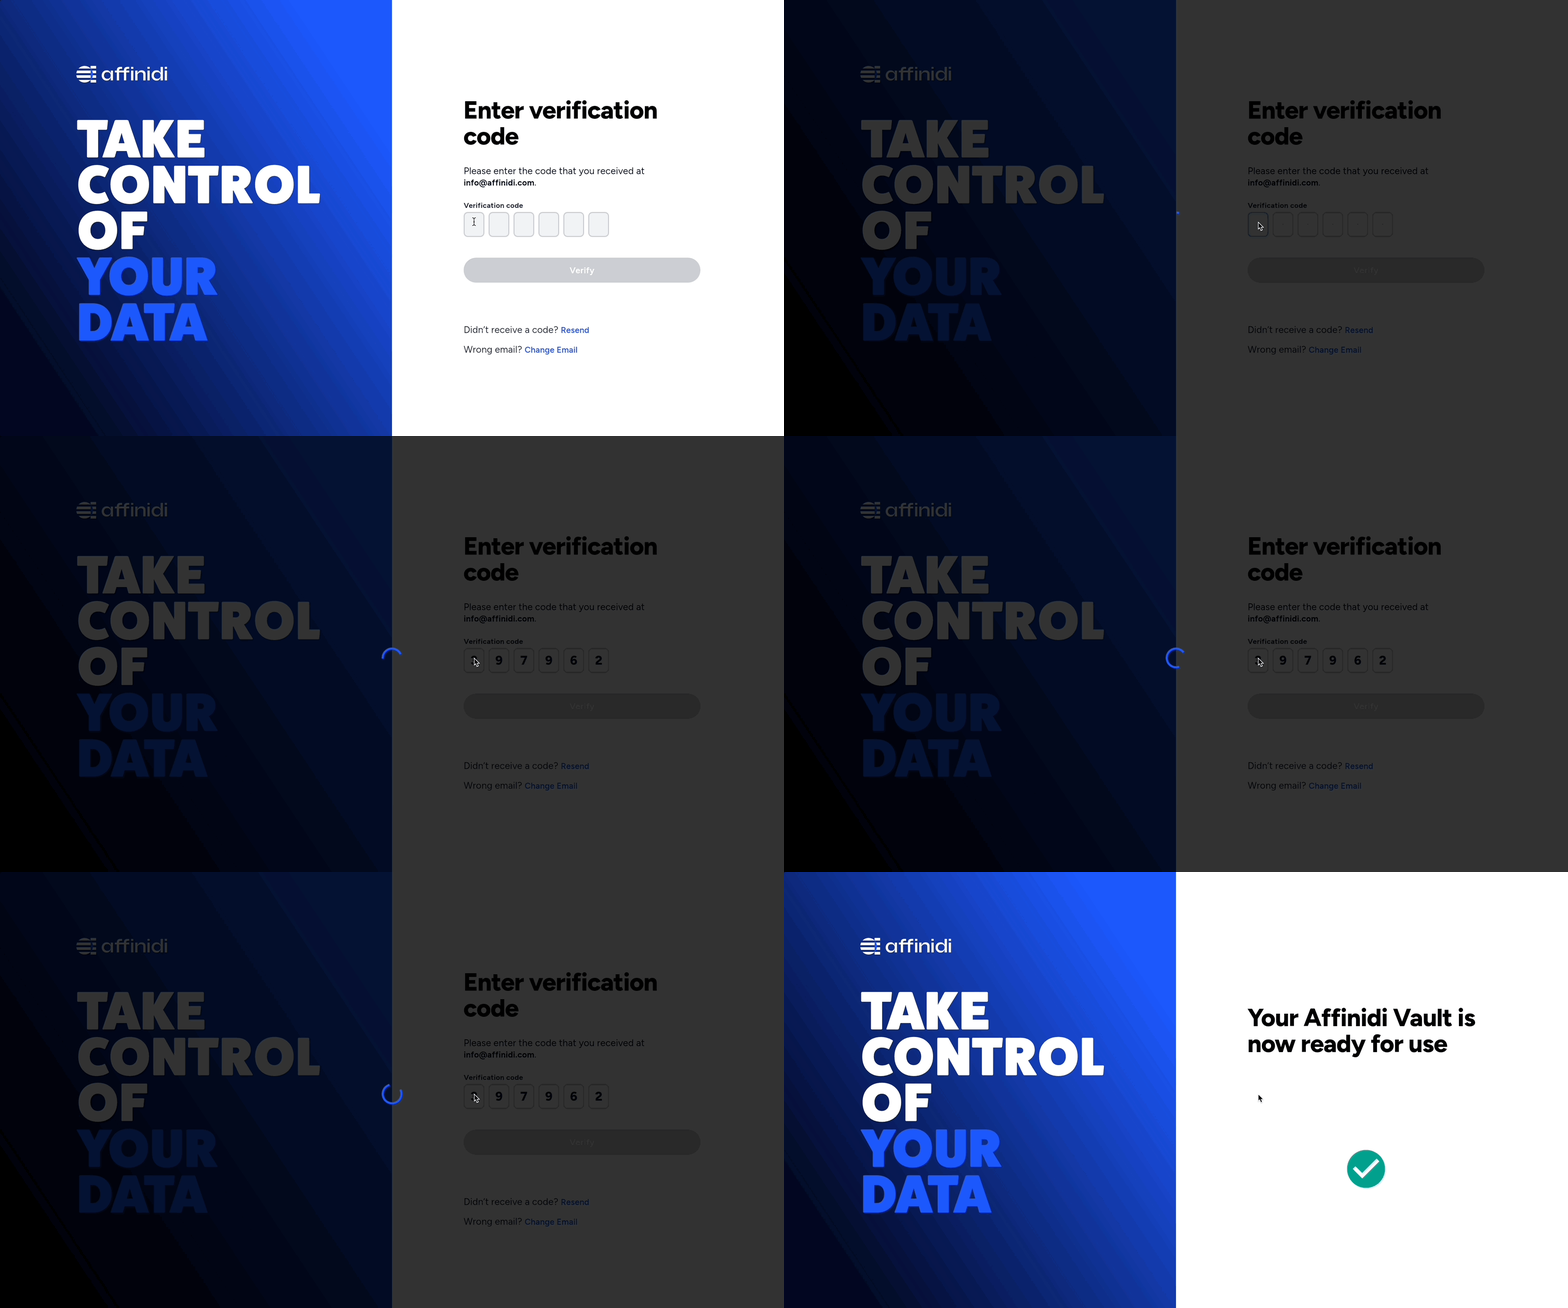
- Set up Affinidi Vault account. Follow the guide below if you haven’t set it up yet.
- Install the Affinidi CLI. Follow the guide below if it hasn’t been installed.
- Get the
subof the user you want to grant access to your Project. To get this value, ask the user to login to Affinidi CLI and run the following command:
affinidi whoamiAsk the user to share the sub value from the resul of the command.
Note
If you want to grant access to a Personal Access Token (Machine User), use theToken ID found when creating a Token.Create a Policy for the User
The first thing we have to do is generate the policy definition for the user we want to grant access to. To do this, run the following command:
affinidi iam add-principal --principal-id="<USER_SUB_ID>" --principal-type=userOnce you add the user as a principal, it creates a default policy with the following default definition:
{
  "version": "2022-12-15",
  "statement": [
    {
      "principal": [
        "<USER_SUB_ID>"
      ],
      "action": [
        ""
      ],
      "resource": [
        ""
      ],
      "effect": "Allow"
    }
  ]
}
Given the above policy, the action and resource property is empty; the user has no access privilege yet to perform any actions on any resources.
Define the Policy for the User
After creating the initial policy with limited privileges, we will have to update this policy to provide certain rights based on our use case.
Retrieve the Initial Policy Definition
To be able to start updating our policy, we will have to retrieve first the current policy definition, to do this, run the following command:
affinidi iam get-policies --principal-id="<USER_SUB_ID>" --principal-type=user > <PATH_TO_POLICY_FILE>Since we are defining a policy for the user and not a Personal Access Token, we use the flag
--principal-typewith value ofuser.
Provide Access to a Project
Now that we have the policy definition, we have to update the policy definition of what Projects we want the user to access. To do this, we set the resource field in the definition.
{
  "version": "2022-12-15",
  "statement": [
    {
      "principal": [
        "<USER_SUB_ID>"
      ],
      "action": [
        ""
      ],
      "resource": [
        "*:<PROJECT_ID>:*"
      ],
      "effect": "Allow"
    }
  ]
}
You can specify the <PROJECT_ID> or set it to * if you want to grant access to your Projects.
You can get the Project IDs using either 
affinidi project list-projectsProvide Access to Perform Actions
After setting the Projects you want the user to access, we have to define the actions the user can perform in your Project resources. To do this, please refer to this List of Available Actions that you can use.
We want to provide the user with a read and modify privilege for our use case. To do this, we define the actions field in the definition.
{
  "version": "2022-12-15",
  "statement": [
    {
      "principal": [
        "<PRINCIPAL_ID>"
      ],
      "action": [
        "vpa:listLoginConfigurations",
        "vpa:getLoginConfigurationsById",
        "vpa:updateLoginConfigurationsById"
      ],
      "resource": [
        "*:<PROJECT_ID>:*"
      ],
      "effect": "Allow"
    }
  ]
}
In the above definition, we are setting the actions to call the Login Configuration List, Get, and Update endpoint.
Update the IAM Policy for the User
After defining a new IAM Policy for the user, we will now update the Policy definition. To do this, run the following command:
affinidi iam update-policies --principal-id="<USER_SUB_ID>" --principal-type=user --file="<PATH_TO_POLICY_FILE>"Once the update is successful, the user has access to your Project and can perform the specified actions to the resource.
Glad to hear it! Please tell us how we can improve more.
Sorry to hear that. Please tell us how we can improve.
Thank you for sharing your feedback so we can improve your experience.


