Affinidi Login with Python
The Affinidi Login is a passwordless authentication solution that verifies user identity using Affinidi Vault as the identity provider managed by the end-user.
In this lab, we will use the Django framework with Authlib from the available sample applications to take you through the step-by-step guide for creating a Login Configuration and setting up the application to implement passwordless authentication for end-users.
Before you begin
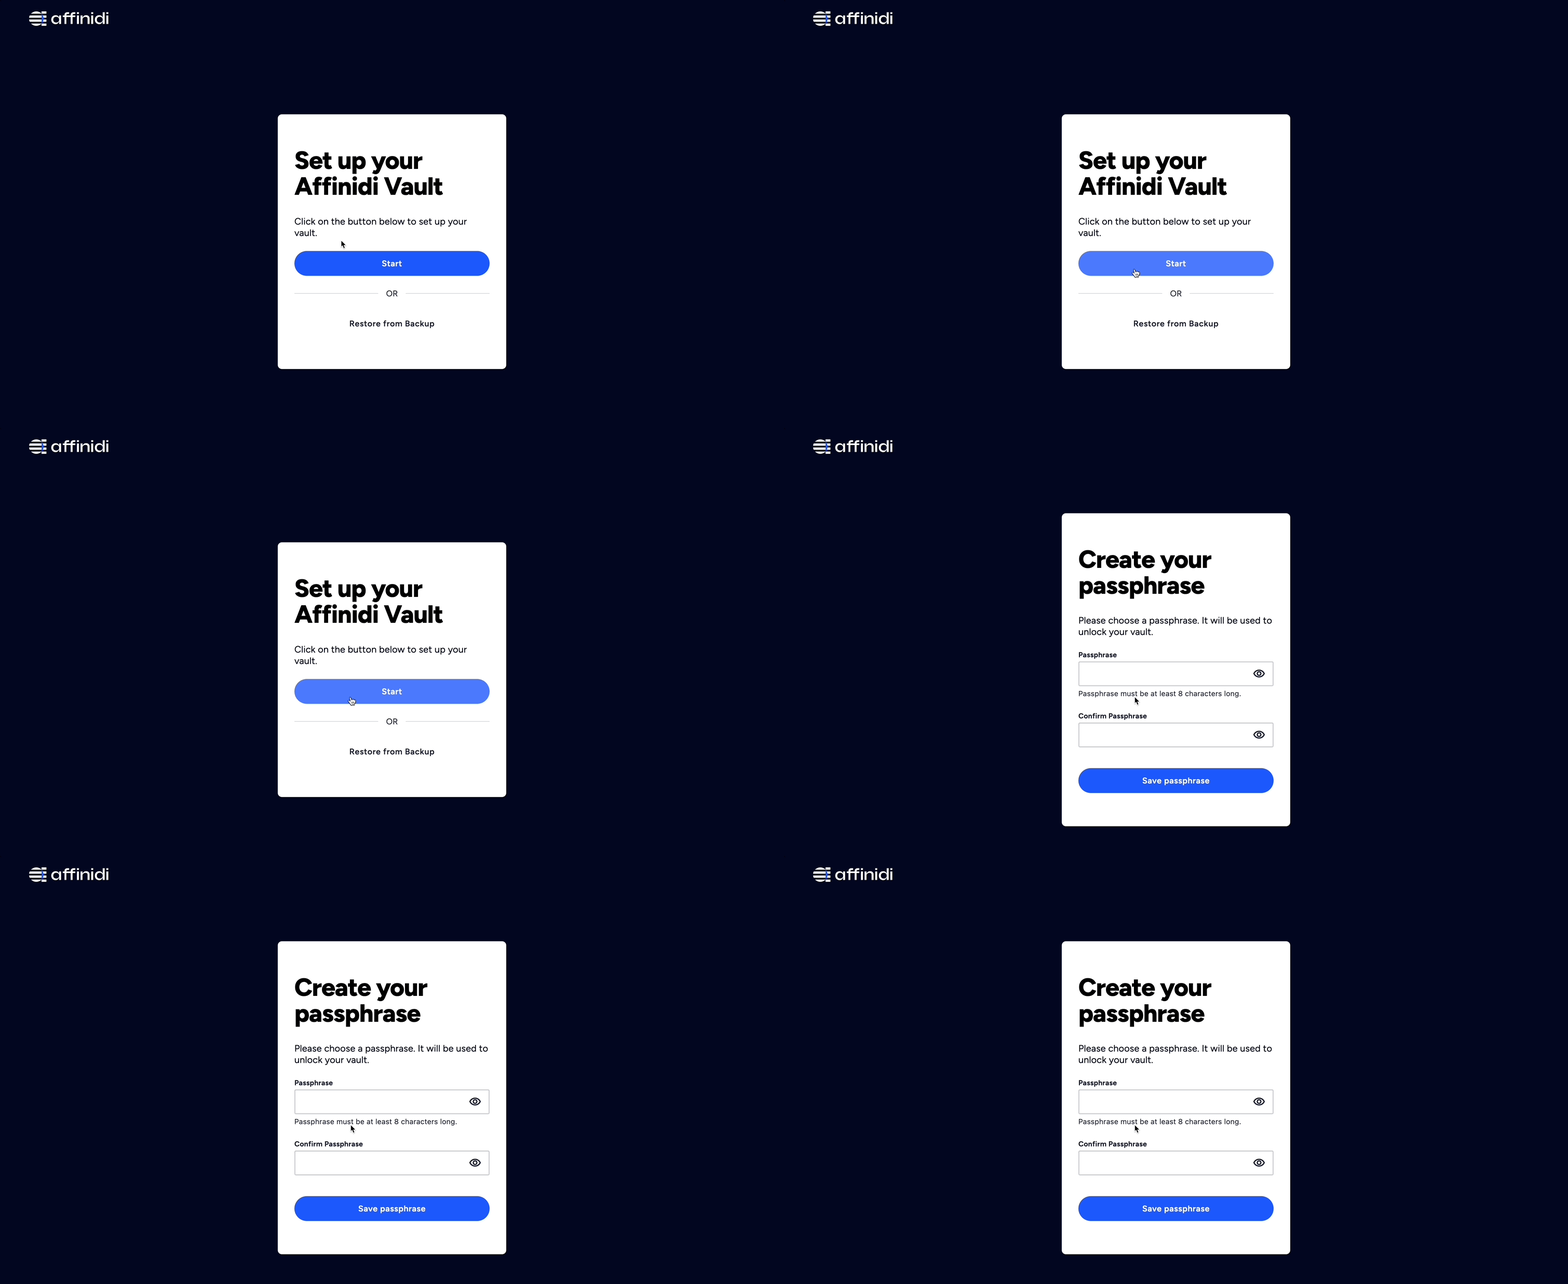
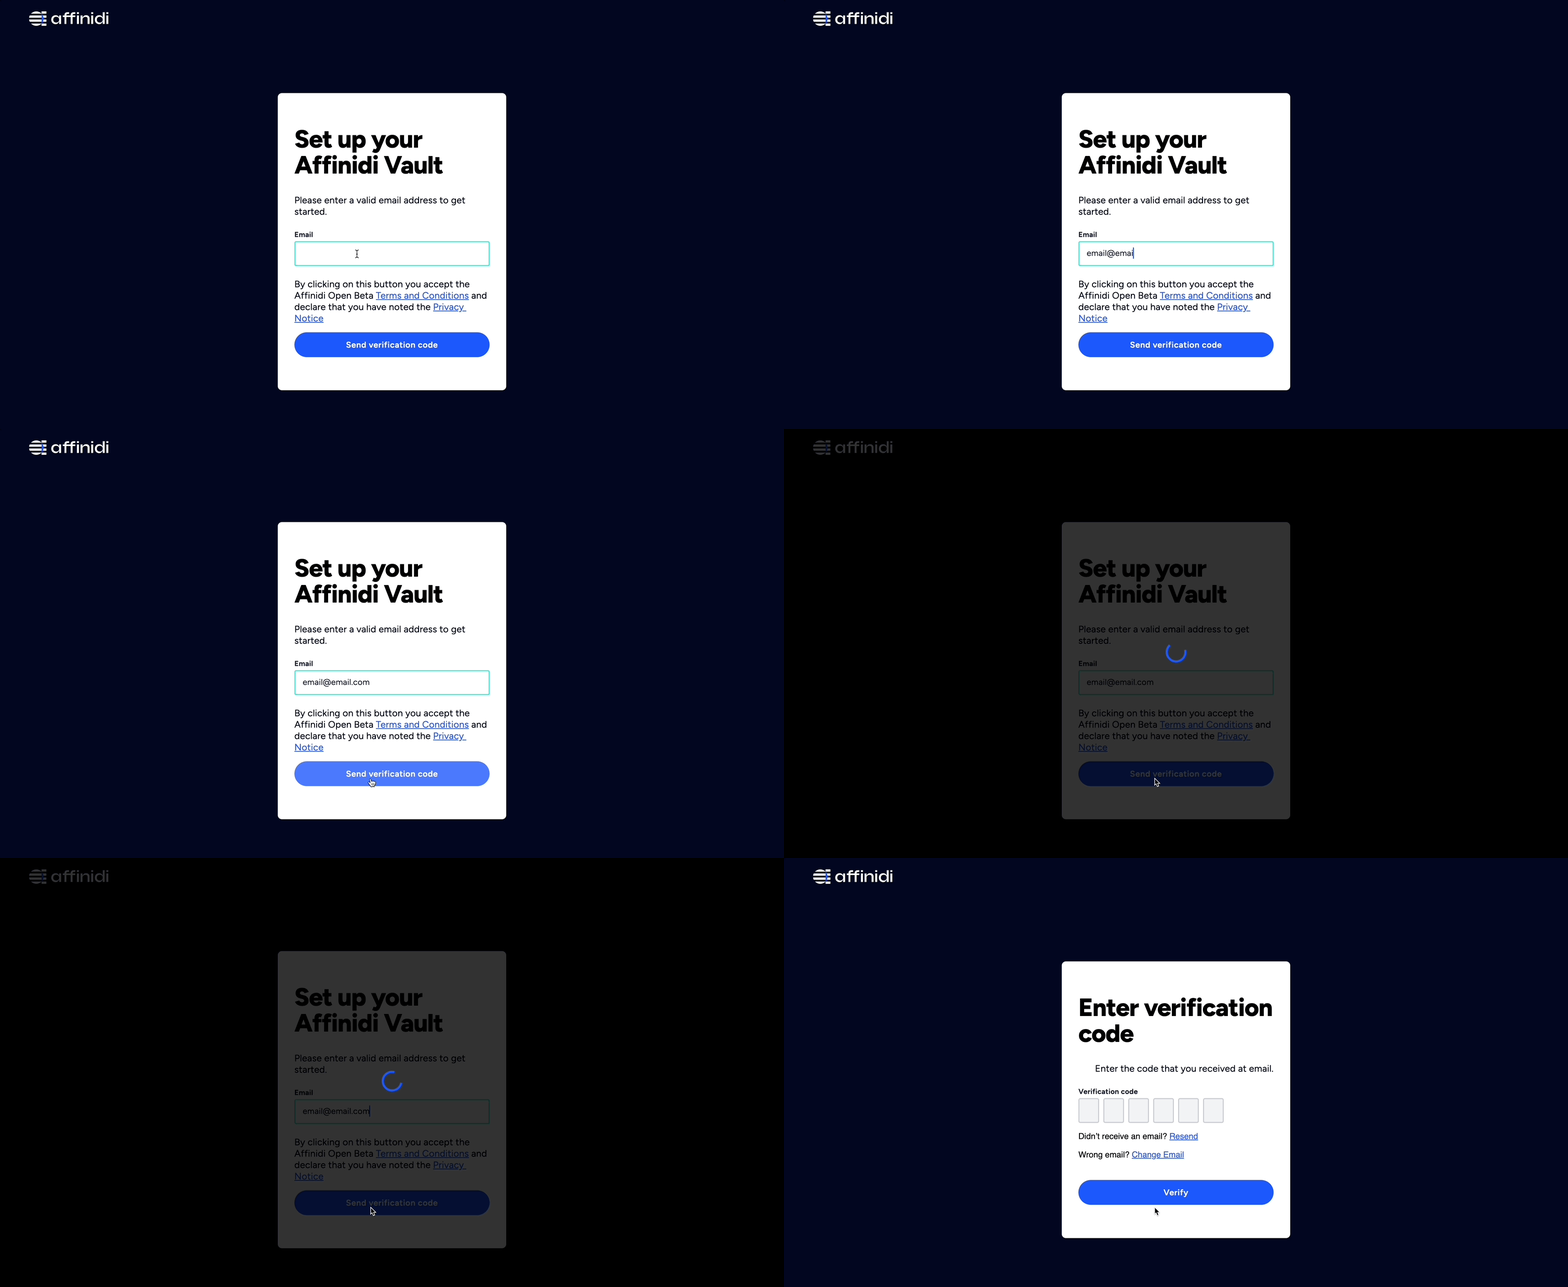
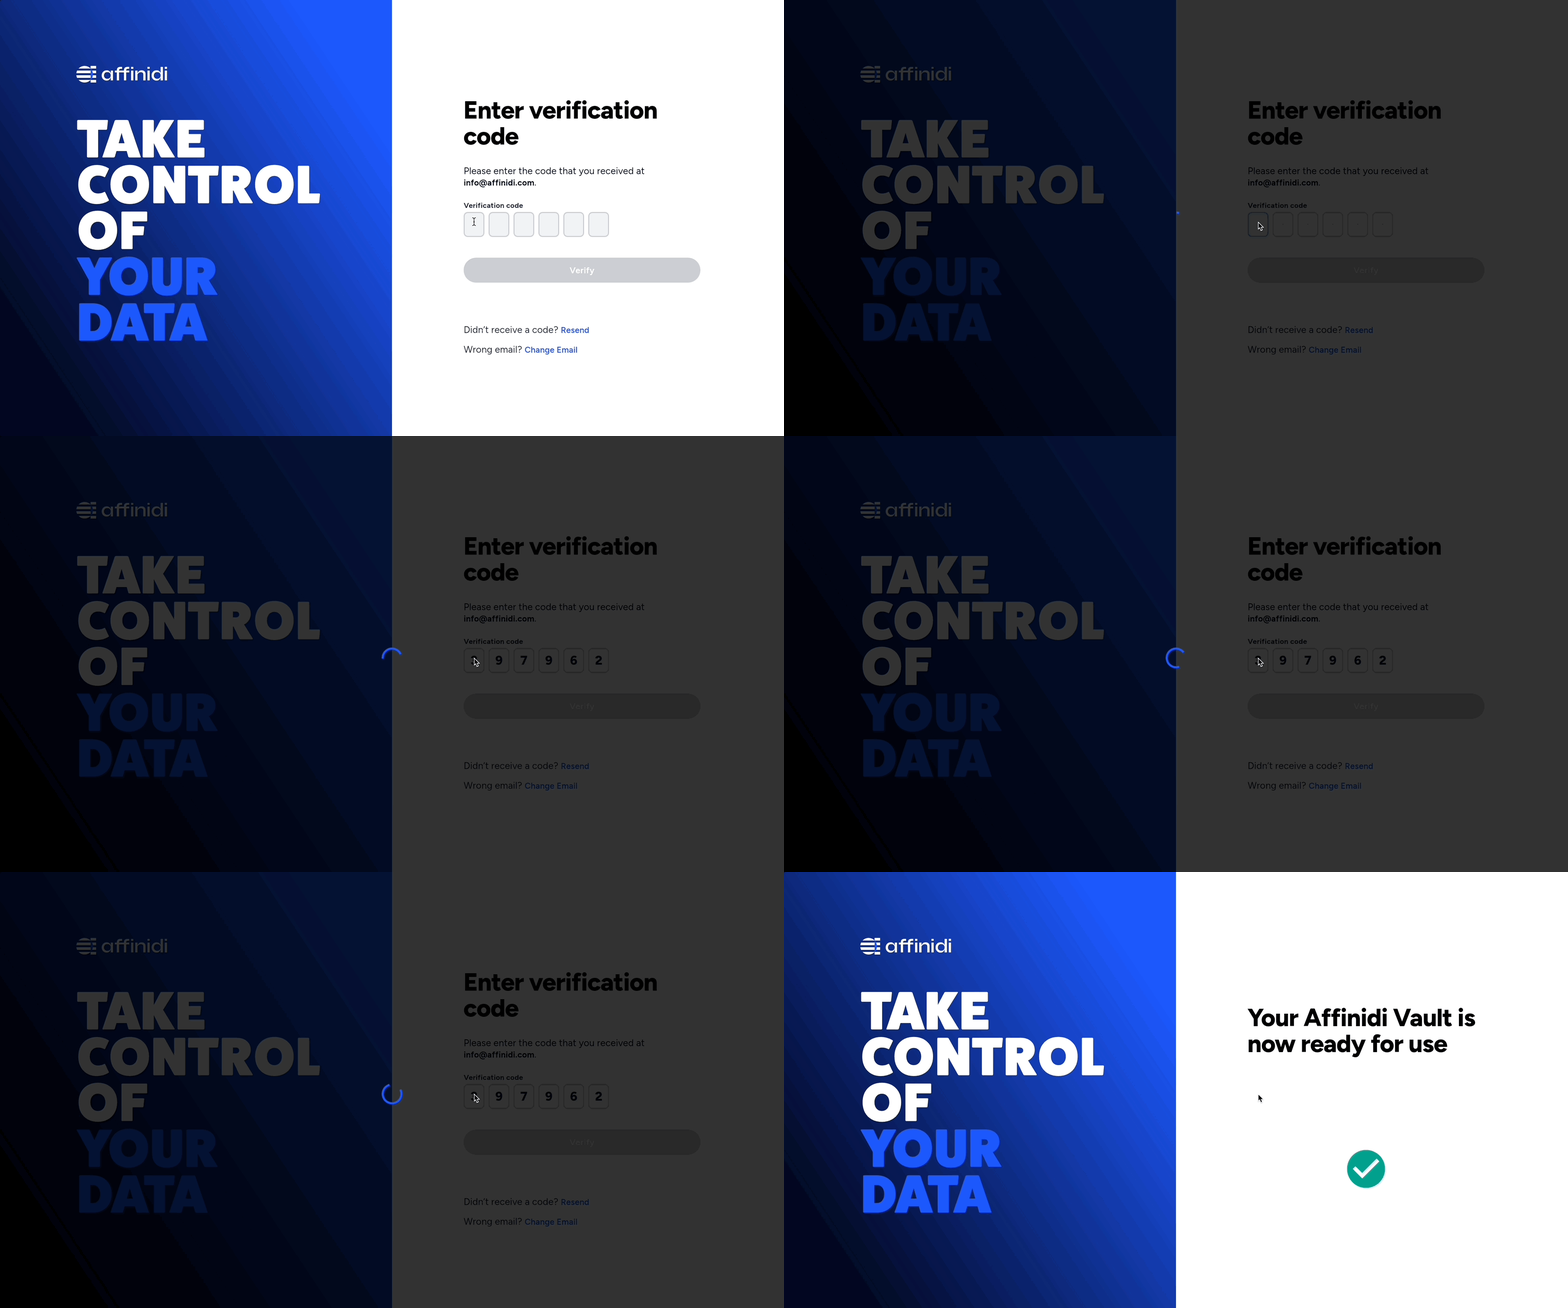
- Set up Affinidi Vault account. Follow the guide below if you haven’t set it up yet.
Get the Redirect URI of your application for OIDC. This is the URI configured on your Login Configuration to receive the idToken after successful authorisation.
Optionally, Install the Affinidi CLI. Follow the guide below if it hasn’t been installed.
- Install Python on your machine if you haven’t installed yet using this guide.
Download Application
You can clone this sample application from our Github and start exploring how to integrate Affinidi Login to provide a passwordless login experience for your end-users.
Important Note
The downloadable sample application is provided only as a guide to quickly explore and learn how to integrate the components of Affinidi Trust Network into your application. This is NOT a Production-ready implementation. Do not deploy this to a production environment.Create Login Configuration
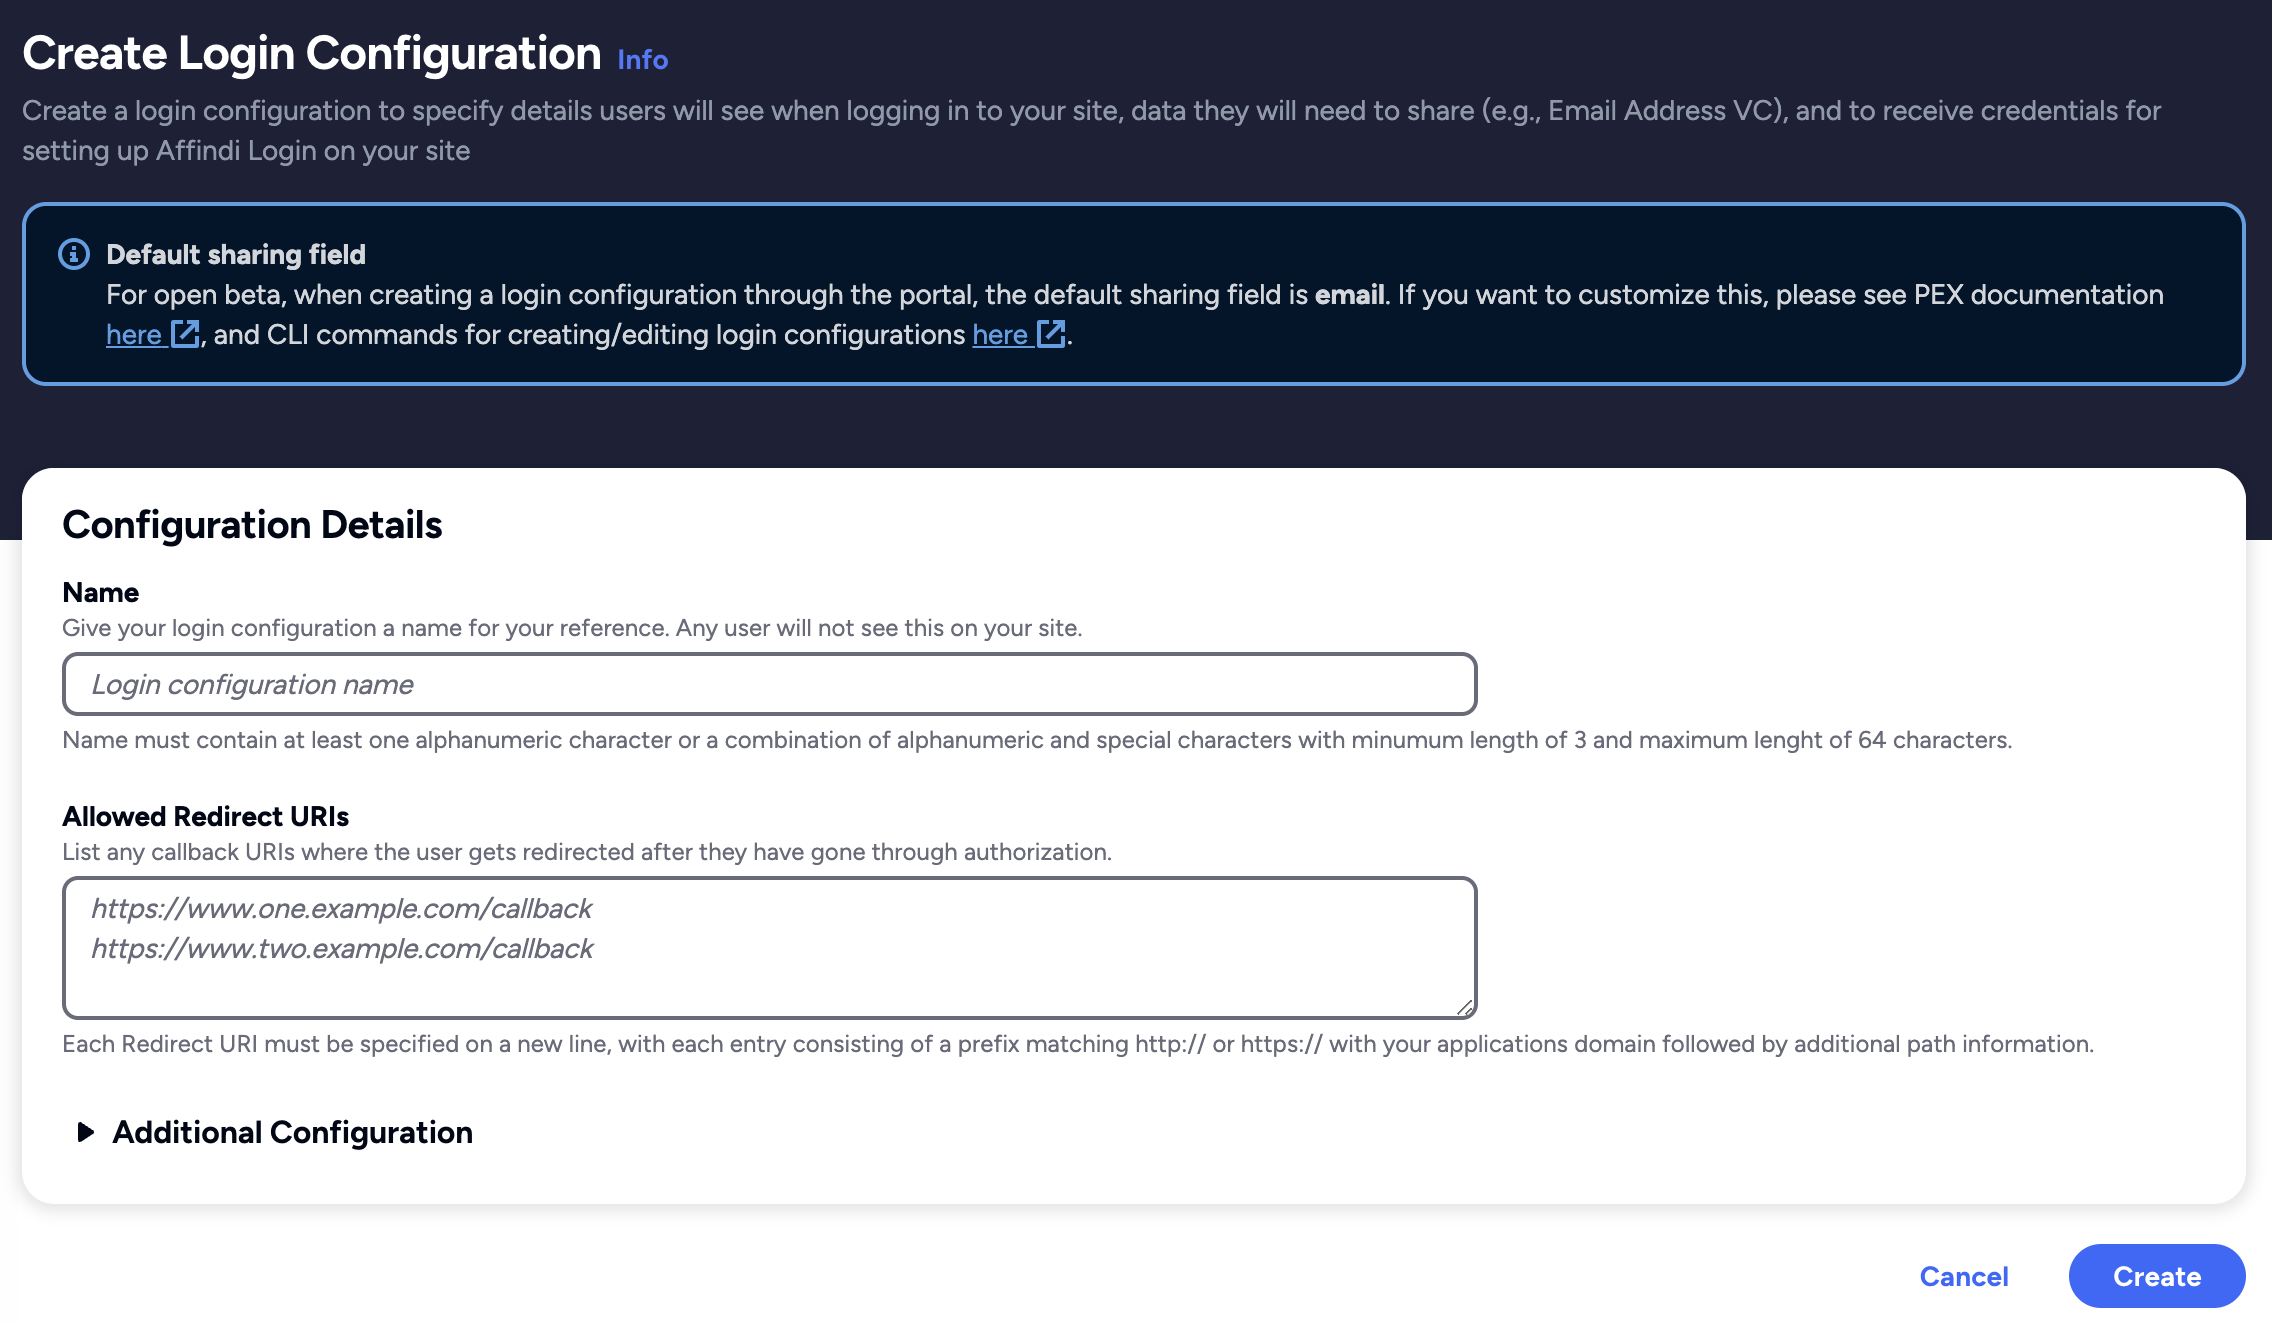
To create a Login Configuration, you can either use Affinidi CLI or Affinidi Portal .
Expand the section below for your preferred method:
Django Sample App Settings:
Name: Django App
Redirect URIs: http://localhost:8000/callback
Login Configuration uses the default Presentation Definition (presentationDefinition) and ID Token Mapping (idTokenMapping) that is used to request the user’s email address during the authentication flow.
Learn more about customising the Presentation Definition and ID Token using this guide.
Important
Safeguard the Client ID and Client Secret diligently; you'll need them for setting up your IdP or OIDC-compliant applications. Remember, the Client Secret will be provided only once.
Set up the Sample Application
After creating the Login Configuration required to set up the sample application. Let’s start setting up the Django application by configuring the following settings:
Configure Env Variables
Create the .env file using the following command:
cp .env.example .envSet the environment variables based on the auth credentials received from the Login Configuration created earlier:
        {
  "auth": {
    "clientId": "<AUTH.CLIENT_ID>",
    "clientSecret": "<AUTH.CLIENT_SECRET>",
    "issuer": "https://<PROJECT_ID>.apse1.login.affinidi.io"
  }
}
Set the following fields in the .env file
        PROVIDER_CLIENT_ID="<AUTH.CLIENT_ID>"
PROVIDER_CLIENT_SECRET="<AUTH.CLIENT_SECRET>"
PROVIDER_ISSUER="<AUTH.CLIENT_ISSUER>"
Install Dependencies
pip install -r requirements.txtIt will install all the required libraries for the sample application.
Apply Settings
Run the migration script to propagate changes to the model:
python manage.py migrateRun Sample Application
Run the application using the runserver command:
python manage.py runserverAfter successfully running the command, go to http://localhost:8000 to access the page with the Affinidi Login button.
Key Changes to Sample Application
AuthLib for OIDC
In this sample app, we have defined the requirements.txt file to import the AuthLib library, enabling OAuth and OpenID Connect to integrate Affinidi Login to authenticate users.
        Django==4.2.6
Authlib==1.2.1
requests==2.31.0
python-dotenv==1.0.0
Enabling Affinidi Login
In views.py, we have imported AuthLib and registered affinidi as the Auth provider for our sample application. In the oauth.register call, we have provided the client credentials and issuer URL generated after creating Login Configuration.
        import json
from authlib.integrations.django_client import OAuth
from django.conf import settings
from django.shortcuts import redirect, render, redirect
from django.urls import reverse

oauth = OAuth()

oauth.register(
    "affinidi",
    client_id=settings.PROVIDER_CLIENT_ID,
    client_secret=settings.PROVIDER_CLIENT_SECRET,
    client_kwargs={
        'scope': 'openid offline_access',
        'token_endpoint_auth_method': 'client_secret_post',
    },
    server_metadata_url=f"{settings.PROVIDER_ISSUER}/.well-known/openid-configuration",
)

def login(request):
    redirect_uri = request.build_absolute_uri(reverse('callback'))
    return oauth.affinidi.authorize_redirect(request, redirect_uri)

def callback(request):
    token = oauth.affinidi.authorize_access_token(request)
    request.session["user"] = token['userinfo']
    return redirect(request.build_absolute_uri(reverse("index")))

def logout(request):
    request.session.pop('user', None)
    return redirect('/')

def index(request):
    user = request.session.get("user")
    if user:
        if user["custom"] and len(user["custom"][1])>0:
            email = user["custom"][1]
        else:
            email = None
    else:
        email = None

    if email is None:
        return render(
            request,
            "index.html",
            context={
            "session": email,
            "pretty": json.dumps(request.session.get("user"), indent=4),
            },
        )
    else:
        return render(
            request,
            "loggedin.html",
            context={
                "session": email,
                "pretty": json.dumps(request.session.get("user"), indent=4),
            },
        )
After enabling OAuth and registering affinidi as the provider, we have defined 2 key routes to enable Affinidi Login in the sample application.
login that OAuth library and triggers a redirect to Affinidi Login flow using the credentials provided in the OAuth library.
callback that parses the ID Token using OAuth library sent by Affinidi Login after successful authentication of the user. At the same time, we started the user session with the uder info extracted from the ID Token.
Summary
sequenceDiagram
    actor User
    participant Django
    participant Affinidi Login
    participant Affinidi Vault
    participant Affinidi Verifier

    User->>Django: My Login
    Django->>Affinidi Login: Authenticate user
    Note over Django, Affinidi Login:  login_challenge
    Affinidi Login->>Affinidi Vault: Verify user identity
    Note over Affinidi Login, Affinidi Vault:  presentationDefinition
    Affinidi Vault->>User: Request user confirmation to share Email VC
    User->>Affinidi Vault: User confirmed consent to share Email VC
    Affinidi Vault->>Affinidi Vault: Generate VP Token from VC
    Affinidi Vault->>Affinidi Login: Send Email VP Token
    Affinidi Login->>Affinidi Verifier: Validate VP Token
    Note over Affinidi Login, Affinidi Verifier:  vp_token, presentation_submission, presentation_definition
    Affinidi Login->>Affinidi Login: Generate idToken
    Affinidi Login->>Django: Send generated idToken from VP
    Django->>User: Provide access to the user
Using the Django framework with AuthLib as the sample application, we have configured it to integrate with Affinidi Login as the Auth provider and parse the idToken sent by the Affinidi Login to confirm the user’s successful authentication using the Affinidi Vault.
Glad to hear it! Please tell us how we can improve more.
Sorry to hear that. Please tell us how we can improve.
Thank you for sharing your feedback so we can improve your experience.


