Affinidi Login with Cognito
Affinidi Login can be integrated with any Identity Providers (IDPs) supporting custom social login mechanisms and OIDC flow. In this guide, learn the basic setup of Cognito to integrate Affinidi Login.
This lab uses NextJS and NextAuth.js as the framework to implement Affinidi Login.
Note
The rest of the guide assumes familiarity with AWS, specifically Cognito. If you are new to AWS Cognito, you can learn more about Cognito here.Before you begin
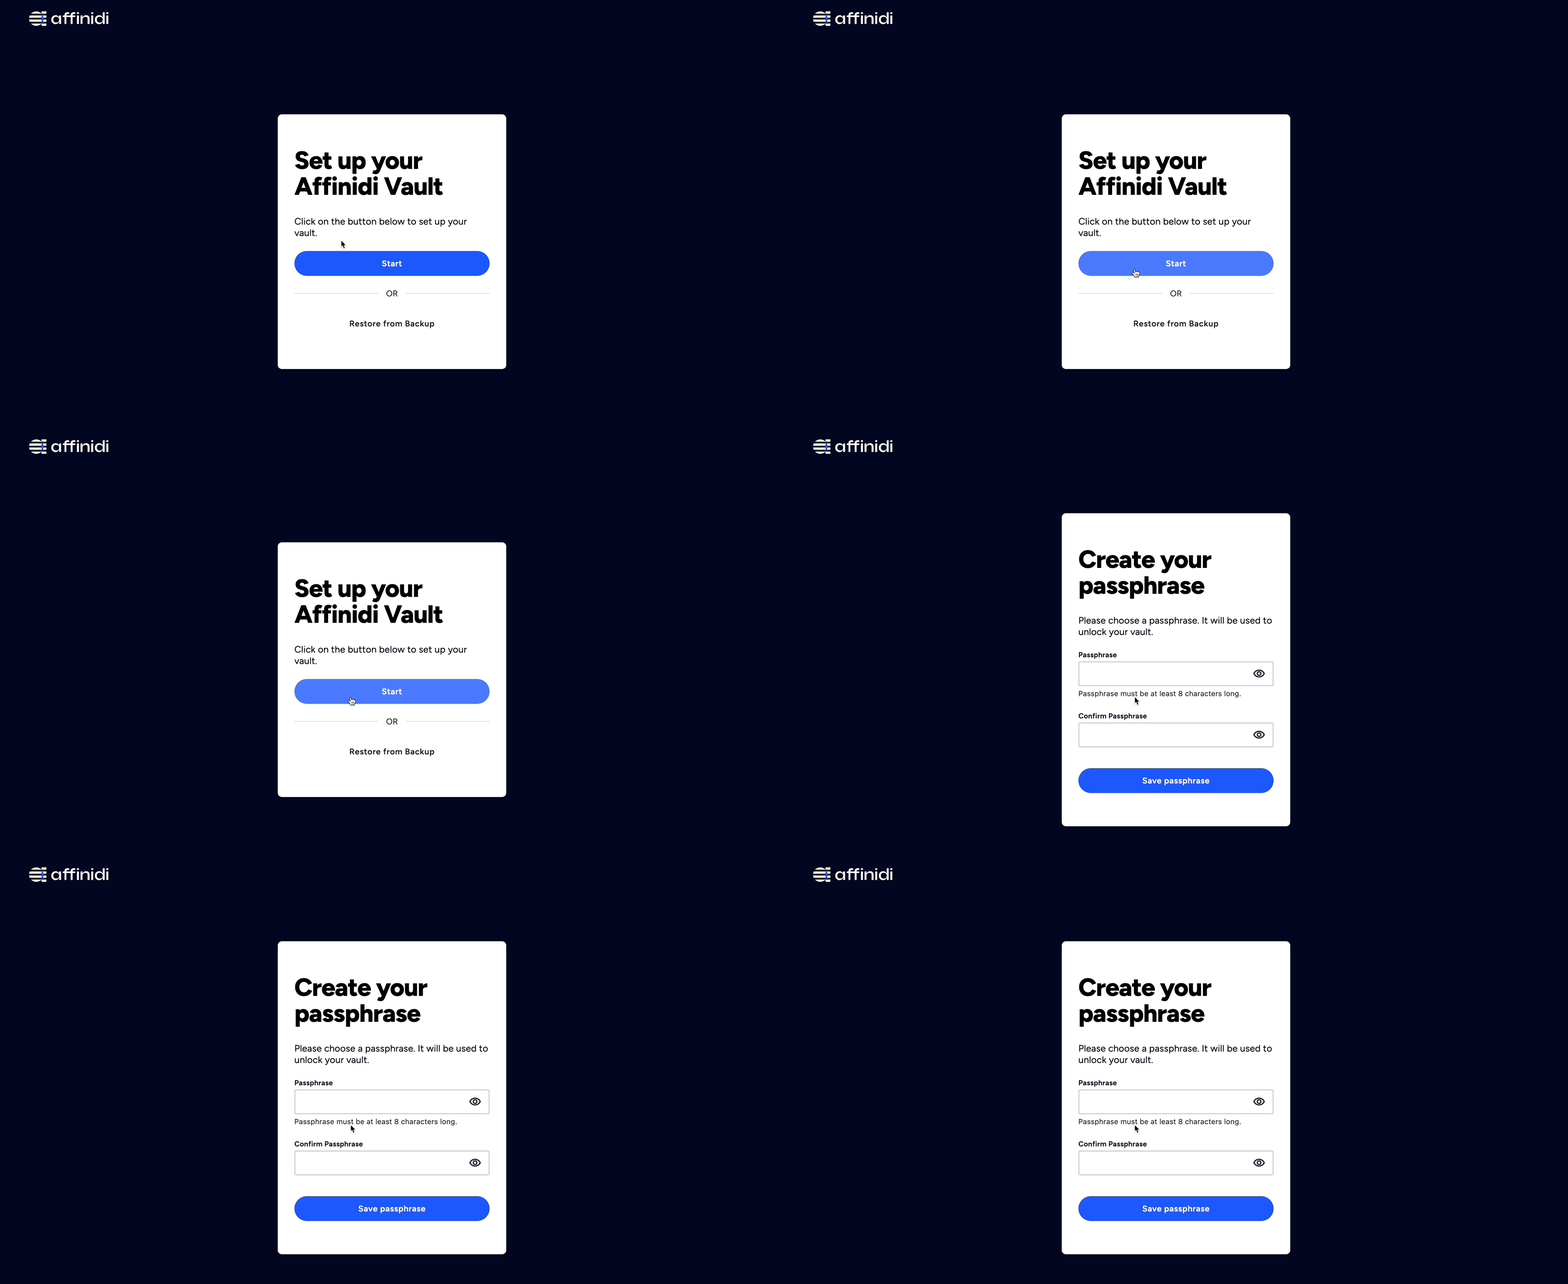
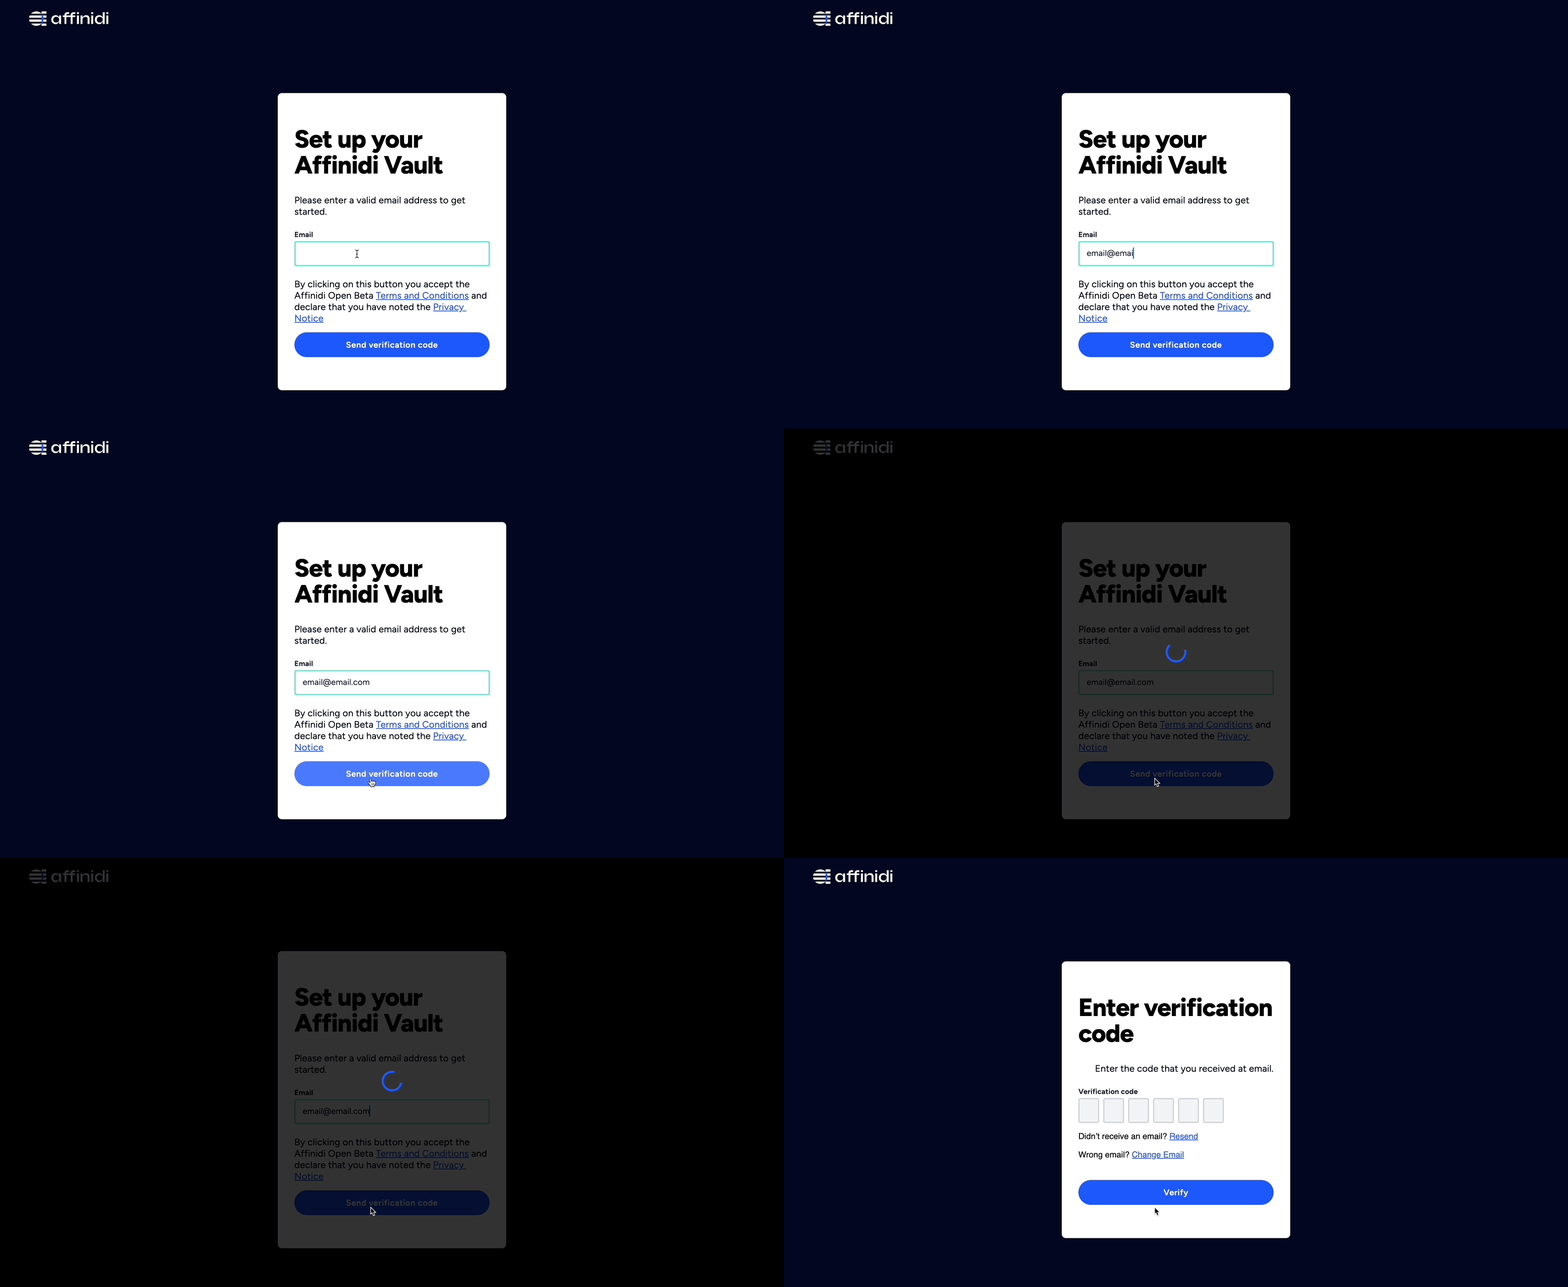
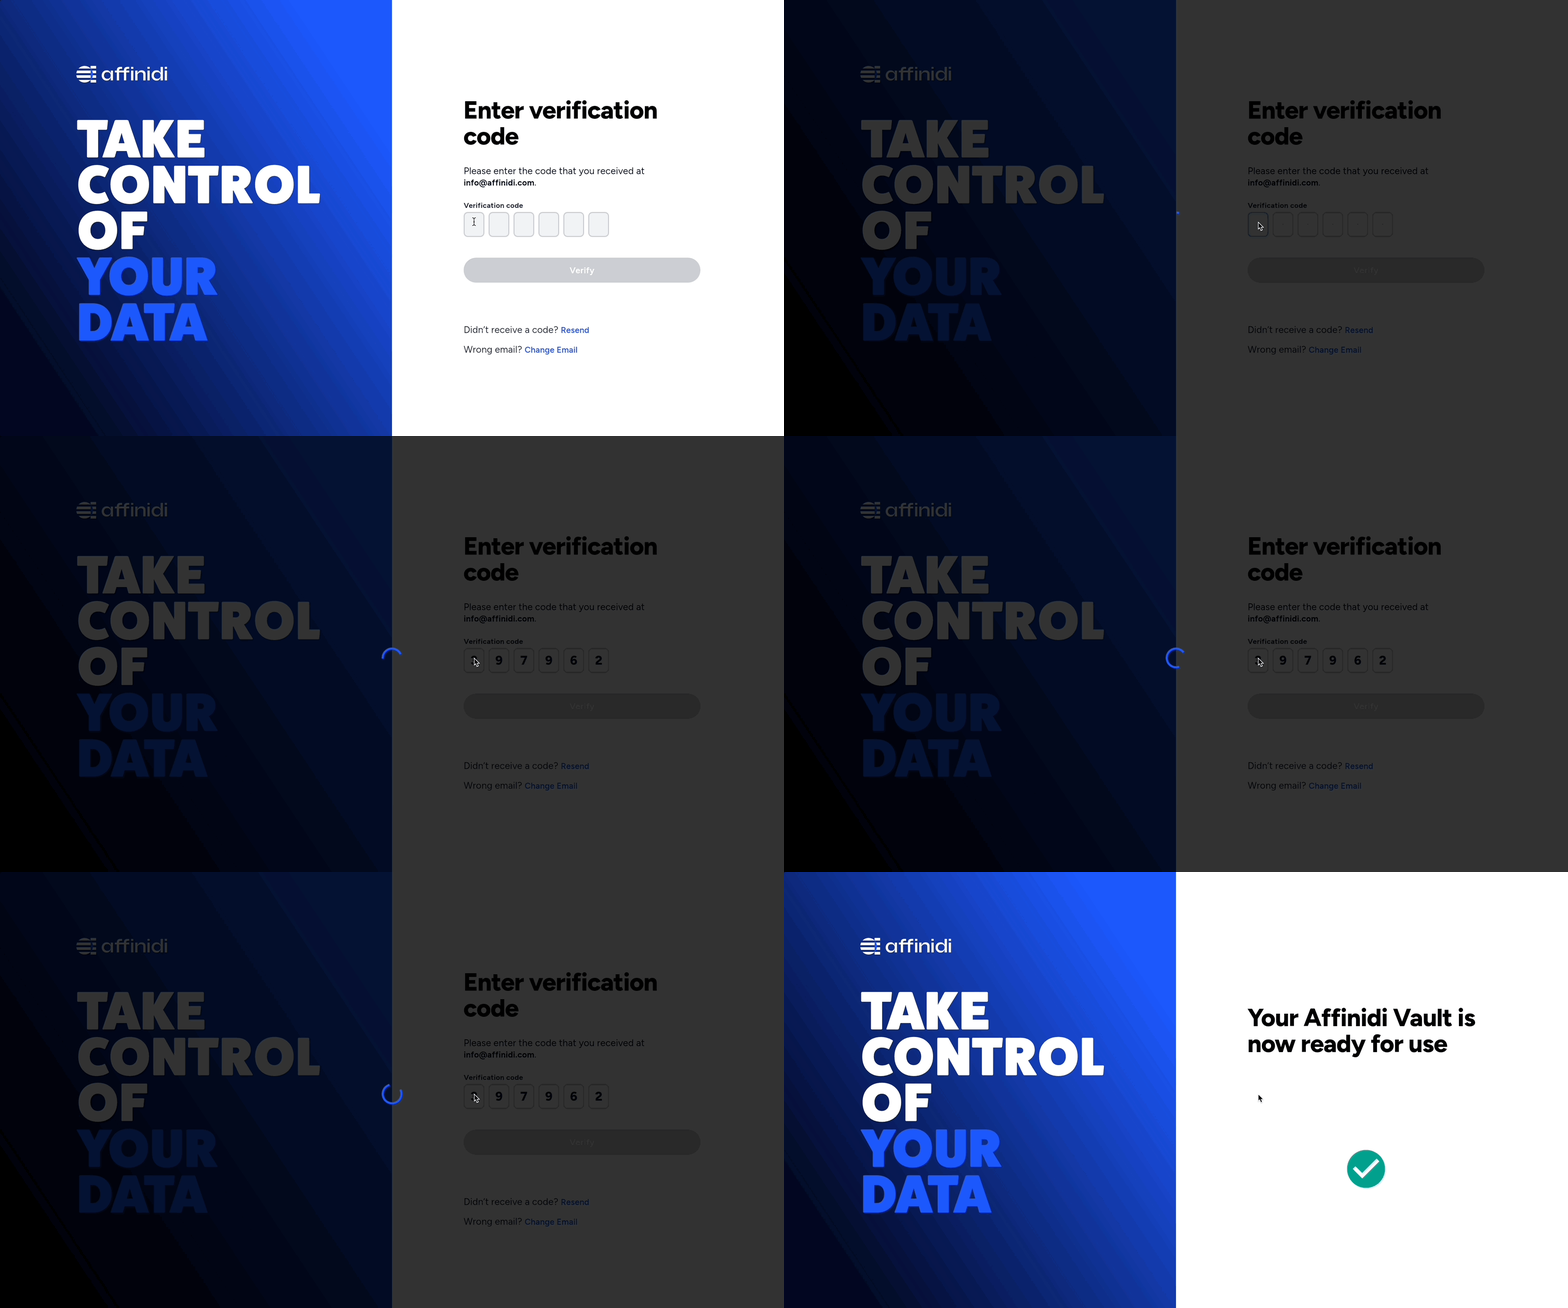
- Set up Affinidi Vault account. Follow the guide below if you haven’t set it up yet.
An AWS Account or sign up for a Free Tier
Optionally, install the Affinidi CLI. Follow the guide below if you haven’t installed yet.
Download Application
You can download this sample application using Next.js framework and start exploring how to integrate Affinidi Login with AWS Cognito as the authorisation server and Affinidi Vault as the Identity Provider to provide a passwordless login experience.
Important Note
The downloadable sample application is provided only as a guide to quickly explore and learn how to integrate the components of Affinidi Trust Network into your application. This is NOT a Production-ready implementation. Do not deploy this to a production environment.Running the Application
- Suppose this is your first time downloading the sample application. Run the following command to install the dependencies.
npm install- Create the
.envfile in the sample application by running the following command.
cp .env.example .envIf you open the sample application in a Code Editor, duplicate the
.env.exampleand rename it.env.
- After installing the dependencies, run the application by running the command.
npm run devRunning the application for the first time without configuring the
.envfile will throw an exception error. We will configure the required environment variables in the following steps of this guide.
You may refer to the included README.md file for more details.
Set up AWS Cognito
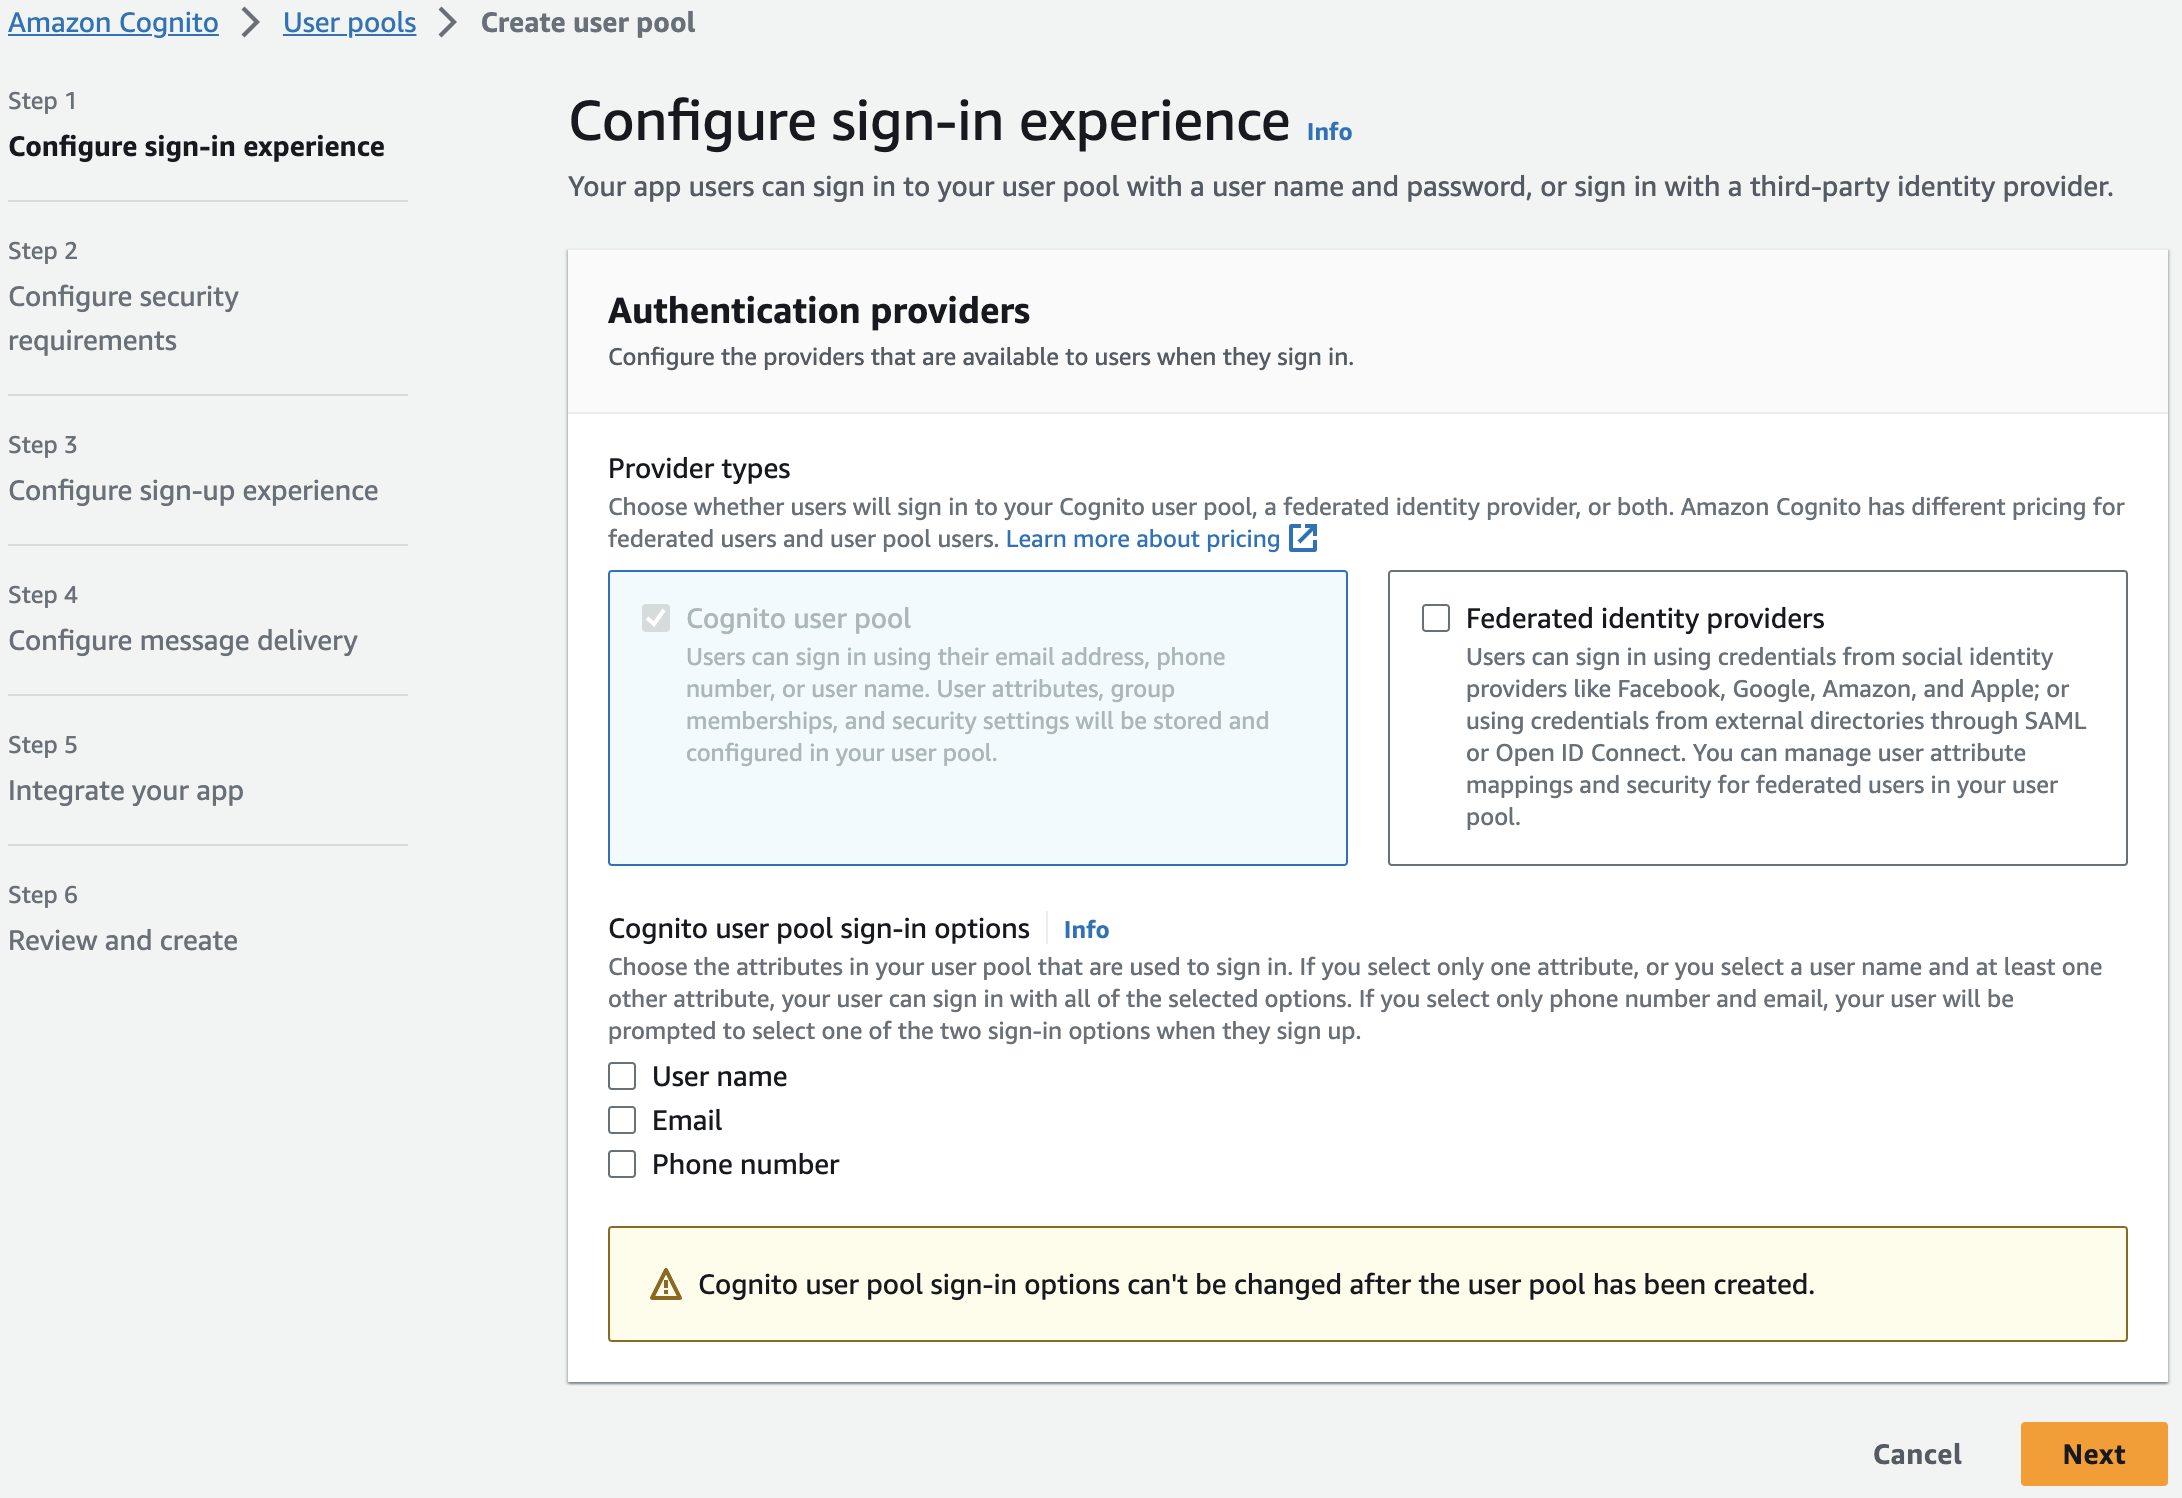
Go to Cognito service and create a new Cognito user pool. Follow the rest of the steps to configure Cognito
Configure sign-in experience: keep the default provider type and select Username as the sign-in option
Configure security requirements: keep the default password policy but disable MFA and user account recovery
Configure sign-up experience: keep all the default values in this section
Configure message delivery: select the option Send email with Cognito and keep the default value
Integrate your app: provide the User pool name and set the following options:
- Select Use the Hosted Cognito UI
- Select Use a Cognito domain and in the Cognito domain, enter the User pool name you have entered previously
- Set the App client name same the User pool name and select Generate a client secret
- Set the Allowed callback URLs to
http://localhost:3000/api/auth/callback/cognito - In the Advanced app client settings, click on Add sign-out URL and set the value to
http://localhost:3000. Keep the default values for the rest of the settings.
Review and verify your settings and click on Create user pool
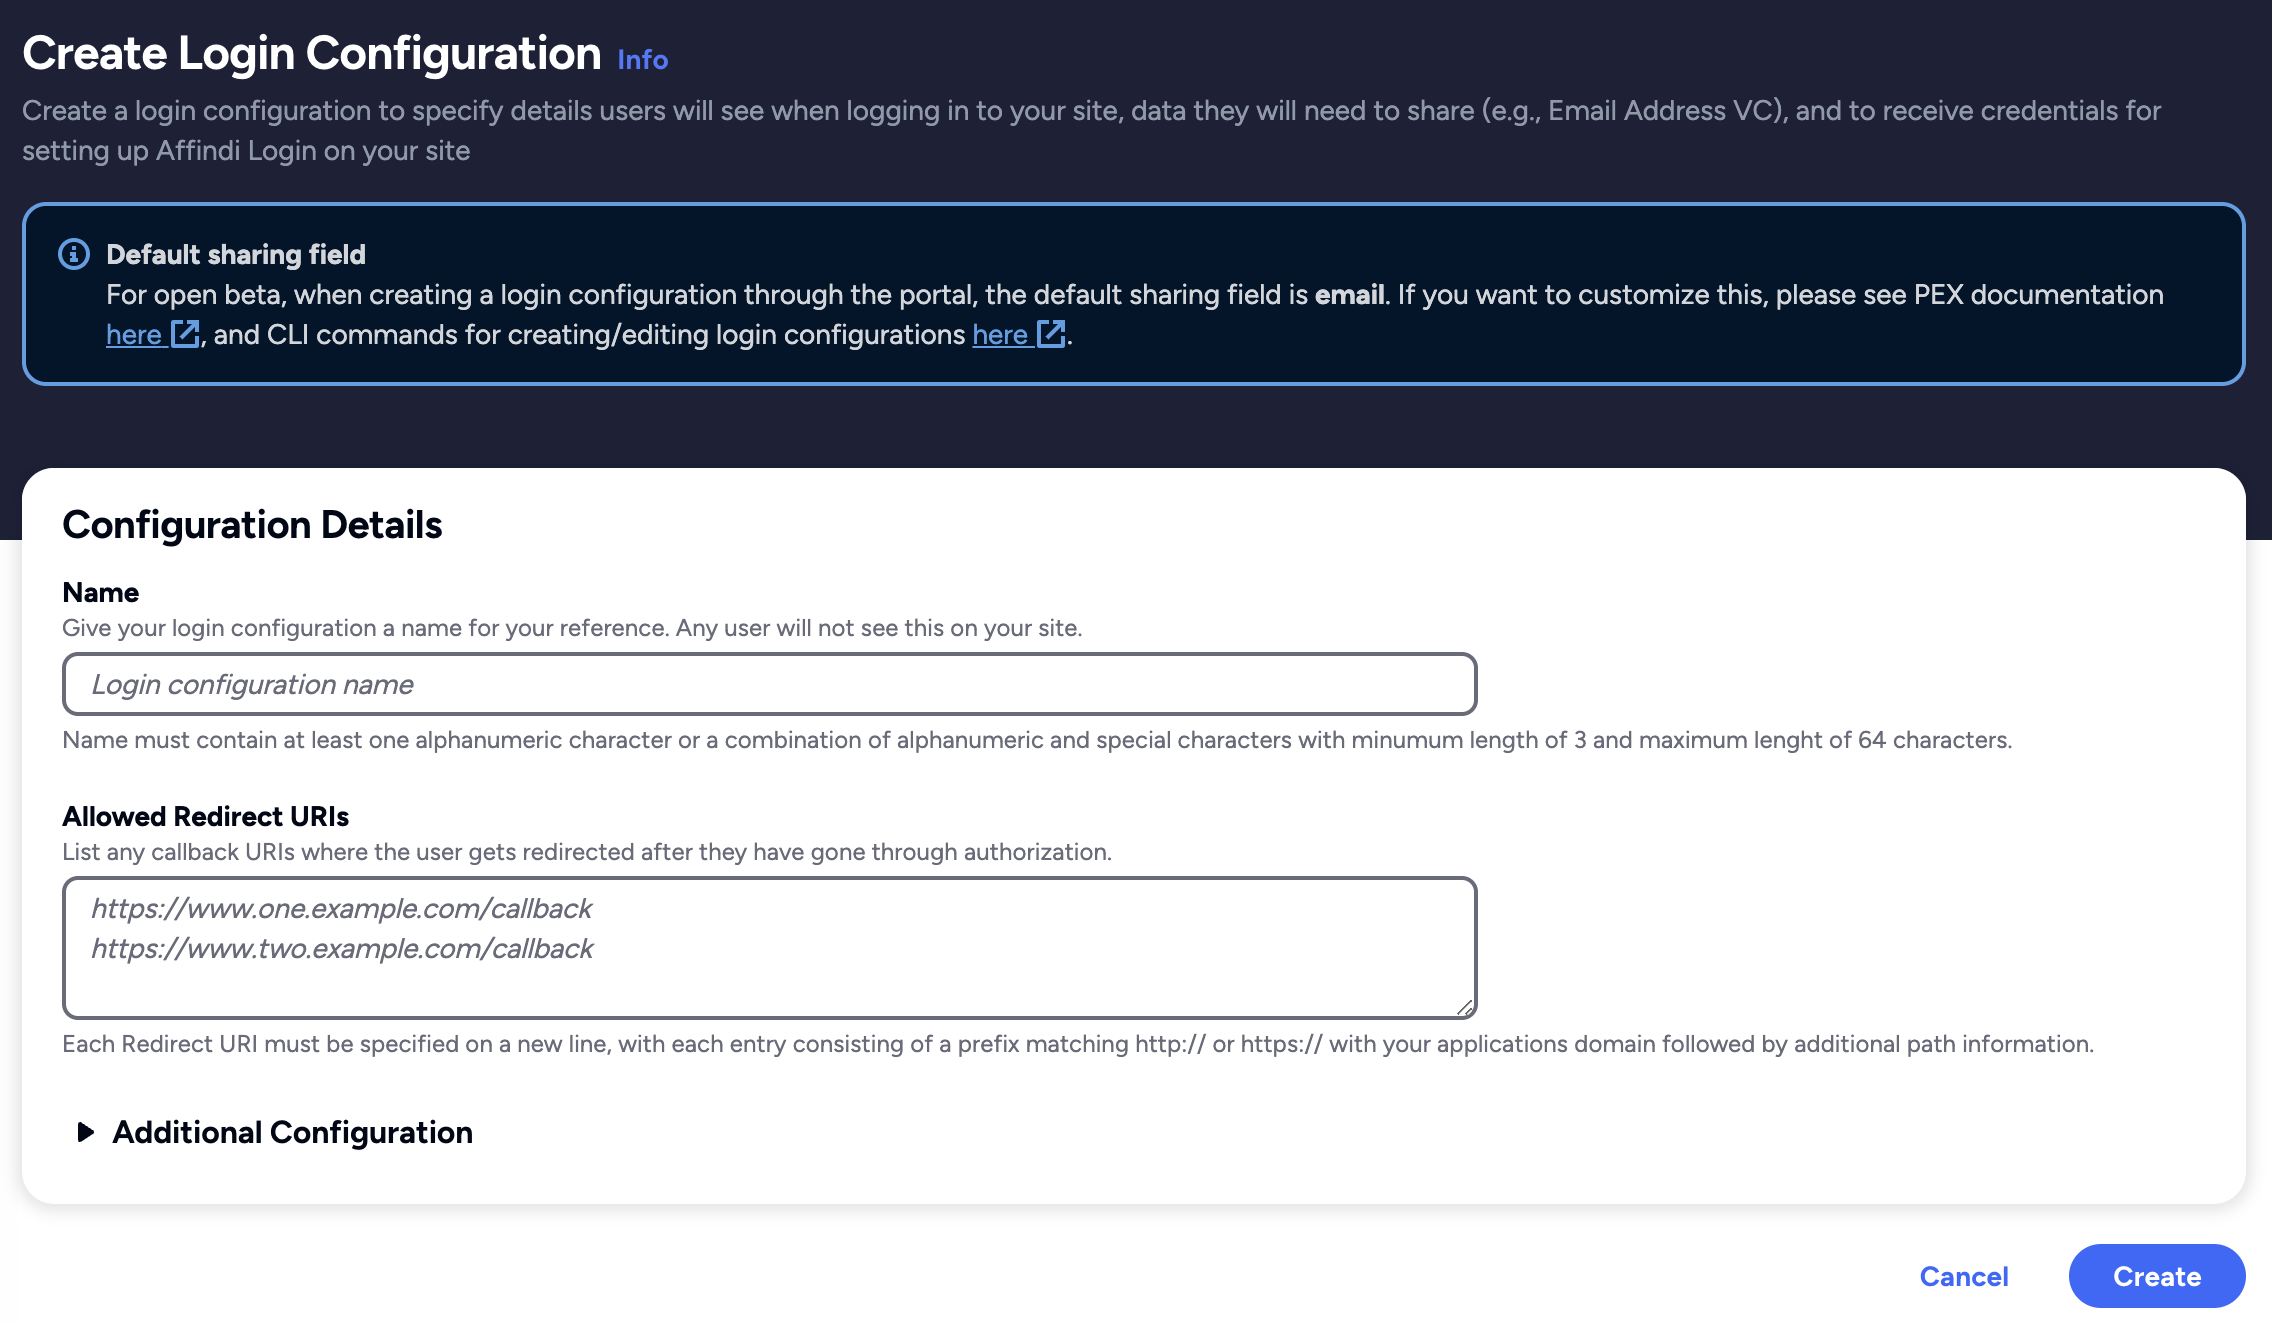
Create Login Configuration
To create a Login Configuration, you can either use Affinidi CLI or 
Expand the section below for your preferred method:
Name: My Cognito config
Redirect URIs: https://{cognito-domain}/oauth2/idpresponse
Login Configuration uses the default Presentation Definition (presentationDefinition) and ID Token Mapping (idTokenMapping) that is used to request the user’s email address during the authentication flow.
Important
Safeguard the Client ID and Client Secret diligently; you'll need them for setting up your IdP or OIDC-compliant applications. Remember, the Client Secret will be provided only once.
Due to the string length limitation (2048 characters) in Cognito’s idToken fields, we need to update the default presentationDefinition of the Login Configuration we have created. This update excludes the Issuer’s DID from the idToken that is issued.
// Default `presentationDefinition` value

{
  "id": "vc_issuer",
  "name": "VC Issuer",
  "purpose": "Check if VC Issuer is Trusted",
  "constraints": {
    "fields": [
      {
        "path": [
          "$.issuer"
        ],
        "purpose": "issuer",
        "filter": {
          "type": "string",
          "pattern": "^did:key...EiBb5gyC1mu3t31oYwMsYWg1U2HyNtaVQ0NKn5UkAzB8BQ;"
        }
      }
    ]
  }
}
To do this using Affinidi CLI, execute the following command:
affinidi login update-config \
--id="<LOGIN_CONFIG_ID>" \
--data='{"presentationDefinition":{"id":"vp_token_with_email_vc","input_descriptors":[{"id":"email_vc","name":"Email VC","purpose":"Check if data contains necessary fields","constraints":{"fields":[{"path":["$.type"],"purpose":"Check if VC type is correct","filter":{"type":"array","contains":{"type":"string","pattern":"Email"}}},{"path":["$.credentialSubject.email"],"purpose":"Check if VC contains email field","filter":{"type":"string"}}]}}]}}'
After setting up the Login Configuration, let’s go back to the AWS Cognito to integrate Affinidi Login as an Identity Provider for OIDC flow.
Configure Cognito Sign-in with Affinidi Login
Configure the Cognito Sign-in experience to integrate with Affinidi Login as the identity provider when authenticating users during the login flow. We are also configuring Cognito on how to parse the idToken that Affinidi Login provides after users confirm their identity through Affinidi Vault.
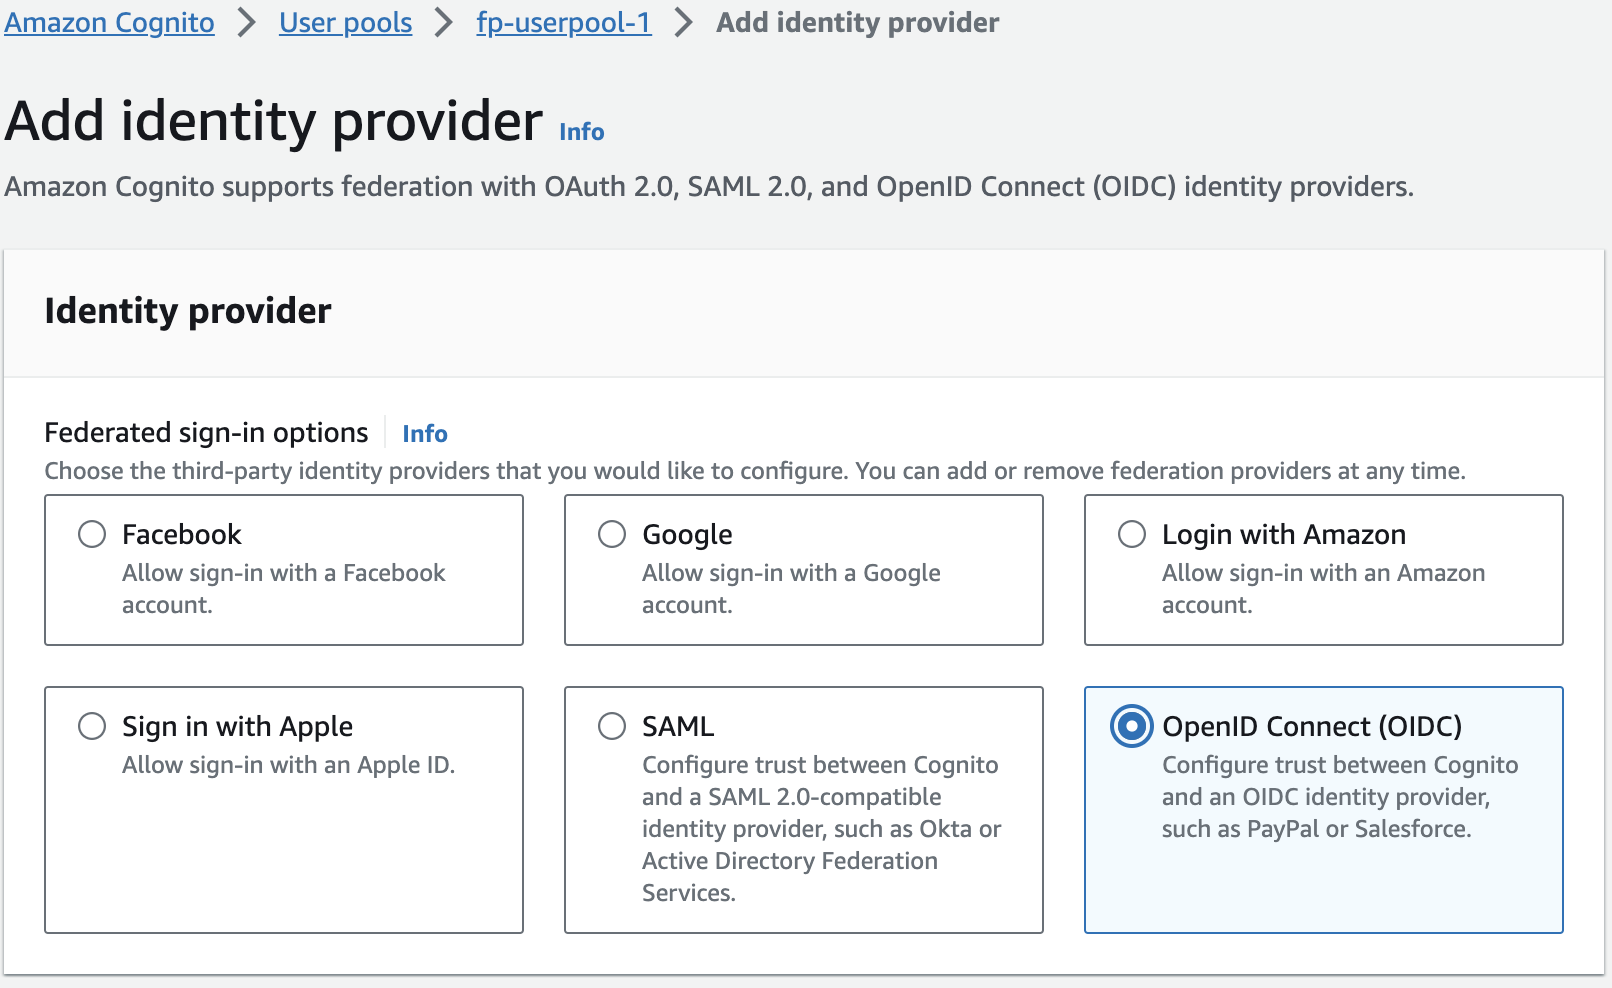
Go back to the Cognito user pool you have created and click on Sign-in experience tab. Scroll to the Federated identity provider sign-in section and click on Add identity provider
In the new window, select *OpenID Connect (OIDC) option and set the following values based on the Login Configuration details:
- Provider name: set the value to
Affinidi - Client ID: set the value from the
auth.clientIdof the Login Configuration - Client secret: set the value from the
auth.clientSecretof the Login Configuration - Authorised scopes: set the value to
openid offline_access - Issuer URL: set the value to
auth.issuerof the Login Configuration
Lastly, add the following attributes to map Cognito properties to OIDC
| User pool attribute | OpenID Connect attribute |
|---|---|
| username | sub |
| name | custom |
Once you have added the new Identity Provider connected to Affinidi Login, proceed to App integration tab of the Cognito pool and scroll down to the App client list
Click on the app you have created and Edit the Hosted UI. Scroll to the Identity providers section and select Affinidi, which was set up in the previous steps using OIDC, then save the changes.
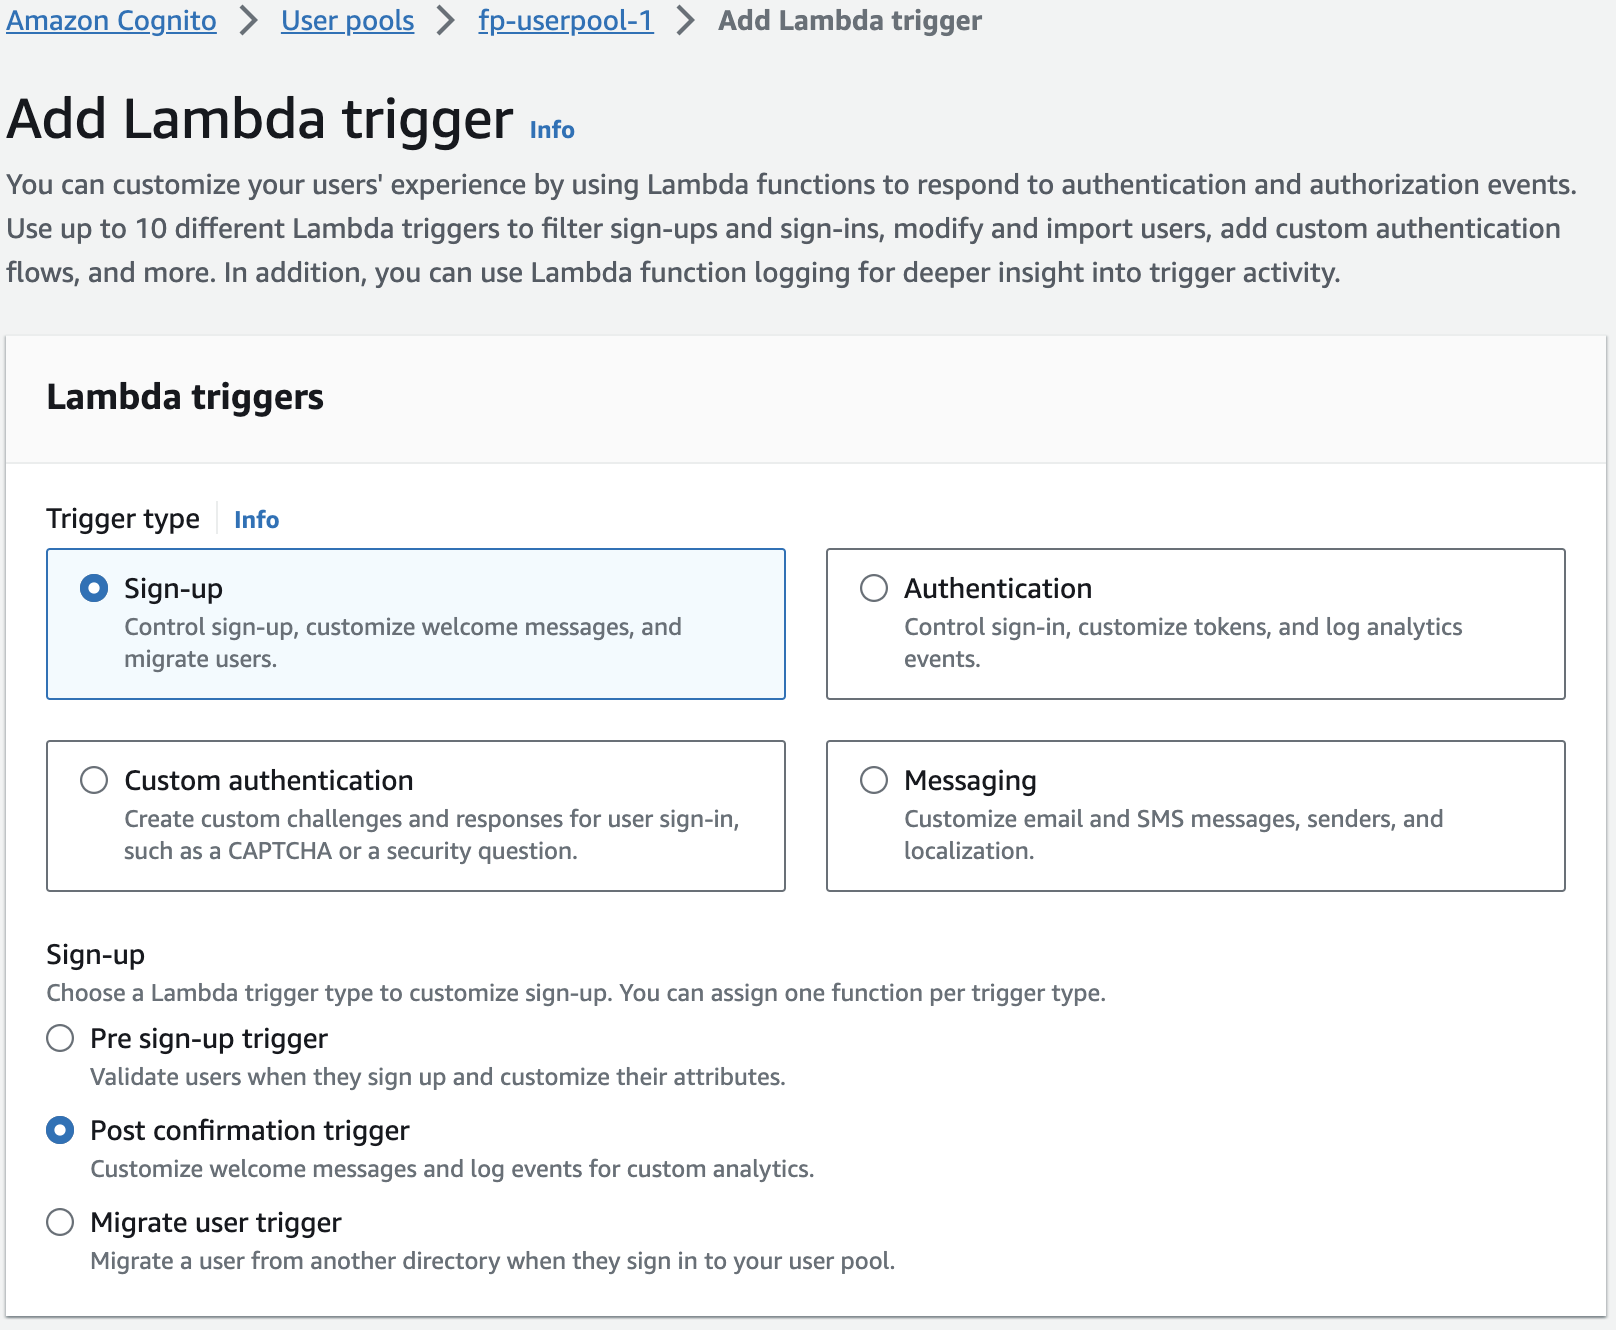
Go back to the User pool and click on th User pool properties tab then, add the Lambda trigger.
Keep the Trigger type as Sign-up and select Post confirmation trigger.
Click on Create Lambda function and copy the following code below using Python as the runtime library:
Replace the
{{USER POOL ID}}with the ID of your Cognito User pool.
import boto3
import json
import urllib.parse

def lambda_handler(event, context):
    # Extract the custom attribute value from the OIDC provider response
    print(event)
    user_details = event['request']['userAttributes']['name']
    # print(user_details)
    decoded_string = urllib.parse.unquote(user_details)
    # print (decoded_string)
    data =json.loads(decoded_string)
    # print (data)
    email = data[1]['email']
    print(email)

    # Update the email attribute in the Cognito user pool with the custom attribute value
    user_pool_id = '{{USER POOL ID}}'
    username = event['userName']

    cognito_client = boto3.client('cognito-idp')
    response = cognito_client.admin_update_user_attributes(
        UserPoolId=user_pool_id,
        Username=username,
        UserAttributes=[
            {
               'Name': 'email',
               'Value': email
            },
            {
               'Name': 'email_verified',
               'Value': str(True)
            }
        ]
    )

return event- Once you have created the Lambda function, go back to the Add Lambda trigger tab, and select the newly created Lambda function and save.
Congratulations! you have just integrated Affinidi Login as the Identity Provider of Cognito. You can now enable this Cognito User Pool into your application and provide a passwordless login experience for your consumers.
Set up the Sample Application

In this guide, learn how to integrate Affinidi Login using NextJS and NextAuth.js with Cognito as the authorisation server into your application.
Cognito is configured to connect to Affinidi Login as the Identity provider to authenticate user.
Configure .env file
Set the environment variables based on the auth credentials generated by Cognito when you created the User Pool App:
PROVIDER_CLIENT_ID="<COGNITO_APP_CLIENT_ID>"
PROVIDER_CLIENT_SECRET="<COGNITO_APP_CLIENT_SECRET>"
PROVIDER_ISSUER="https://cognito-idp.{aws-region}.amazonaws.com/{user-pool-id}"
Configure NextAuth for Affinidi Login
File path: pages/api/auth/[…nextauth].ts
Using the NextAuth.js library, configure the nextauth file to enable Affinidi Login as a login provider and set up the JWT and Session from the idToken sent by the Affinidi Login after the user successfully authenticates.
Add Cognito Login as a Login Provider
In the code below, we are adding Cognito as one of the Login Provider for NextAuth.js.
Import the Cognito from the NextAuth.js library
import CognitoProvider from "next-auth/providers/cognito"Add Cognito as a Login Provider
CognitoProvider({
  clientId: providerClientId,
  clientSecret: providerClientSecret,
  issuer: providerIssuer,
  idToken: true,
  checks: 'nonce',
}),
Generate JWT and Session from the idToken
In the code below, we generate a JWT and a session from the idToken that we have received from the Affinidi Login after successful user authentication.
async jwt({ token, account, profile }) {
    const prof = (profile as any);
    let did: string | undefined;
    if(prof?.name) {
      did = JSON.parse(decodeURIComponent(prof?.name))[2].did;
    }

    const email = prof?.email;

    return {
    ...token,
    ...(email && { email }),
    ...(did && { did: did.split(";")[0] }),
    ...(account?.access_token && { accessToken: account?.access_token }),
    ...(account?.id_token && { idToken: account?.id_token }),
    ...(profile?.sub && { userId: profile?.sub }),
    };
},

async session({ session, token }) {
    return {
    ...session,
    ...session.user,
    ...(token.did && { did: token.did.split(";")[0] }),
    ...(token.email && { email: token.email }),
    ...(token.userId && { userId: token.userId }),
    ...(token.accessToken && { accessToken: token.accessToken }),
    ...(token.idToken && { idToken: token.idToken }),
    };
},
Enable Affinidi Login
File path: pages/sign-in/index.tsx
In the code below, we are enabling Affinidi Login into the Login page of the sample app and referencing the NextAuth provider that we have configured earlier.
async function logIn() {
  // enable Affinidi Login button
  await signIn('cognito', { callbackUrl: hostUrl })
}
Summary
sequenceDiagram
    actor User
    participant Website
    participant Cognito
    participant Affinidi Login
    participant Affinidi Vault
    participant Affinidi Verifier

    User->>Website: My Login
    Website->>Cognito: trigger OIDC flow
    Note over Website, Cognito: Cognito OIDC credentials
    Cognito->>Affinidi Login: Authenticate user
    Note over Cognito, Affinidi Login:  login_challenge
    Affinidi Login->>Affinidi Vault: Verify user identity
    Note over Affinidi Login, Affinidi Vault:  presentationDefinition
    Affinidi Vault->>User: Request user confirmation to share Email VC
    User->>Affinidi Vault: User confirmed consent to share Email VC
    Affinidi Vault->>Affinidi Vault: Generate VP Token from VC
    Affinidi Vault->>Affinidi Login: Send Email VP Token
    Affinidi Login->>Affinidi Verifier: Validate VP Token
    Note over Affinidi Login, Affinidi Verifier:  vp_token, presentation_submission, presentation_definition
    Affinidi Login->>Affinidi Login: Generate idToken
    Affinidi Login->>Cognito: Send generated idToken from VP
    Cognito->>Website: Send access token
    Website->>User: Provide access to the user
With the sample application, you integrated Cognito as the OIDC provider and set up Cognito to work with Affinidi Login as the identity provider. Affinidi Login engages the Affinidi Vault to validate the user’s identity, supplying the VP Token. Cognito consumes this as part of the idToken and issues the appropriate access token to verify successful authentication.
Glad to hear it! Please tell us how we can improve more.
Sorry to hear that. Please tell us how we can improve.
Thank you for sharing your feedback so we can improve your experience.
