Simplify Consumer Onboarding
In this scenario, you would like to enable a seamless registration or signup experience for your end-users. Using Affinidi Vault, you can leverage on requesting the user’s Personal Info from the Affinidi Vault during sign up flow of your application with Affinidi Login. This way, users doesn’t need to manually fill up the registration form to sign up for your website.
Enabling your application to request the user’s Profile during signup is the same setup process as enabling passwordless login. The difference in this scenario is you need to update the presentationDefinition and idTokenMapping defined on your Login Configuration and include the profile data of the user from the Affinidi Vault.
Before you begin
- Set up Affinidi Vault account. Follow the guide below if you haven’t set it up yet.
Set up Affinidi Vault
Click on Get started if you are creating a new account, or click on Restore from Backup if you have an existing backup of your Affinidi Vault. Provide the passphrase to secure your Affinidi Vault.
You have the option to enable Biometrics to unlock your Affinidi Vault easily instead of using passphrase.
- Enter your email address to register with the Affinidi Vault. An OTP will be sent to this email for verification.
- Enter the OTP sent to the email you have provided for verification to complete the setup.
After successfully providing the OTP, you are redirected to the Affinidi Vault dashboard.
Important Note
Remember to keep your passphrase in a secure location. Use the Passphrase Reset feature in Affinidi Vault settings to generate the PDF files and keep them safe, which you can use to recover access to your Affinidi Vault if you forget your passphrase.Get the Redirect URL of your application for OIDC. This URL is configured on your Login Configuration to receive the idToken after successful authorisation.
Optionally, install the Affinidi CLI. Follow the guide below if you haven’t installed yet.
Create Login Configuration
- To create a Login Configuration, you can either use Affinidi CLI or Affinidi Portal .
Expand the section below for your preferred method:
Using Affinidi Portal
Go to Affinidi Login under the Services section.
Click on the Create Login Configuration and provide the required details.
Nameis the string that describes your login configuration.Redirect URIsis the URL on your application where the user gets redirected after the successful authentication.
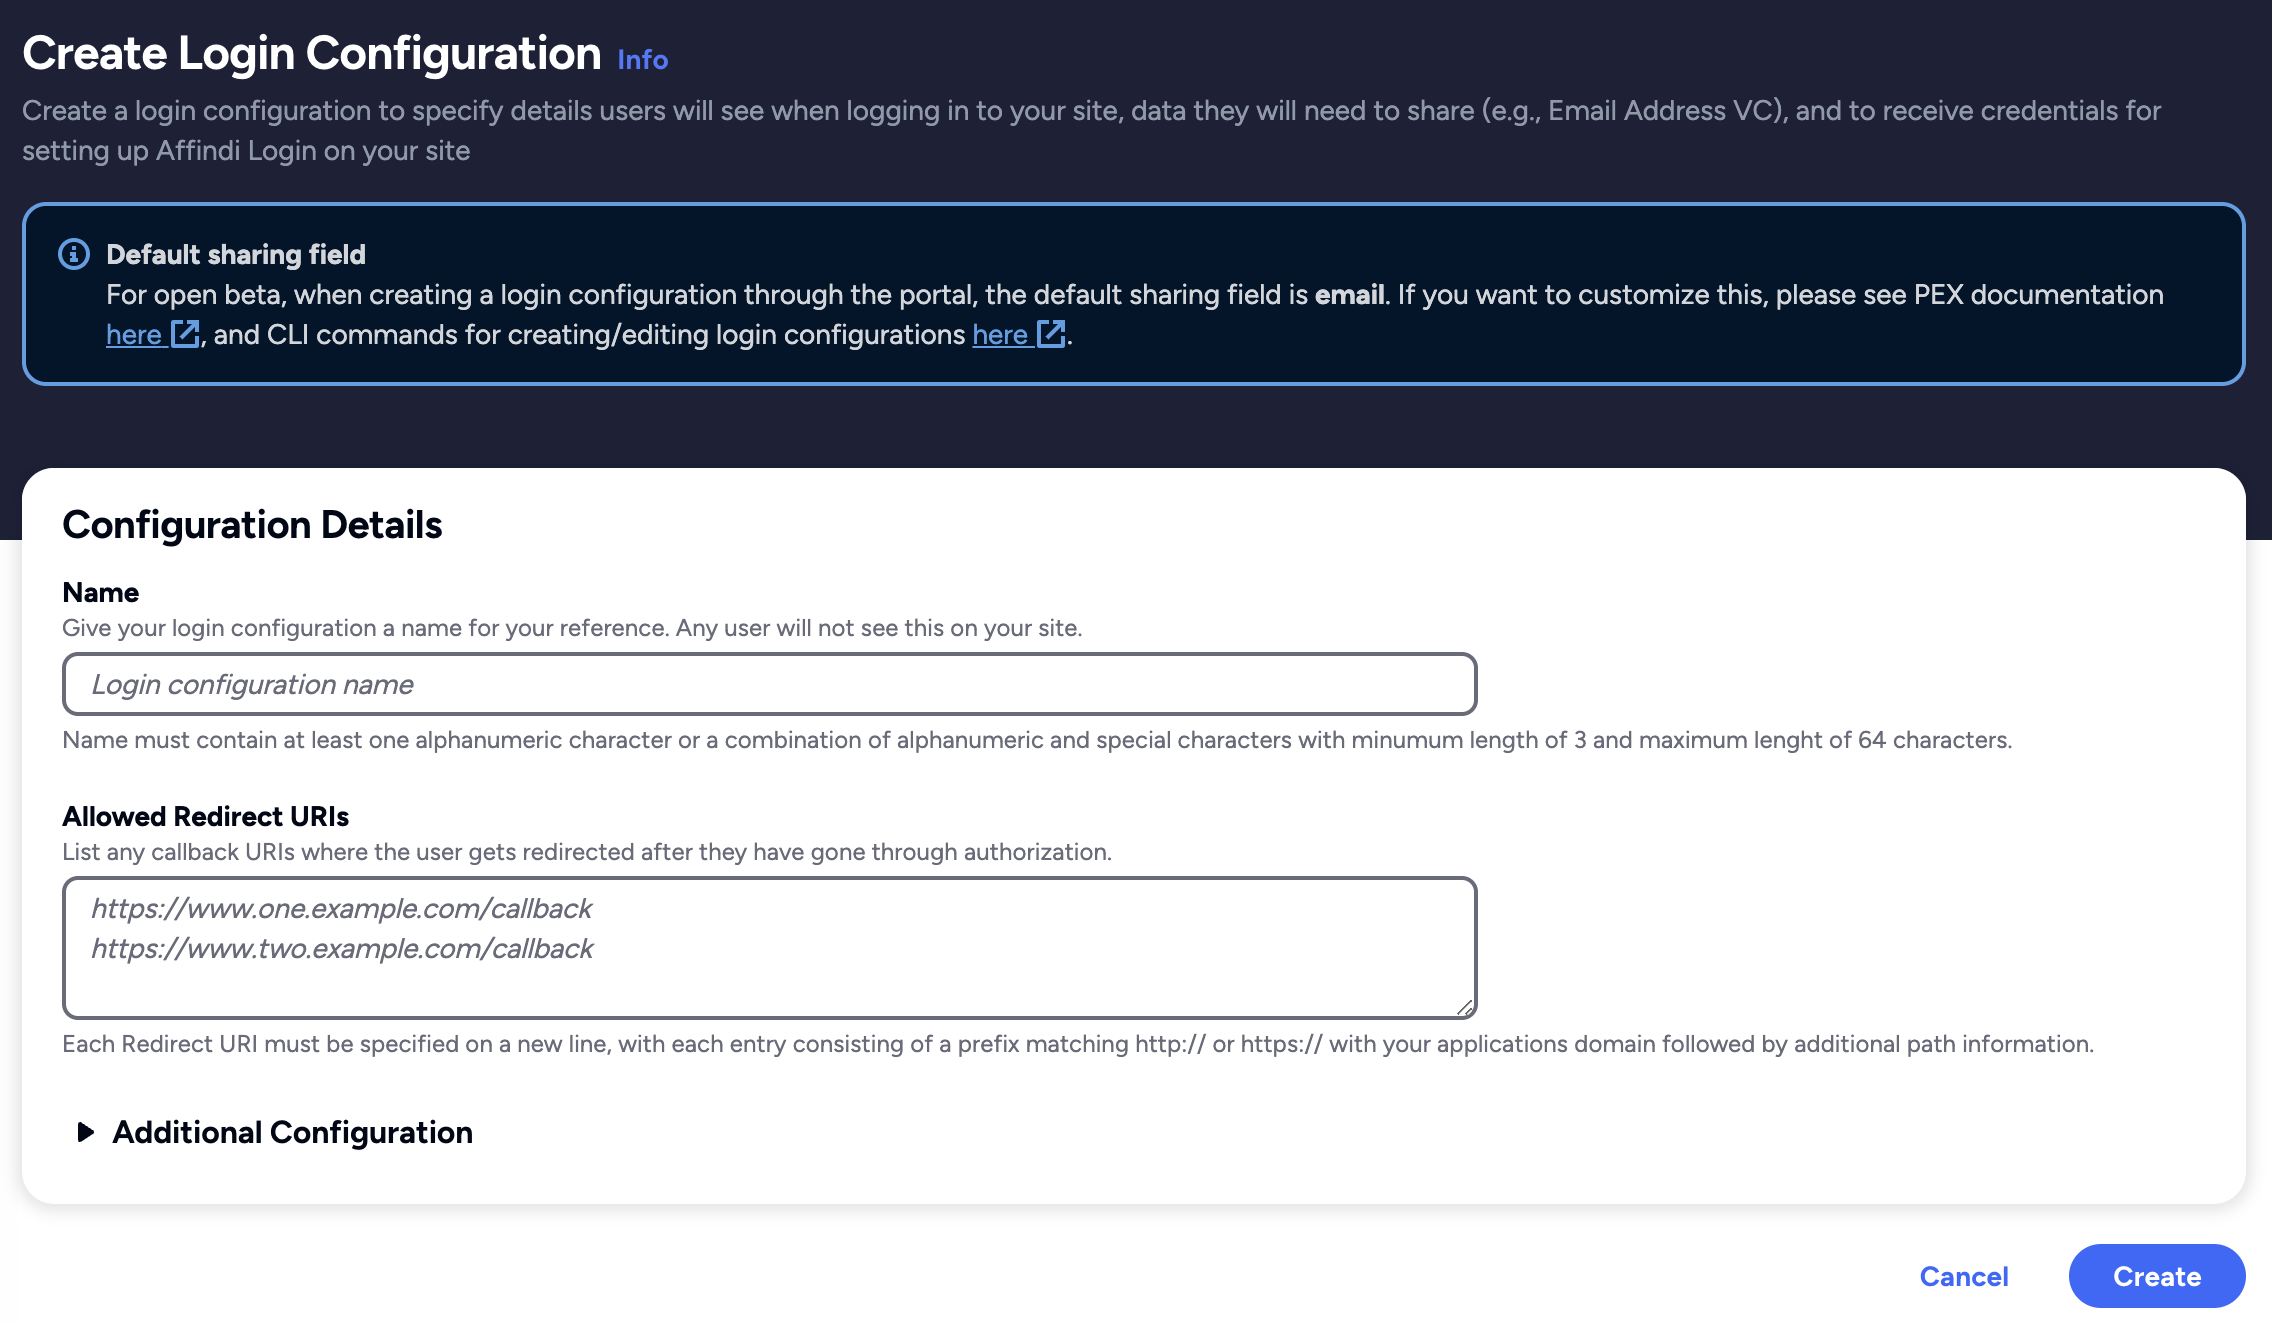
Click on create and confirm if all the details are correct.
After confirming the details, another popup shows the Client ID and Client Secret for your Login Configuration. Copy the generated Client Credentials and use them to integrate with Affinidi Login.
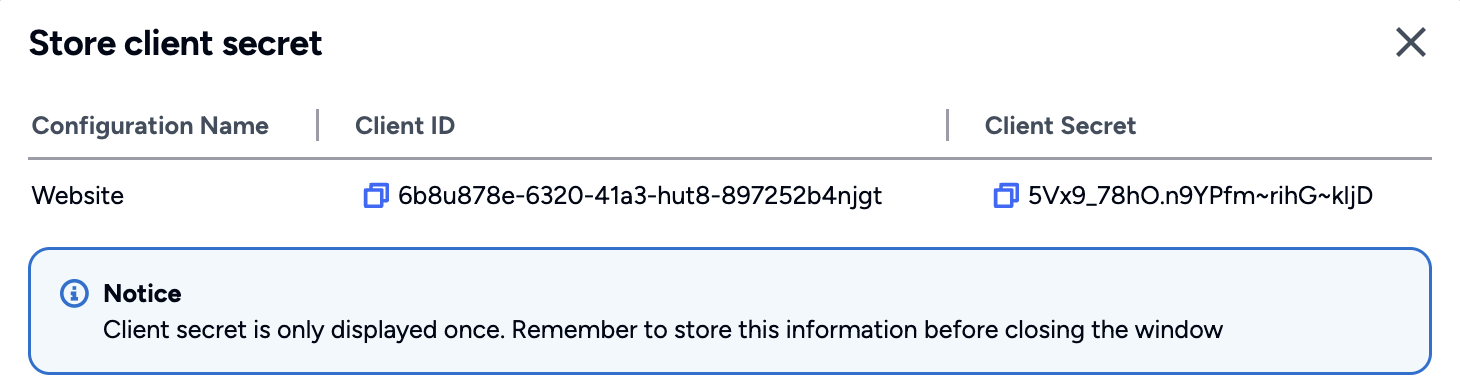
- After copying the Client ID and Client Secret and closing the popup, you are redirected back to the Affinidi Login page.
Login Configuration uses a default Presentation Definition (presentationDefinition) and ID Token Mapping (idTokenMapping) to request the user’s email address during the authentication flow.
You can modify these defaults using Affinidi Portal and Affinidi CLI to have additional authentication requirements and request other data from the user. See this documentation.
Important
Safeguard the Client ID and Client Secret diligently; you'll need them for setting up your IdP or OIDC-compliant applications. Remember, the Client Secret will be provided only once.
Update Presentation Definition and ID Token Mapping
- To request additional information using the Affinidi Login, specifically the user’s Personal Info, we must update the default Presentation Definition and the default ID Token Mapping of the previously created Login Configuration to request the user profile. The changes include:
Update Presentation Definition
This field defines the VCs we require from the user, which are the EmailV1 and UserProfileV2 VCs. Simultaneously, we specify which fields we intend to extract from those VCs, such as email, family_name, given_name, etc.
Snippet of the presentationDefinition definition:
        {
  "id": "vp_combined_email_user_profile_combined",
  "submission_requirements": [
    {
      "rule": "pick",
      "min": 1,
      "from": "A"
    }
  ],
  "input_descriptors": [
    {
      "id": "email_vc",
      "name": "Email VC",
      "purpose": "Check if data contains necessary fields",
      "group": [
        "A"
      ],
      "constraints": {
        "fields": [
          {
            "path": [
              "$.type"
            ],
            "purpose": "Check if VC type is correct",
            "filter": {
              "type": "array",
              "contains": {
                "type": "string",
                "pattern": "^Email$"
              }
            }
          },
          {
            "path": [
              "$.credentialSubject.email"
            ],
            "purpose": "Check if VC contains email field",
            "filter": {
              "type": "string"
            }
          },
          {
            "path": [
              "$.issuer"
            ],
            "purpose": "Check if VC Issuer is Trusted",
            "filter": {
              "type": "string",
              "pattern": "^did:key:zQ3shtMGCU89kb2RMknNZcYGUcHW8P6Cq3CoQyvoDs7Qqh33N"
            }
          }
        ]
      }
    },
    {
      "id": "profile_identity",
      "name": "Profile VC",
      "purpose": "Check if data contains necessary fields",
      "group": [
        "A"
      ],
      "constraints": {
        "fields": [
          {
            "path": [
              "$.type"
            ],
            "purpose": "Check if VC type is correct",
            "filter": {
              "type": "array",
              "pattern": "^HITIdentity$"
            }
          },
          {
            "path": [
              "$.credentialSubject.nickname"
            ]
          },
          {
            "path": [
              "$.credentialSubject.gender"
            ]
          },
          {
            "path": [
              "$.credentialSubject.birthdate"
            ]
          }
        ]
      }
    },
    {
      "id": "profile_fullname",
      "name": "Profile VC",
      "purpose": "Check if data contains necessary fields",
      "group": [
        "A"
      ],
      "constraints": {
        "fields": [
          {
            "path": [
              "$.type"
            ],
            "purpose": "Check if VC type is correct",
            "filter": {
              "type": "array",
              "pattern": "^HITFullName$"
            }
          },
          {
            "path": [
              "$.credentialSubject.givenName"
            ]
          },
          {
            "path": [
              "$.credentialSubject.familyName"
            ]
          },
          {
            "path": [
              "$.credentialSubject.middleName"
            ]
          },
          {
            "path": [
              "$.credentialSubject.name"
            ]
          }
        ]
      }
    },
    {
      "id": "profile_phone",
      "name": "Profile VC",
      "purpose": "Check if data contains necessary fields",
      "group": [
        "A"
      ],
      "constraints": {
        "fields": [
          {
            "path": [
              "$.type"
            ],
            "purpose": "Check if VC type is correct",
            "filter": {
              "type": "array",
              "pattern": "^HITPhoneNumber$"
            }
          },
          {
            "path": [
              "$.credentialSubject.phoneNumber"
            ]
          },
        ]
      }
    },
    {
      "id": "profile_country",
      "name": "Profile VC",
      "purpose": "Check if data contains necessary fields",
      "group": [
        "A"
      ],
      "constraints": {
        "fields": [
          {
            "path": [
              "$.type"
            ],
            "purpose": "Check if VC type is correct",
            "filter": {
              "type": "array",
              "pattern": "^HITCountry$"
            }
          },
          {
            "path": [
              "$.credentialSubject.country"
            ]
          }
        ]
      }
    }
  ]
}
Update ID Token Mapping
This field defines the mapping within the VP Token issued by Affinidi Vault, detailing how to extract the fields requested from the user and generate an idToken for the user’s claim.
Snippet of the idTokenMapping definition:
        [
  {
    "sourceField": "$.credentialSubject.email",
    "idTokenClaim": "$.email",
    "inputDescriptorId": "email_vc"
  },
  {
    "sourceField": "$.credentialSubject.givenName",
    "idTokenClaim": "$.give_name",
    "inputDescriptorId": "profile_fullname"
  },
  {
    "sourceField": "$.credentialSubject.familyName",
    "idTokenClaim": "$.family_ame",
    "inputDescriptorId": "profile_fullname"
  },
  {
    "sourceField": "$.credentialSubject.middleName",
    "idTokenClaim": "$.middle_name",
    "inputDescriptorId": "profile_fullname"
  },
  {
    "sourceField": "$.credentialSubject.gender",
    "idTokenClaim": "$.gender",
    "inputDescriptorId": "profile_identity"
  },
  {
    "sourceField": "$.credentialSubject.birthdate",
    "idTokenClaim": "$.birthdate",
    "inputDescriptorId": "profile_identity"
  },
  {
    "sourceField": "$.credentialSubject.phoneNumber",
    "idTokenClaim": "$.phone_number",
    "inputDescriptorId": "profile_phone"
  },
  {
    "sourceField": "$.credentialSubject.country",
    "idTokenClaim": "$.address.country",
    "inputDescriptorId": "profile_country"
  }
]
Update the Login Configuration
To update the Presentation Definition and ID Token Mapping, you can either use Affinidi Portal using the PEX Editor or use Affinidi CLI using the following command:
affinidi login update-config --id=<LOGIN_CONFIG_ID> --file=<PATH_TO_JSON_FILE>See this guide to learn more about how to modify the Presentation Definition and ID Token Mapping to request additional data from the Affinidi Vault to provide a seamless consumer onboarding.
Set up your Application
- Go to your application’s OIDC settings and configure the following details to integrate Affinidi Login into your application’s login flow
        {
  "clientId": "<AUTH.CLIENT_ID>",
  "clientSecret": "<AUTH.CLIENT_SECRET>",
  "scope": "openid offline_access",
  "authorizationUrl": "<AUTH.ISSUER>/oauth2/auth",
  "tokenUrl": "<AUTH.ISSUER>/oauth2/token"
}
If you use libraries or plugins to enable the OIDC flow in your application, consult their documentation for guidance on configuring these details to enable OIDC login.
After finalising the setup in your application, when a user attempts to sign up, they are presented with a consent page requesting additional data beyond the default email address.
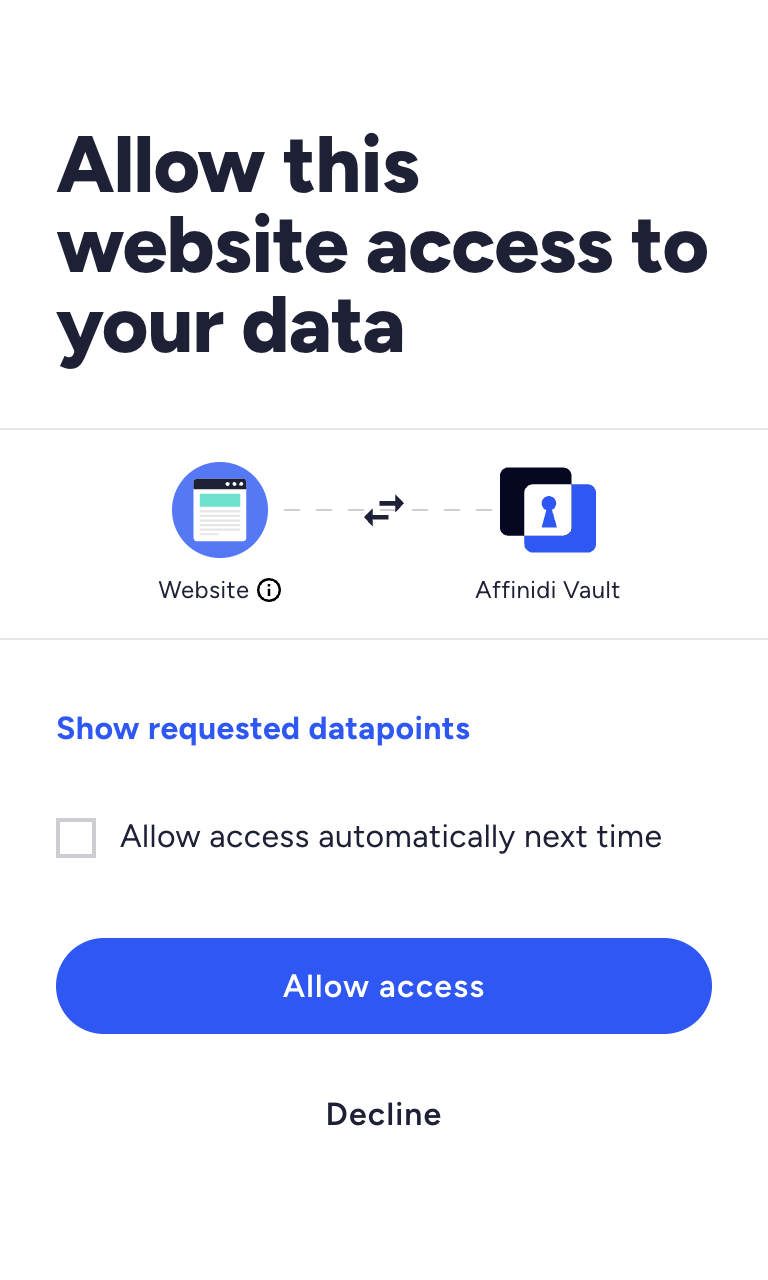
Users are asked to verify their identity and consent to share their Email Address, including Personal Info. After the user grants access to their Affinidi Vault data, the Affinidi Vault generates a Verifiable Presentation (VP) token with the Email VC and PersonalInfo VC. This information then becomes part of the ID Token sent to the application, enabling it to capture the details and store them if necessary.
What’s next
Glad to hear it! Please tell us how we can improve more.
Sorry to hear that. Please tell us how we can improve.
Thank you for sharing your feedback so we can improve your experience.