Quick Start with Affinidi Login
The Affinidi Login can be integrated with any application that supports OIDC flow.
Before you begin
- Set up Affinidi Vault account. Follow the guide below if you haven’t set it up yet.
Set up Affinidi Vault
- Click on Get started if you are creating a new account, or click on Restore from Backup if you have an existing backup of your Affinidi Vault. Provide the Passphrase to secure your Affinidi Vault.
You have the option to enable Biometrics to unlock your Affinidi Vault easily instead of using Passphrase.
- Enter your email address to register with the Affinidi Vault. An OTP will be sent to this email for verification.
- Enter the OTP sent to the email you have provided for verification to complete the setup.
After successfully providing the OTP, you are redirected to the Affinidi Vault dashboard.
Vault Passphrase
Remember to keep your passphrase in a secure location. Use the Passphrase Reset feature in Affinidi Vault settings to generate the PDF files and keep them safe, which you can use to recover access to your Affinidi Vault if you forget your passphrase.Get the Redirect URI of your application for OIDC. This is the URI configured on your Login Configuration to receive the idToken after successful authorisation.
Optionally, install the Affinidi CLI. Follow the guide below if it hasn’t been installed.
Create Login Configuration
To integrate Affinidi Login into your application, you must create the Login Configuration to configure on your OIDC settings.
- To create a Login Configuration, you can either use Affinidi CLI or
 Affinidi Portal.
Expand the section for your preferred method:
Using Affinidi Portal
Go to
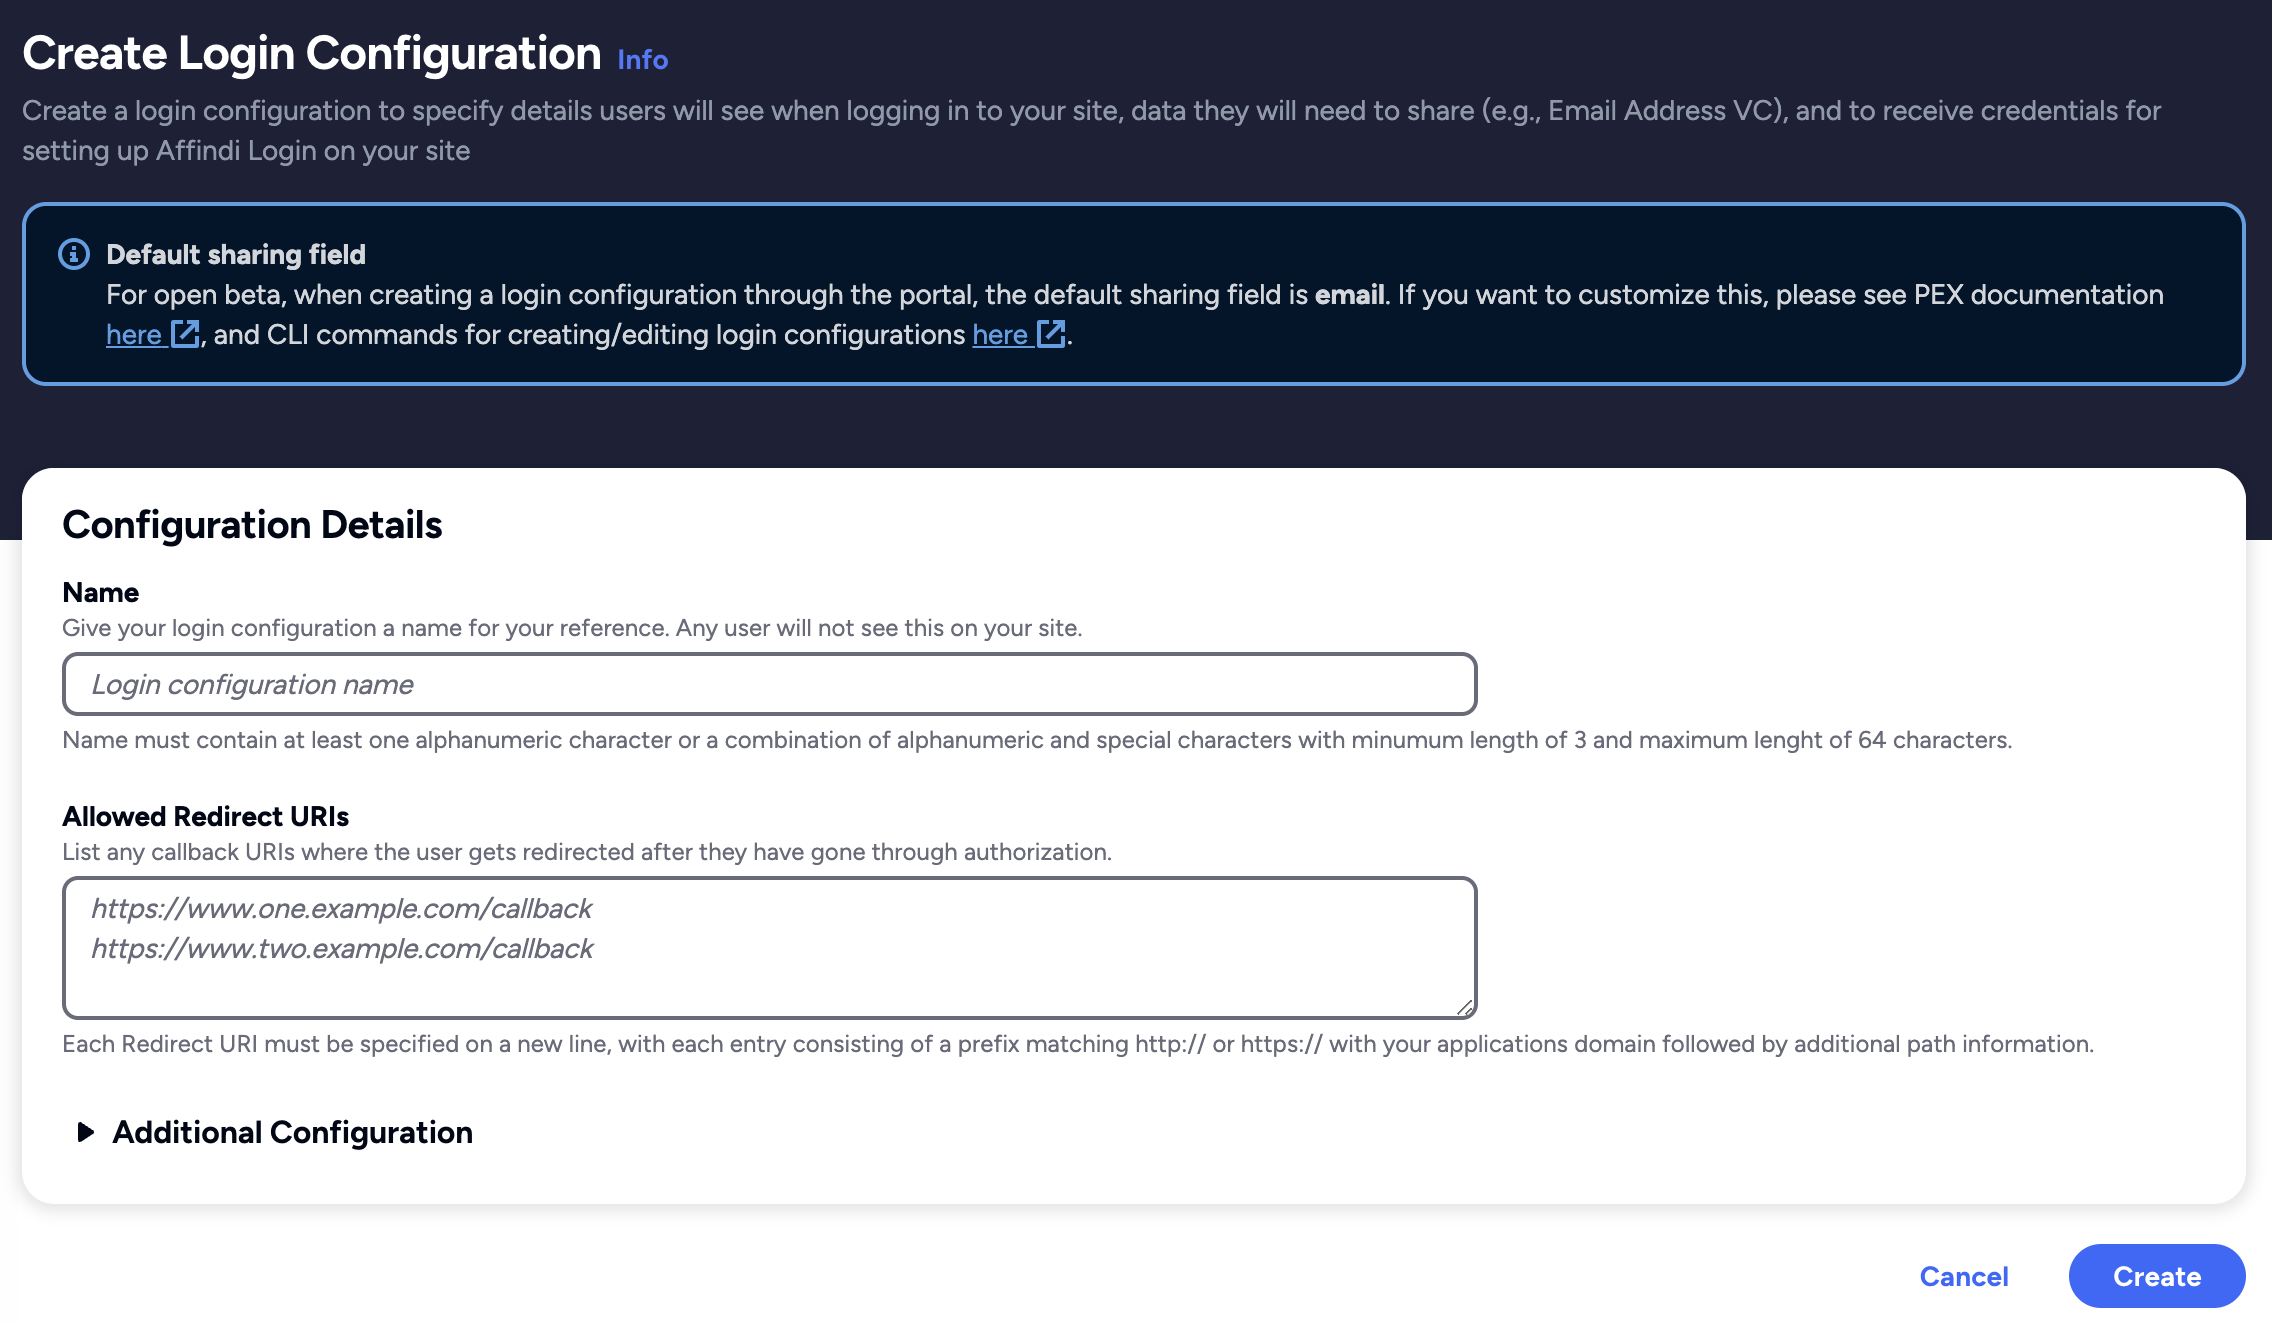
Affinidi Login under the Services section.Click on the Create Login Configuration and provide the required details.
Nameis the string that describes your login configuration.Redirect URIsis the URL on your application where the user gets redirected after the successful authentication.
- Click on create and confirm if all the details are correct.
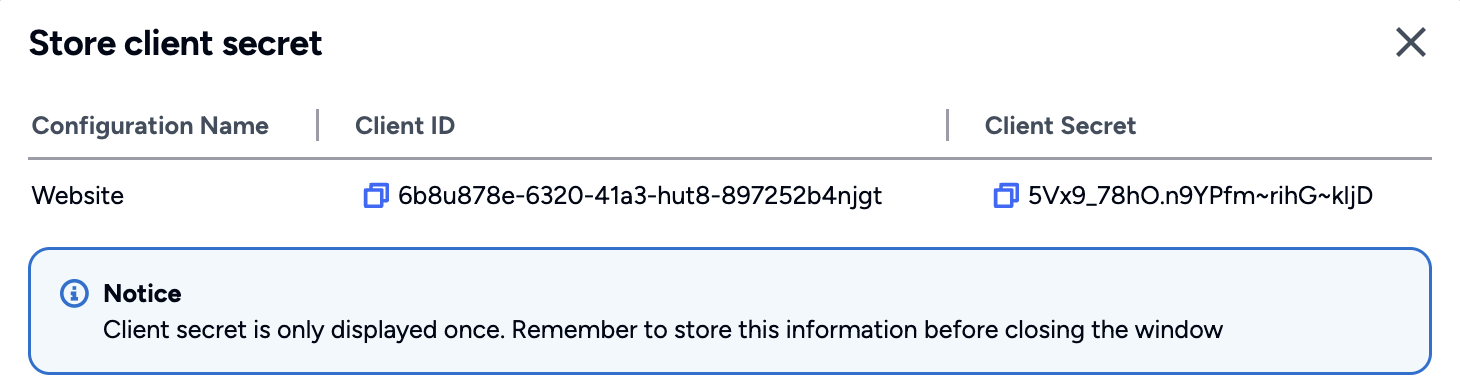
After confirming the details, another popup shows the Client ID and Client Secret for your Login Configuration. Copy the generated Client Credentials and use them to integrate with Affinidi Login.
After copying the Client ID and Client Secret and closing the popup, you are redirected back to the Affinidi Login page.
Login Configuration uses a default Presentation Definition (presentationDefinition) and ID Token Mapping (idTokenMapping) to request the user’s email address during the authentication flow.
You can modify these defaults using ![]() Affinidi Portal and Affinidi CLI to have additional authentication requirements and request other data from the user. See this documentation.
Affinidi Portal and Affinidi CLI to have additional authentication requirements and request other data from the user. See this documentation.
Important
Safeguard the Client ID and Client Secret diligently; you'll need them for setting up your IdP or OIDC-compliant applications. Remember, the Client Secret will be provided only once.
Setting Up Your Application
If you are using libraries or plugins to enable OpenID Connect flow on your application, please refer to their documentation on configuring these settings. You can explore our labs to learn how to integrate Affinidi Login with well-known frameworks and other IDP solutions.
- Go to your application’s OIDC settings and configure the following details to integrate Affinidi Login into your application’s login flow.
{
  "clientId": "<AUTH.CLIENT_ID>",
  "clientSecret": "<AUTH.CLIENT_SECRET>",
  "scope": "openid offline_access",
  "authorizationUrl": "<AUTH.ISSUER>/oauth2/auth",
  "tokenUrl": "<AUTH.ISSUER>/oauth2/token"
}
Once you have successfully set up the details on your application, you can enable a passwordless login for your end-users to provide a seamless experience using Affinidi Vault as the Identity Provider.
- After the user successfully verifies their identity through Affinidi Login and consents to share their info (e.g Email VC), it redirects the user back to your application with the ID Token.
See below example callback response from Affinidi Login:
"idToken": {
    "acr": "0",
    "at_hash": "YVxxMI3NbwfOmL3qZJKlWg",
    "aud": [
        "6a2e4be6-37f6-4669-a93a-ced4b92117a6"
    ],
    "auth_time": 1686131332,
    "custom": [
        {
            "type": [
                "VerifiableCredential",
                "Email"
            ]
        },
        {
            "email": "john.doe@affinidi.com"
        },
        {
            "did": "did:key......"
        }
    ],
    "exp": 1686138537,
    "iat": 1686131337,
    "iss": "https://<PROJECT_ID>.apse1.login.affinidi.io",
    "jti": "02d5845a-626d-4513-bad0-556c1803c6e2",
    "rat": 1686131327,
    "sid": "ac1bd00d-108f-48e2-8481-7f4cd96fa745",
    "sub": "did:key......"
}
Affinidi Login automatically adds users who successfully authenticate to your application to the default user group. You can create additional User Groups to organise your users and provide them with the necessary authorisation to access your application resources and apply different business logic after the user successfully authenticates.
You can try our 5 simple steps for integrating Affinidi Login and explore our labs to learn more about ways to integrate Affinidi Login.
Glad to hear it! Please tell us how we can improve more.
Sorry to hear that. Please tell us how we can improve.
Thank you for sharing your feedback so we can improve your experience.