Get Started

Set up your Affinidi Vault and developer tools to get started.

Let’s get you started with Affinidi Trust Network.

Before you begin using our products and developer tools like  Affinidi Portal and Affinidi CLI, you have to set up Affinidi Vault. We use the Affinidi Login to authenticate developers and grant access to our products with Affinidi Vault as the identity provider.

Additionally, once you integrate Affinidi Login into your application, you can use your Affinidi Vault to test and verify the integration.

Set up Affinidi Vault

Affinidi Vault provides a web and mobile app version to quickly onboard users into the Affinidi Trust Network. Both applications store the data securely on the local storage of your device (edge).

Affinidi Vault User Note

  1. If you are a new user, depending on the device you are using, the system will prompt you to register using the web app if you are on a desktop or install the mobile app if you are on a mobile device.

  2. If you are trying to log in to a website using a mobile device and have both the mobile and web apps set up, the system will use the mobile app to authenticate. Otherwise, it will use the web app for both devices.

  3. The web and mobile app version of Affinidi Vault are separate accounts with different Decentralised Identifiers (DID). To use the same Vault account across various devices and apps, back up your Vault and use it to restore and create an account.

Create a Vault Account

  1. Set up an Affinidi Vault account using the web app or install the mobile app .

The same installation steps for mobile app.

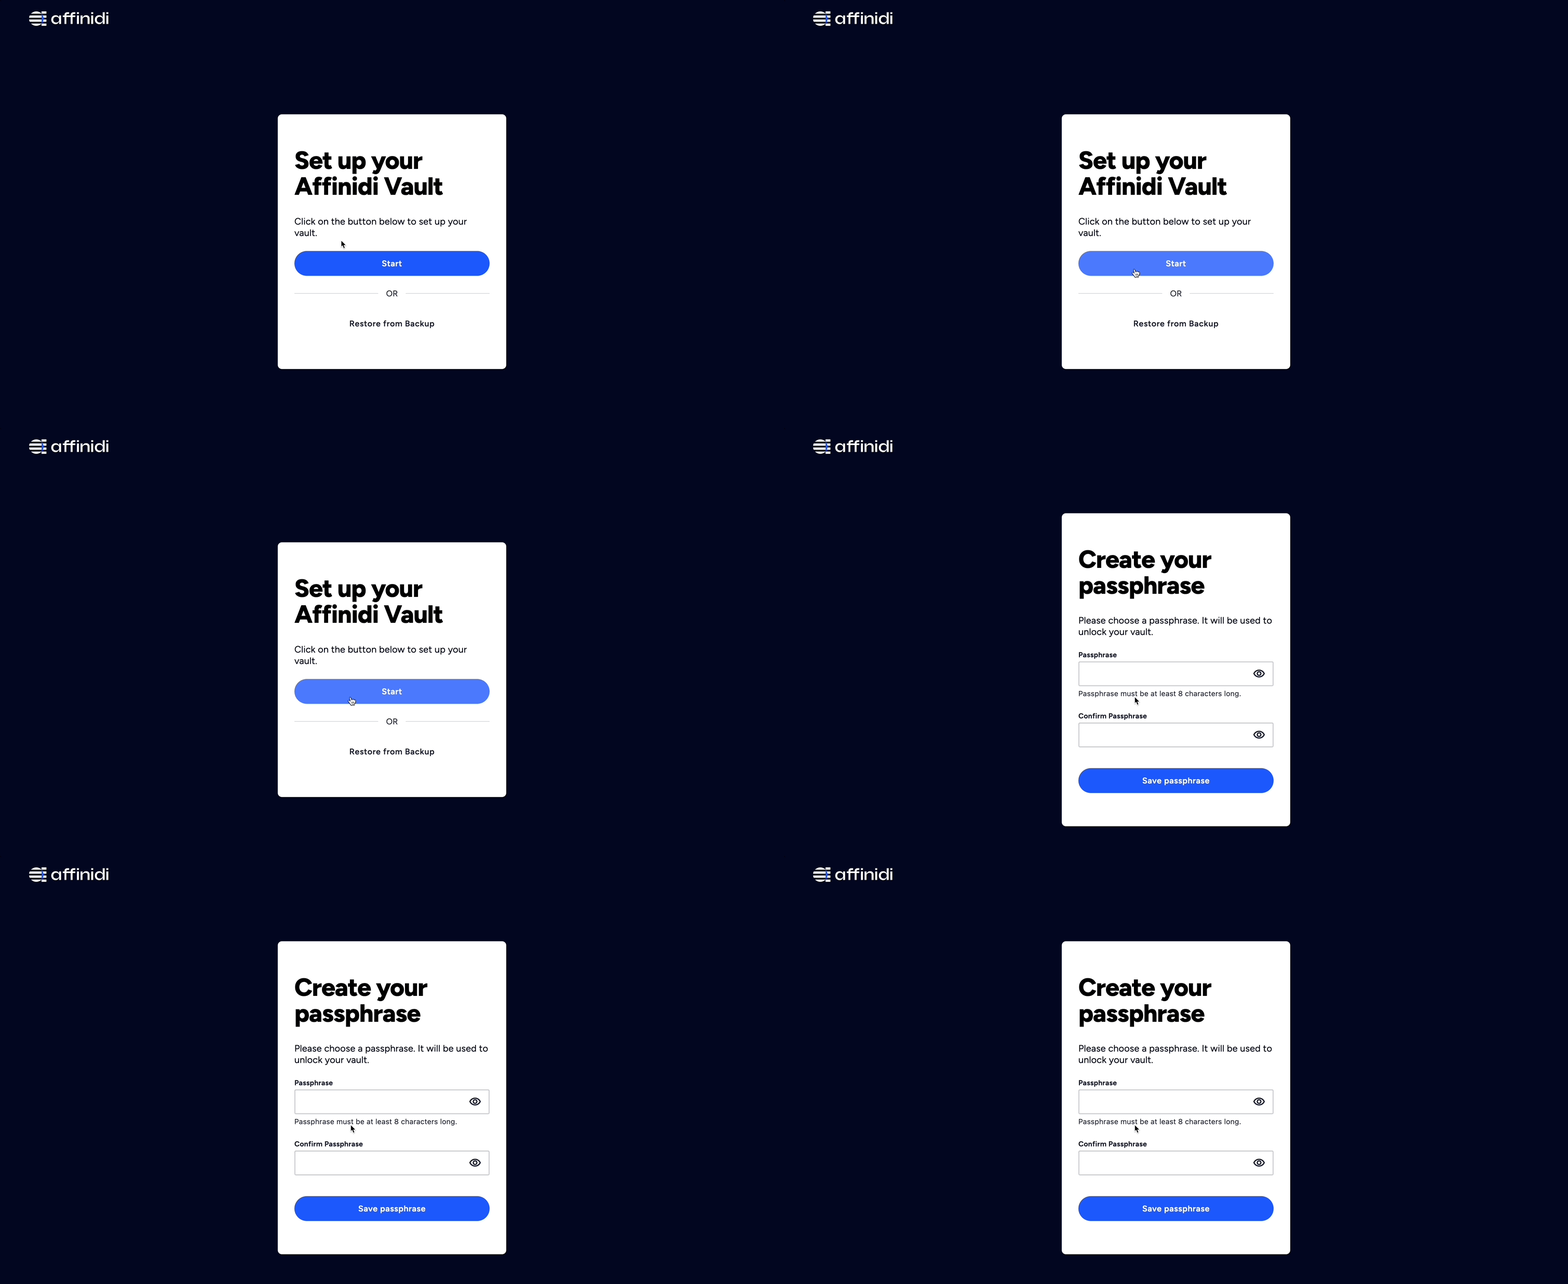
  1. Click on Start if you are creating a new account, or click on Restore from Backup if you have an existing backup of your Affinidi Vault.

Use this guide to learn how to migrate your existing Affinidi Vault account.

Affinidi Vault Setup
  1. Secure your Vault by providing a passphrase. Use this passphrase to unlock your Vault.
Affinidi Vault Passphrase
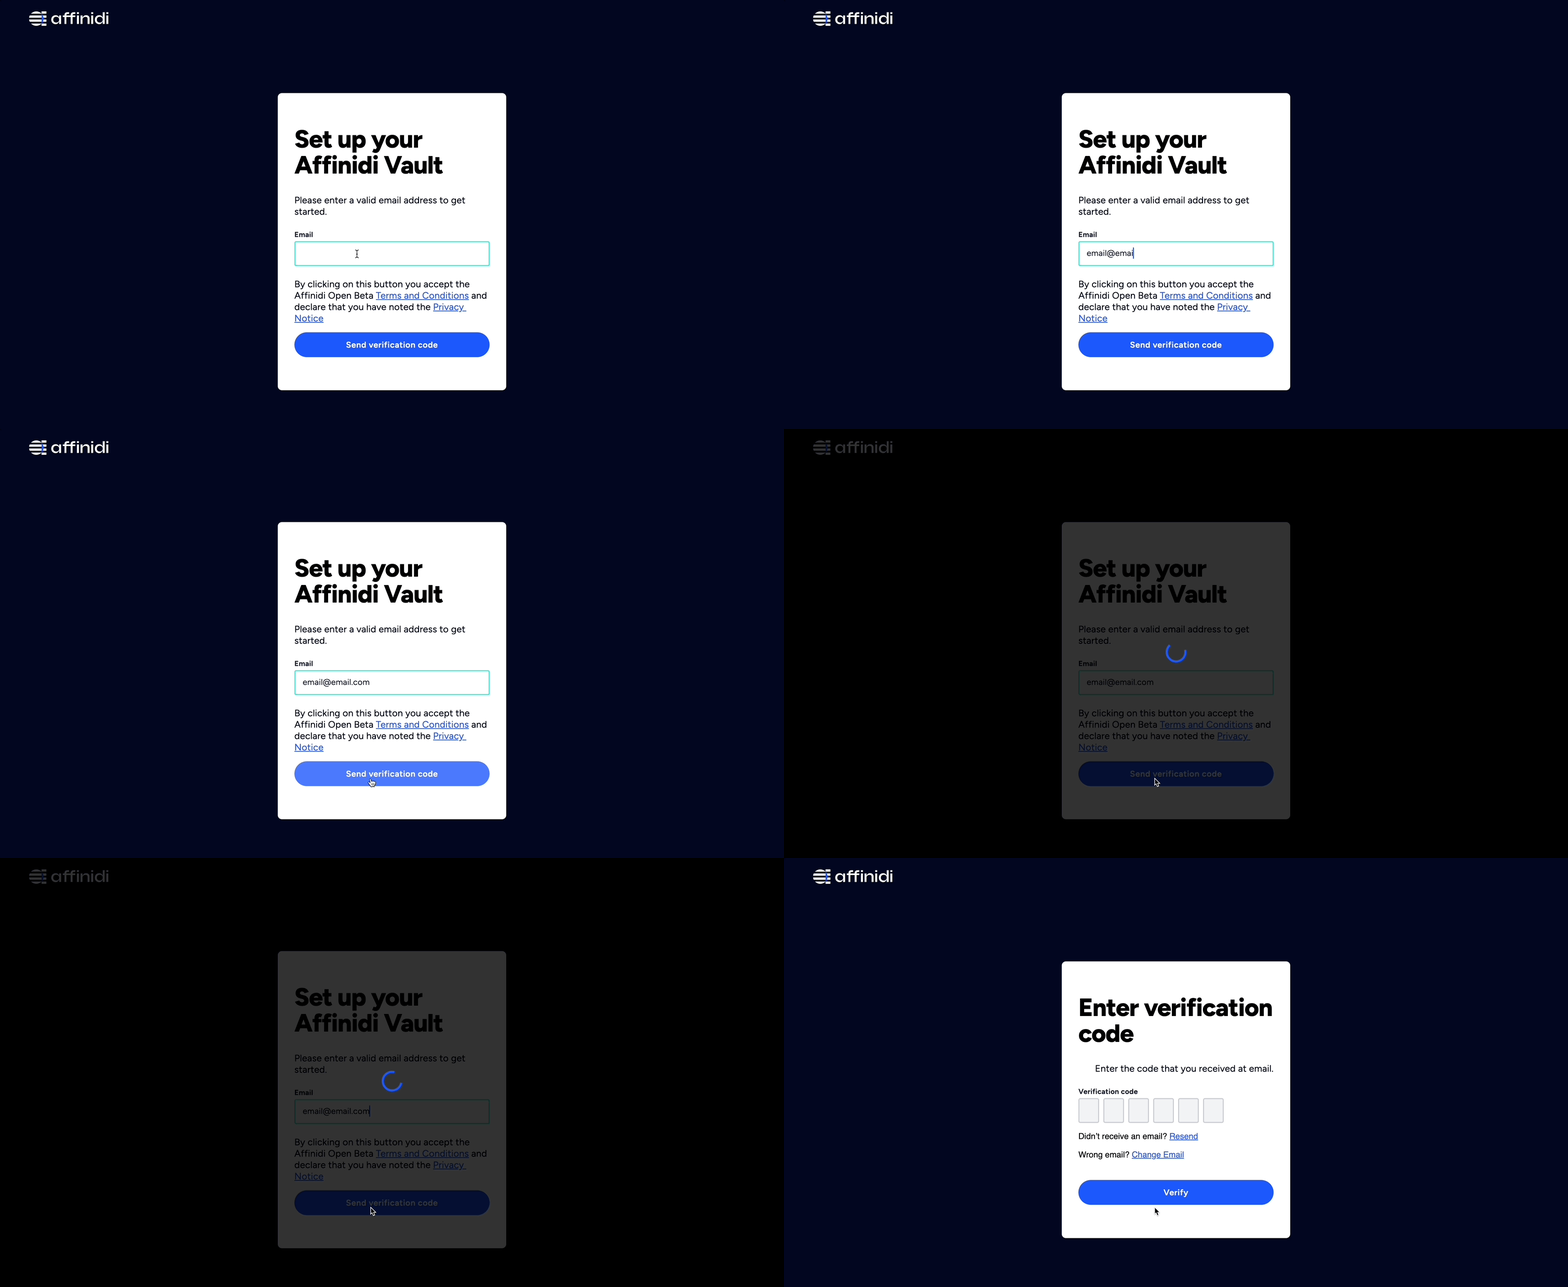
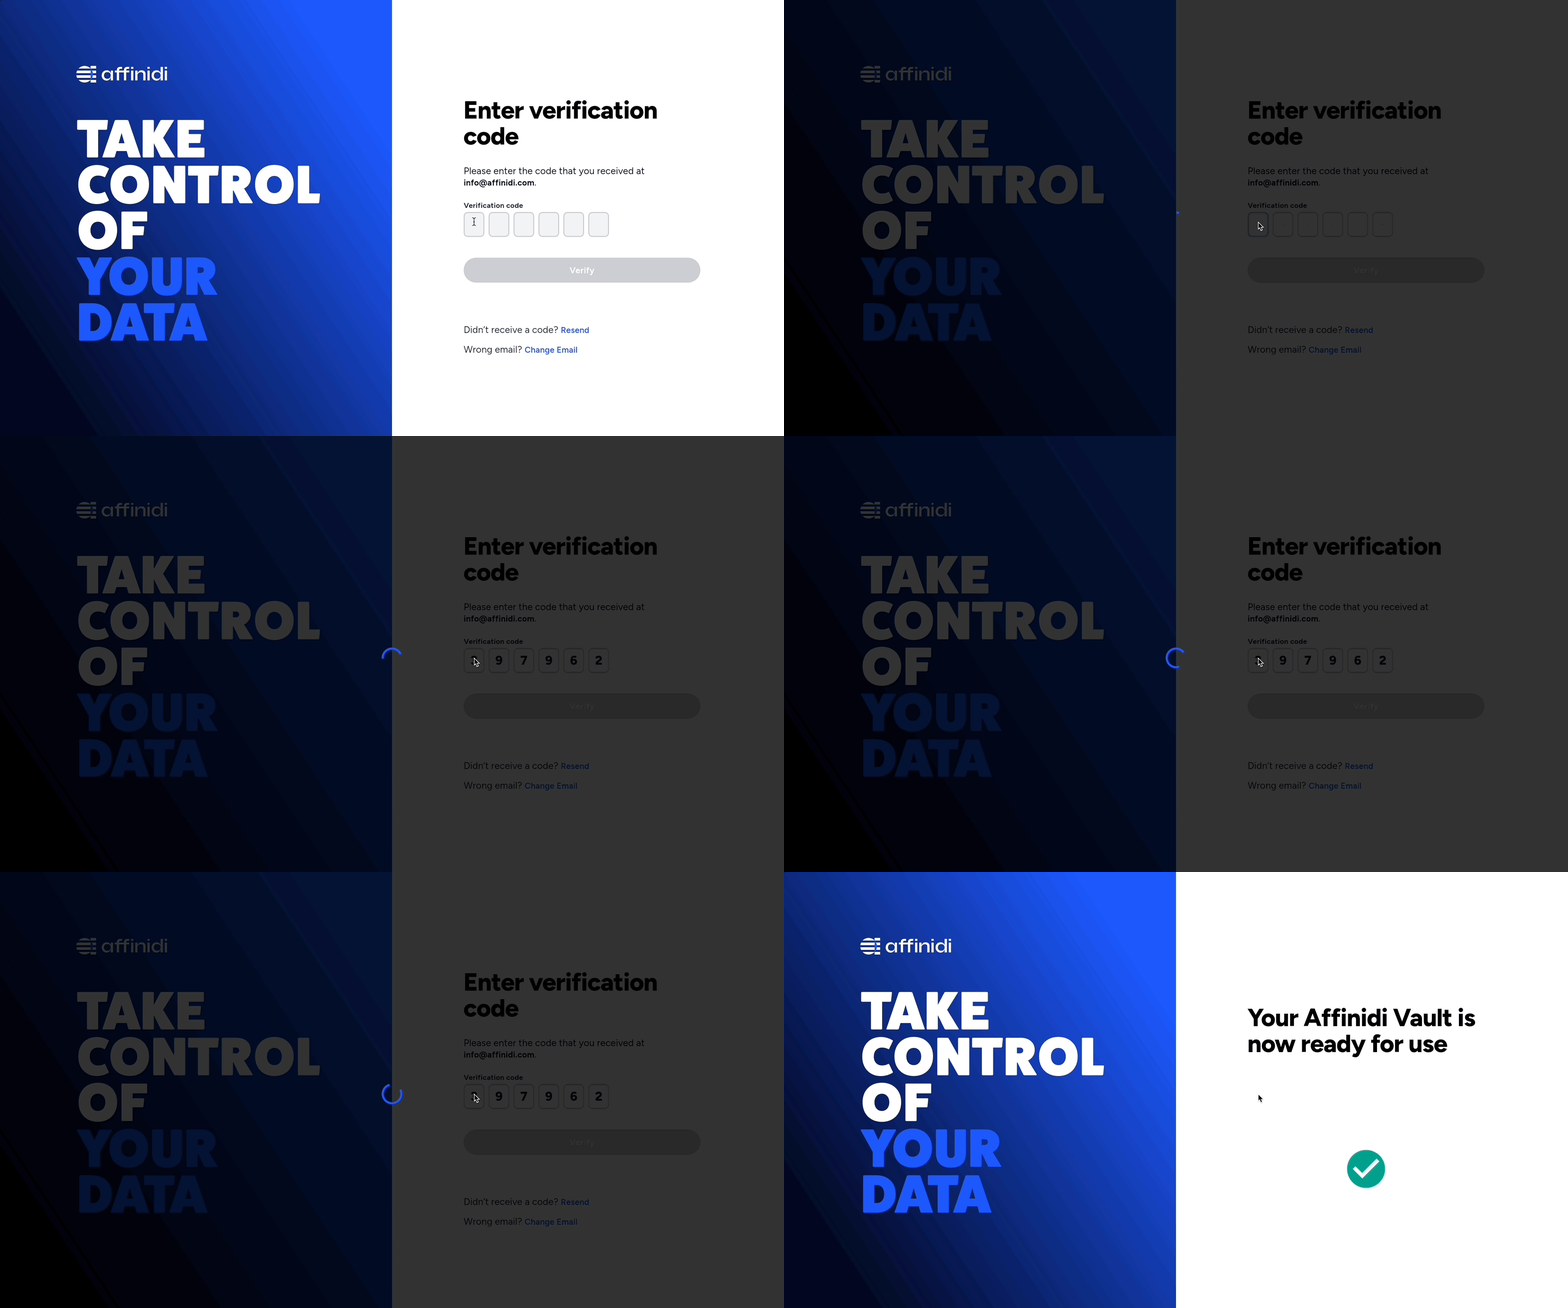
  1. Provide your Email Address to verify with OTP.
Affinidi Vault Email Verification

After successfully providing the OTP, you are redirected to your Affinidi Vault dashboard.

Migrate from Chrome Ext.

If you are an existing Chrome Extension user and you wish to migrate your data from the Chrome Extension of Affinidi Vault to the new app, download a backup of your data from the Chrome Extension and select Restore from Backup option to create your new account.

Use this guide for the step-by-step instructions for migrating from Chrome Extension.

Affinidi Vault chrome extension can still be used to log in to the websites while on a desktop but we recommend migrating to web or mobile app.

Install Affinidi CLI

  1. Download and install NodeJS on your machine if you haven’t set it up yet.
  1. Install Affinidi CLI using Node Package Manager (npm).
npm install -g @affinidi/cli
  1. Verify that the installation is successful.
affinidi --version

You’re all set!

What You Can Do Next

After setting up your Affinidi Vault, you can login to  Affinidi Portal, explore how Affinidi Vault and Affinidi Login work, or go through our simple guides below on integrating Affinidi Login to get you up and running and experience first-hand a seamless passwordless experience using your Vault.


Quick Start with Affinidi Login

In this guide, learn how to enable passwordless login in your application.

5 Simple Steps to Integrate Your App with Affinidi Login

In 5 simple steps, get started with the Affinidi Trust Network for enhanced User Identity Management and Data Privacy.