Manage Affinidi Login
Create a Login Configuration
Go to Affinidi Login under the Services section.
Click on the Create Login Configuration and provide the required details.
Nameis the string that describes your login configuration.Redirect URIsis the URL on your application where the user gets redirected after the successful authentication.
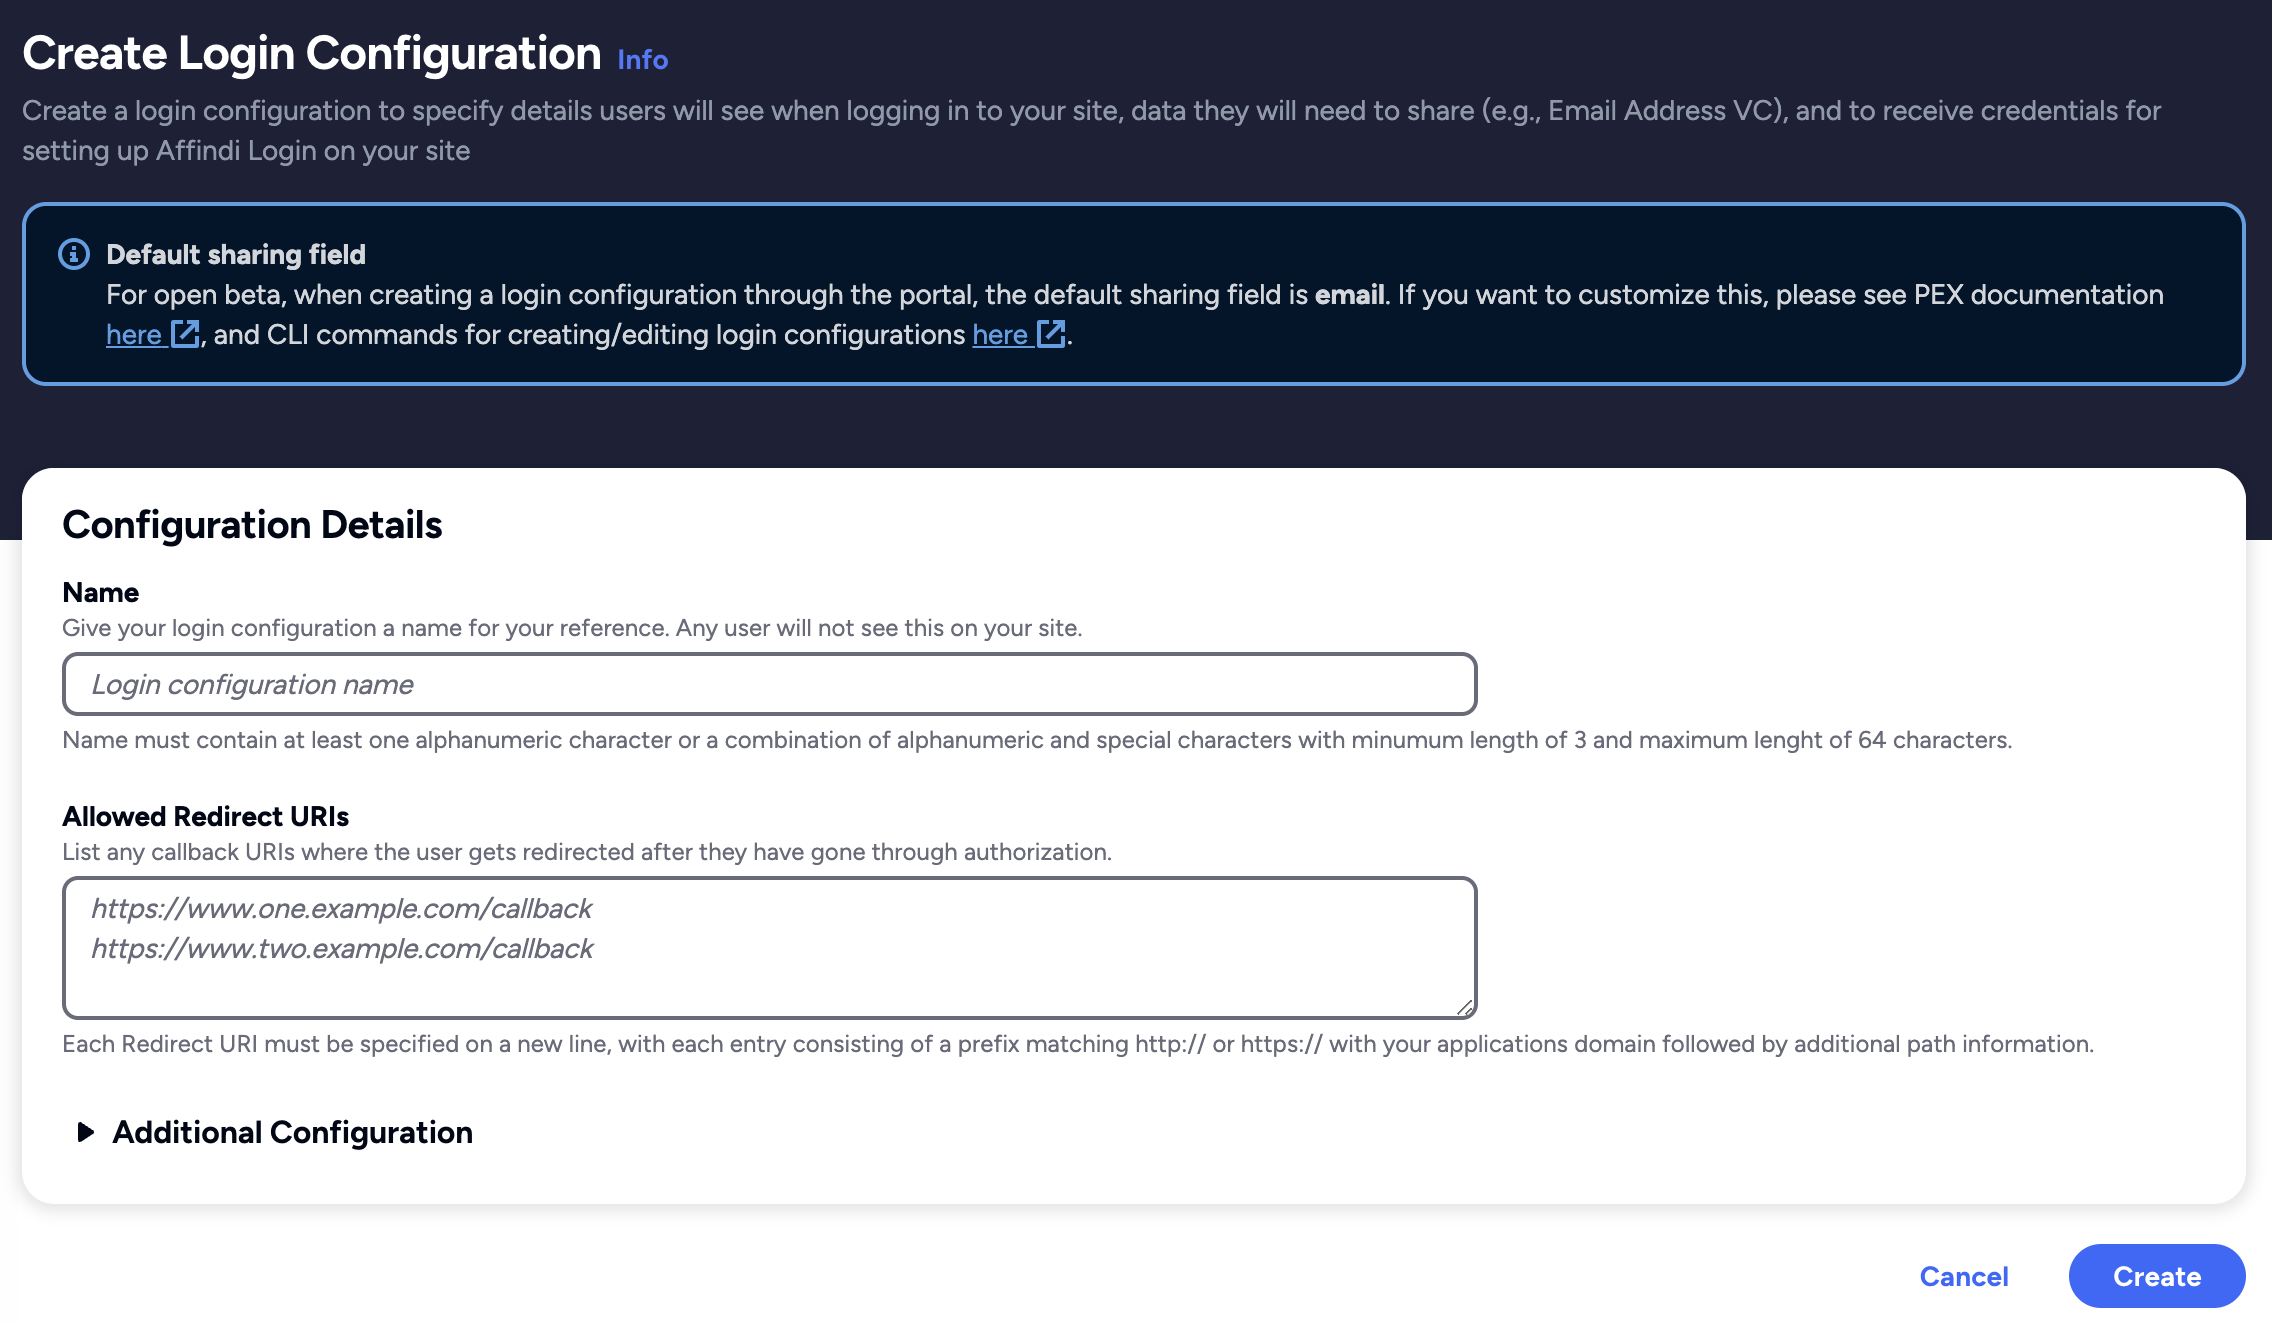
Click on create and confirm if all the details are correct.
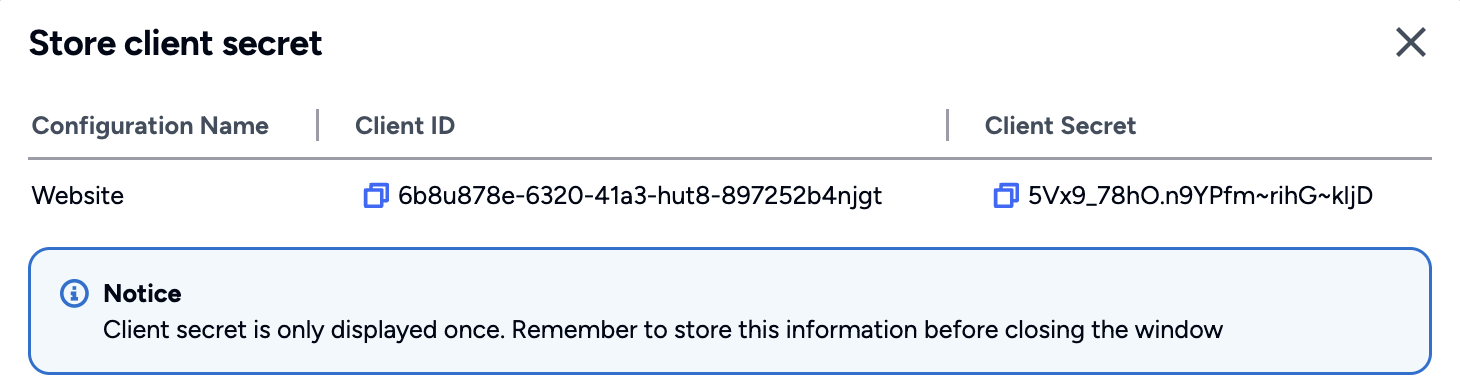
After confirming the details, another popup shows the Client ID and Client Secret for your Login Configuration. Copy the generated Client Credentials and use them to integrate with Affinidi Login.
- After copying the Client ID and Client Secret and closing the popup, you are redirected back to the Affinidi Login page.
Important
Safeguard the Client ID and Client Secret diligently; you'll need them for setting up your IdP or OIDC-compliant applications. Remember, the Client Secret will be provided only once.
Note
You can only create up to 10 Configurations per Project. If you wish to create more than 10 Configurations, you must create a new Project.Update a Login Configuration
Go to Affinidi Login under the Services section.
Click on the Login Configuration you want to update.
In the Login Configuration details page, click on the EDIT button, which allows you to update the Name and Redirect URIs.
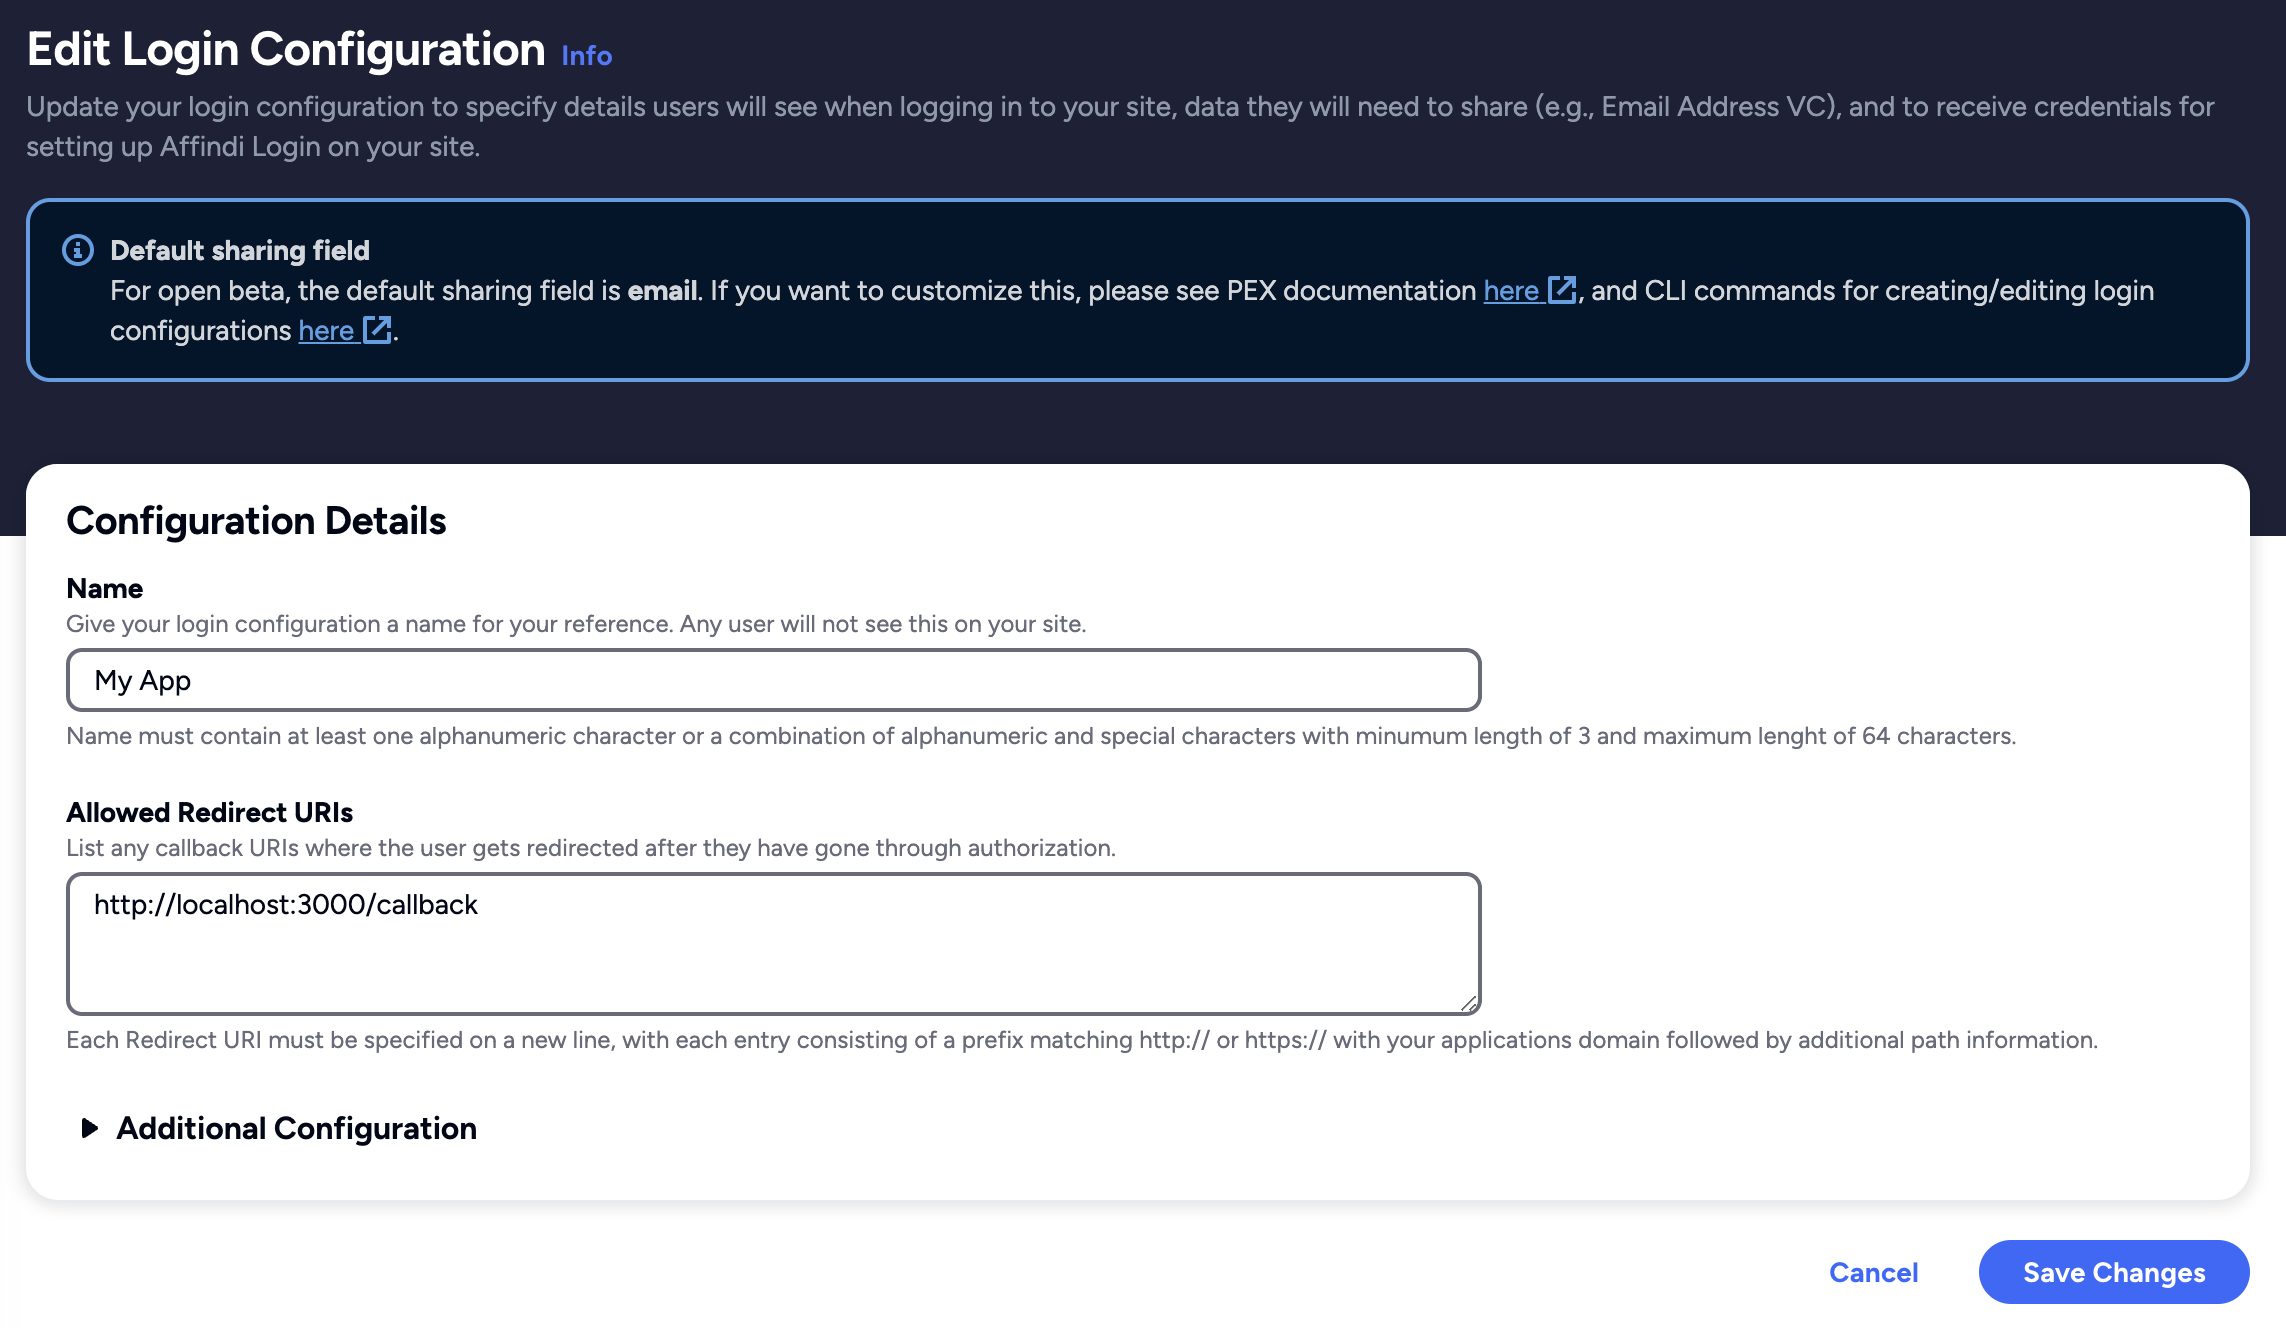
- Once done, click on the Save Changes button to apply the update.
Delete a Login Configuration
Go to Affinidi Login under the Services section.
Click on the Login Configuration you want to delete.
In the Login Configuration Details page, click on DELETE button, which displays a confirmation message with a greyed-out Submit button. To proceed, type ‘confirm’ in the text box to enable the submit button to move with the action.
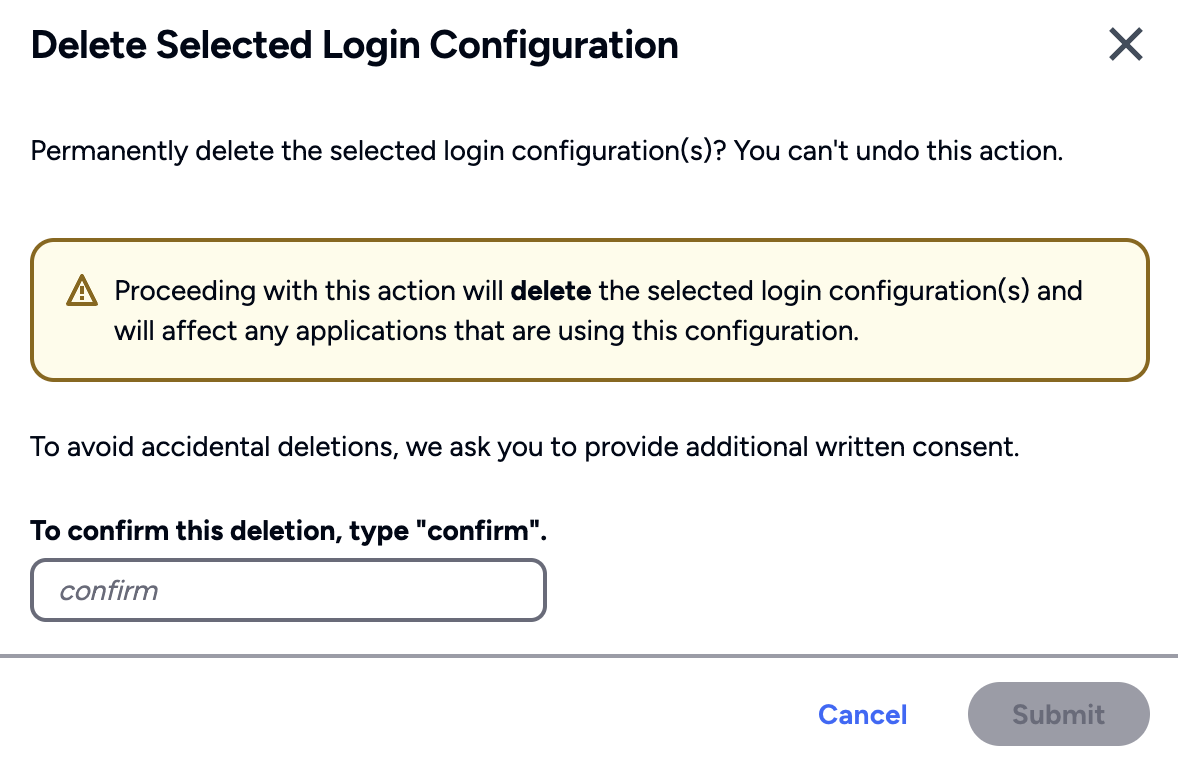
You can also do multiple delete of Login Configurations by selecting each item and clicking DELETE button from the Affinidi Login page. The delete action requires additional confirmation to proceed.
Create a User Group
Here are the steps to create a User Group in Affinidi Portal.
Go to Affinidi Login under the Services section.
Click on the Create Group and provide the group name.
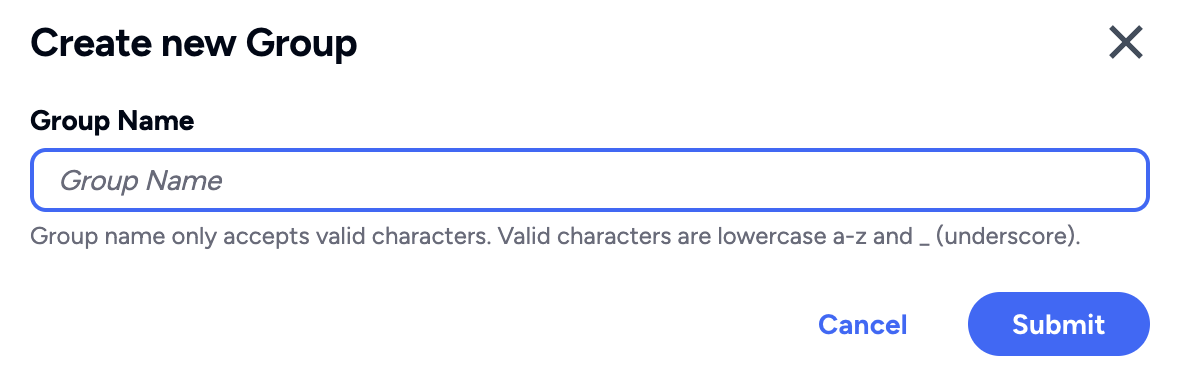
- Once you click on Submit, the User Group is immediately created.
You can update the existing user groups to add more users.
Add a User to a Group
Here are the steps to add a User to a Group in Affinidi Portal.
Go to Affinidi Login under the Services section.
Click on the target User Group where you want to add the user. This should open the User Group page.
In the User Group Page, you can see the list of users (if there’s any). To add a new user, click on the ADD USERS button.
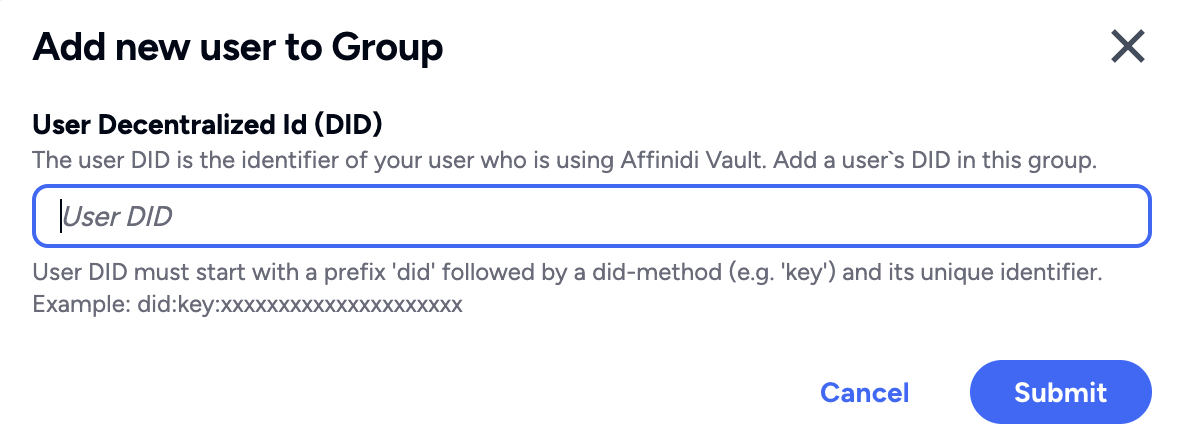
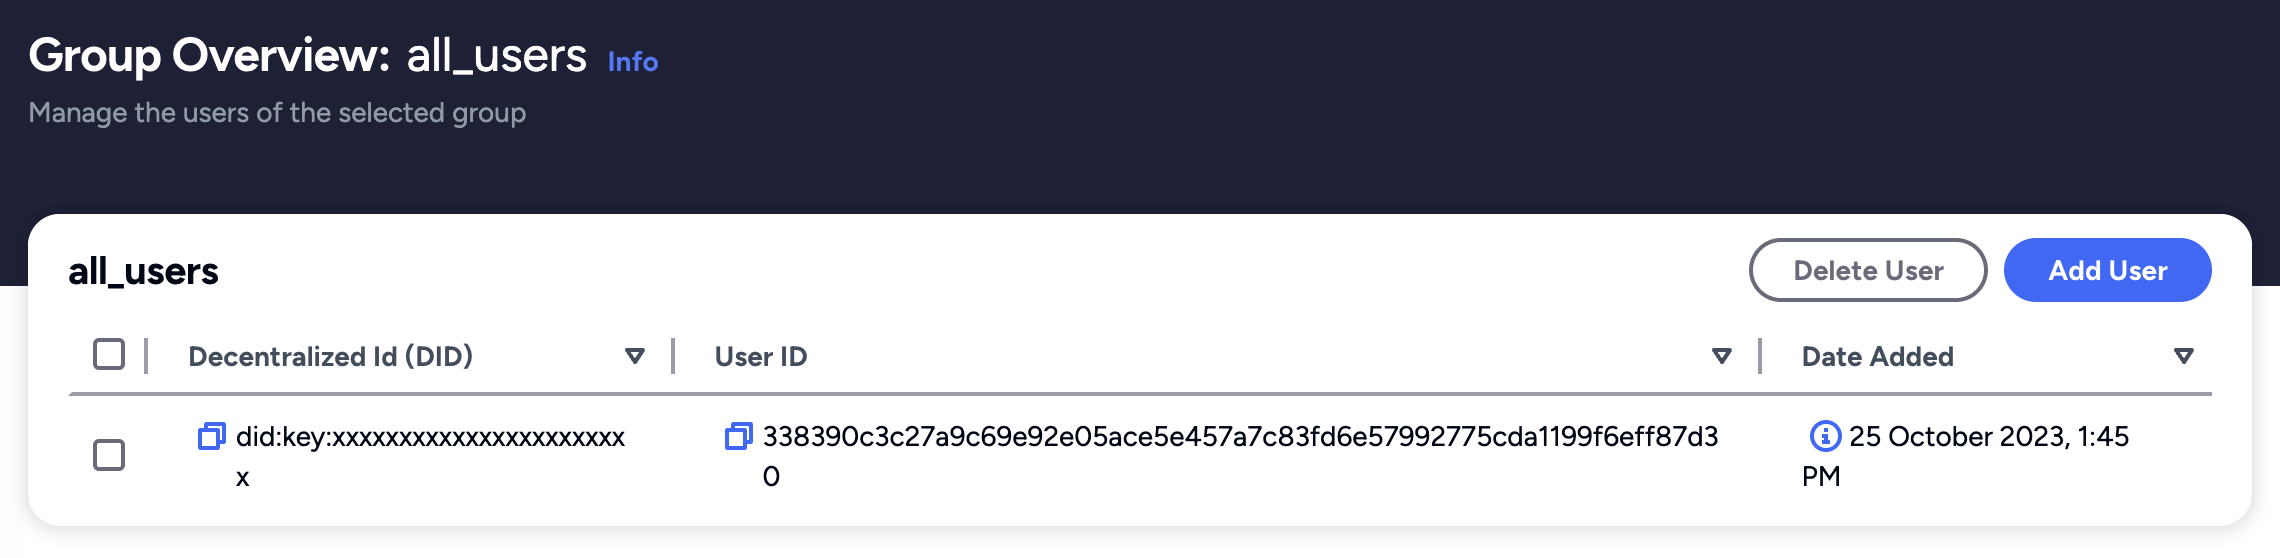
Specify the DID of the user in the form and click Submit.
You should now see that a new entry has been added in the User Group page.
Glad to hear it! Please tell us how we can improve more.
Sorry to hear that. Please tell us how we can improve.
Thank you for sharing your feedback so we can improve your experience.